
How to Clean Stainless Steel Restaurant Equipment
Learn how to clean stainless steel restaurant equipment effectively with easy tips and techniques to maintain its shine and ensure food safety.
Read now

Fryer, Gas, Floor Model, Full Pot Fryer gas floor model 63 lb. capacity Cooking EquipmentFryer, gas, floor model, 63 lb. capacity, full frypot...
View full details
Fryer, Gas, Floor Model, Full Pot Fryer gas floor model 63 lb. oil capacity Cooking EquipmentFryer, gas, floor model, 63 lb. oil capacity, 18"...
View full details
Fryer, Gas, Floor Model, Full Pot Decathlon HD Series Fryer gas floor model 50 lb. capacity Cooking EquipmentDecathlon HD Series Fryer, gas, f...
View full details
Fryer, Gas, Floor Model, Full Pot Decathlon HD Series Fryer gas floor model 80 lb. capacity Cooking EquipmentDecathlon HD Series Fryer, gas, f...
View full details
Fryer, Gas, Floor Model, Full Pot Value High-Efficiency Fryer gas floor model 35 lb. capacity Cooking EquipmentValue High-Efficiency Fryer, ga...
View full details
Fryer, Gas, Floor Model, Full Pot OCF30 Fryer gas floor model 30 lb. capacity Cooking EquipmentOCF30 Fryer, gas, floor model, 30 lb. capacity,...
View full details
Fryer, Gas, Floor Model, Full Pot High Efficiency Fryer gas floor model 50 lb. capacity Cooking EquipmentHigh Efficiency Fryer, gas, floor mod...
View full details
Fryer, Gas, Floor Model, Full Pot Fryer gas floor model 40 lb. capacity Cooking EquipmentFryer, gas, floor model, 40 lb. capacity, open-pot de...
View full details
Fryer, Gas, Floor Model, Full Pot Fryer gas floor model 50 lb. capacity Cooking EquipmentFryer, gas, floor model, 50 lb. capacity, open-pot de...
View full details
Fryer, Gas, Floor Model, Full Pot Decathlon HD Series Fryer gas floor model 50 lb. capacity Cooking EquipmentDecathlon HD Series Fryer, gas, f...
View full details
Fryer, Gas, Floor Model, Full Pot Decathlon HD Series Fryer gas floor model 80 lb. capacity Cooking EquipmentDecathlon HD Series Fryer, gas, f...
View full details
Fryer, Gas, Floor Model, Full Pot Fryer gas 100 lb. capacity low flue temperature Cooking EquipmentFryer, gas, 100 lb. capacity, low flue temp...
View full details
Fryer, Gas, Floor Model, Full Pot Performance Fryer gas floor model 40 lb. oil capacity Cooking EquipmentPerformance Fryer, gas, floor model, ...
View full details
Fryer, Gas, Floor Model, Full Pot Performance Fryer gas floor model 50 lb. oil capacity Cooking EquipmentPerformance Fryer, gas, floor model, ...
View full details
Fryer, Gas, Floor Model, Full Pot High Efficiency Fryer gas floor model 50 lb. capacity Cooking EquipmentHigh Efficiency Fryer, gas, floor mod...
View full details
Welcome to an in-depth exploration of the Frymaster Filter Quick Fryer, an innovative piece of equipment designed to conserve oil while ensuring high production output. This fryer is equipped with two 30 lb pots, capable of delivering the same production as a traditional 50 lb fry pot. In this guide, we will walk you through the general use and care of this fryer, including its advanced touchscreen controller, recipes, menu creation, and cleaning processes.
The Frymaster Filter Quick Fryer boasts a state-of-the-art touchscreen controller. When the fryer is powered off, the screen displays a simple message: "Push 3 seconds to turn on." Once powered on, the fryer automatically heats the oil to a pre-programmed set point, typically 350°, though this can be adjusted to suit your needs.
During preheating, especially with gas fryers, you may hear burner tubes engage and disengage. This gradual heating process is crucial as it prevents the oil from heating too quickly, which can degrade oil quality. Once preheated, the touchscreen displays various icons, indicating the fryer is ready for use.
The home screen offers five navigational buttons: Through Mode, Menus, Recipes, Settings, and Service. For daily operations, the first three are the most relevant. The Settings and Service buttons are primarily for managerial or authorized service personnel, ensuring that all configurations remain intact post-installation.
To access the recipes section, enter the password 1650 as detailed in the manual. Here, you can view, create, and modify recipes. Creating a new recipe is straightforward:
Step 1: Hit the plus button and name your recipe, e.g., "French Fries Test."
Step 2: Set your cooking temperature (e.g., 350°) and time (e.g., 4.5 minutes).
Step 3: Adjust the sensitivity level, which compensates for temperature fluctuations during back-to-back cooking. A typical setting is level 5.
Step 4: Program a shake notification, prompting you to shake the basket a minute into cooking.
Step 5: Choose an icon for your recipe and save it to your desired cookbook categories.
Beyond individual recipes, you can create menu books containing multiple recipes. Enter the password 1650, select Create New, name your menu, and add recipes to it. This feature allows for organized and efficient meal preparation.
Once recipes and menus are set, using the fryer is simple. In Crew Mode, select your desired recipe, and the fryer will handle the rest. The fryer comes equipped with automatic basket lifts, which lower the basket into the oil and lift it out once cooking is complete. This automation ensures consistency and safety.
Maintaining oil quality is crucial. The quick filter feature simplifies this process:
Step 1: Press the cleaning button and select Quick Filter. Confirm your choice.
Step 2: Skim debris from the vat using a skimmer.
Step 3: Start filtration by pressing the blue button. The fryer will drain and filter the oil, returning it to the fry pot clean and ready for use.
Understanding the fryer's internal components is essential for optimal operation. Key features include:
Automatic Top Off (ATO): This system automatically replenishes oil from a backup jug, ensuring consistent oil levels. Remember to reset the system by holding the red button for 5 seconds after replacing an empty jug.
Waste Oil Disposal: The fryer guides you through the disposal process. A lockable valve ensures only authorized personnel can initiate disposal.
Oil Quality Sensor: Regular cleaning of the prefilter screen is vital to ensure accurate oil quality readings. Make it part of your daily SOP to clean this component.
The filter pan assembly is crucial for both filtration and cleaning:
Components: Includes a fine mesh basket, hold-down ring, and filter pad.
Maintenance: Replace the filter pad regularly and ensure the assembly is correctly positioned before use.
For a comprehensive cleaning, perform a boil out using a specialized cleaner to remove carbonized sediment and grease from the fry pot walls.
The Frymaster Filter Quick Fryer is a sophisticated piece of equipment designed to enhance efficiency and product quality in commercial kitchens. By understanding its features and maintenance requirements, operators can maximize its potential, ensuring consistent, high-quality fried products while conserving oil and reducing costs. Regular cleaning, recipe management, and understanding the fryer's internal mechanisms are key to achieving optimal results.
With this guide, you're well-equipped to navigate the complexities of the Frymaster Filter Quick Fryer, making the most of its innovative features and ensuring your kitchen runs smoothly and efficiently.
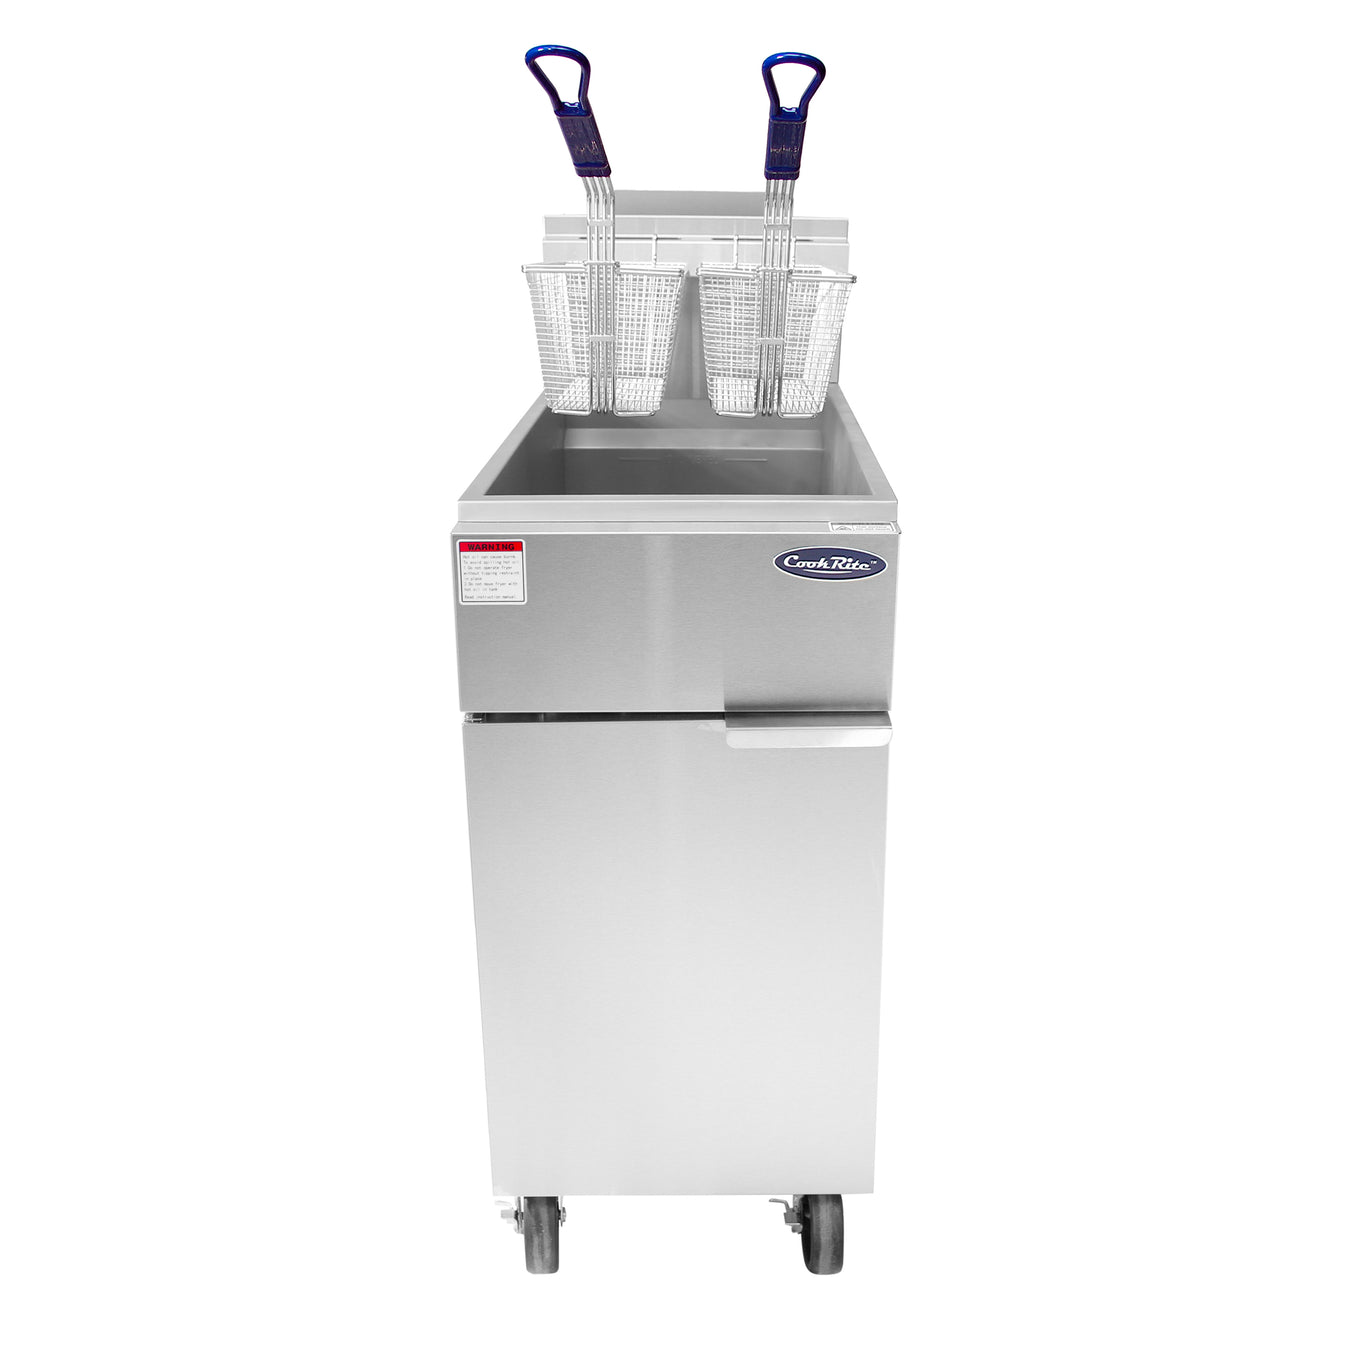
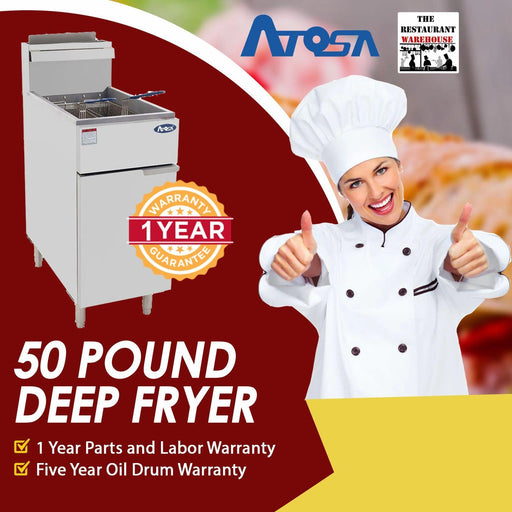
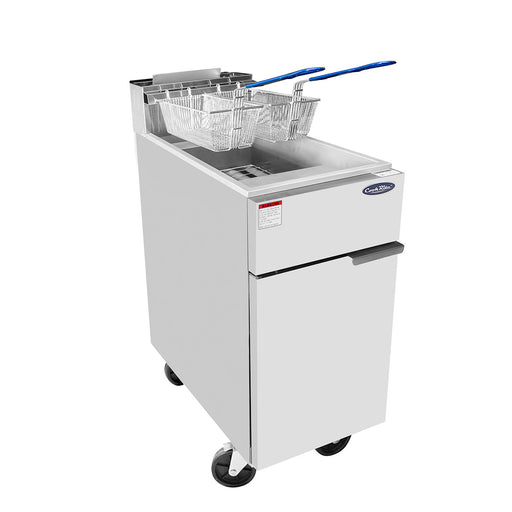
Looking for a more affordable alternative to the Frymaster Fryer for your restaurant? Look no further than the Atosa fryer. While the Pitco Fryer may be known for its high price tag, the Atosa fryer offers similar quality and performance at a fraction of the cost. With its sleek design and durable construction, the Atosa fryer is built to withstand the demands of a busy kitchen. Whether you're frying up crispy chicken wings or golden french fries, this fryer delivers consistent and delicious results every time. Plus, with its user-friendly controls and easy-to-clean features, the Atosa fryer makes cooking a breeze. Don't let cost prevent you from achieving culinary excellence - choose the Atosa fryer for unbeatable value without compromising on quality.


Atosa Commercial Deep Fryer Atosa Fryer ATFS-40 Create deep fried foods that have crisp, browned exterior with a flavorful interior. The Atosa D...
View full details
Commercial Propane Deep Fryer The new Atosa deep fryer is designed for your busy commercial kitchen that needs a replacement for your older crac...
View full details

Commercial Deep Fryer Do you and your customers love to serve something crispy? A deep fryer is the answer to your customers cravings. Through i...
View full details
Commercial Propane Deep Fryer for Food Trucks The Next Generation of ruggedly constructed gas griddles, char-broilers, fryers, and plates deliv...
View full details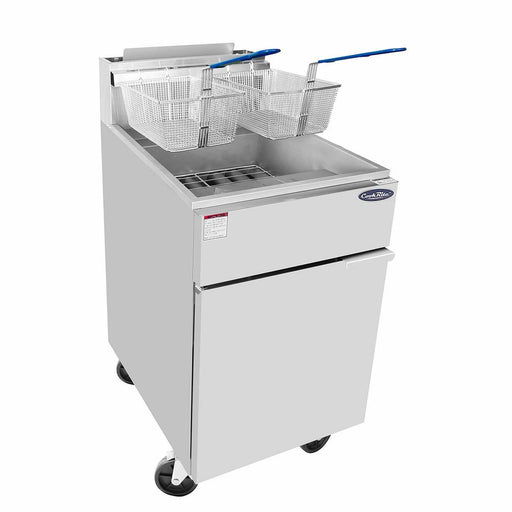

Commercial Deep Fryer Deep Fat Fryers have come along ways over the past ten years. Deep Fryers today require less gas to operate and have becom...
View full details

Commercial Propane 75 LB Deep Fryer The Next Generation of ruggedly constructed gas griddles, char-broilers, fryers, and plates deliver heavy d...
View full details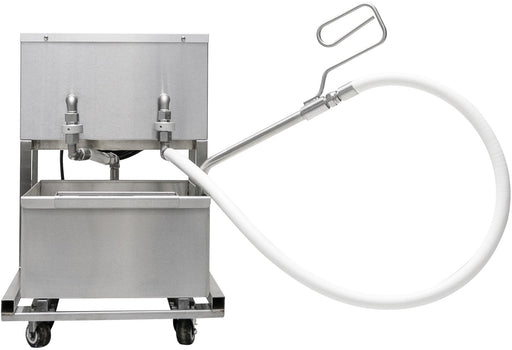
🔥 Say goodbye to greasy messes with our fryer oil disposal unit! 🍟✨ Dispose of waste oil safely and easily, keeping your kitchen clean and sanitary...
View full details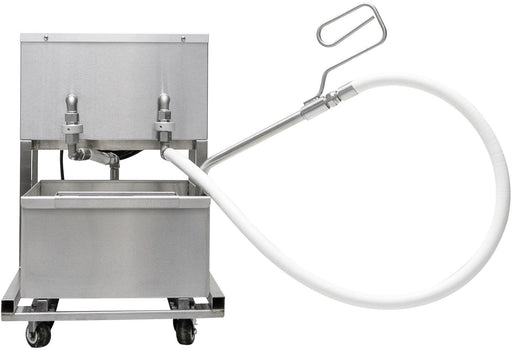
🔥 Don't let your fryer oil go to waste! 🍟 Our fryer oil disposal unit is the ultimate solution for hassle-free, safe, and clean oil disposal. Say g...
View full details
Energy Star Deep Fryer The Atosa Commercial Fryer is the perfect way for foodservice operators to save money on utility bills and protect their cli...
View full details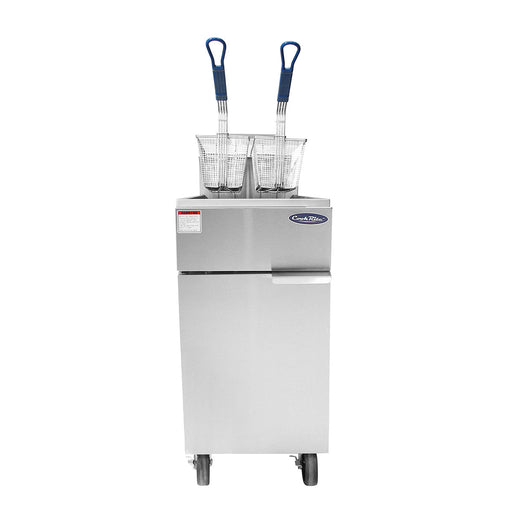

Energy Star Deep Fryer The Atosa Commercial Fryer is the perfect way for foodservice operators to save money on utility bills and protect their cli...
View full details