

Caring for Butcher Block Countertops A Practical Kitchen Guide
Keeping your butcher block countertops in top shape really comes down to a simple, consistent routine: a little daily cleaning, some seasonal oiling, and smart habits to head off damage before it starts. This steady attention is what preserves the wood's natural beauty and ensures it stays a durable, food-safe surface for years to come.
Why Consistent Care Is Your Best Investment
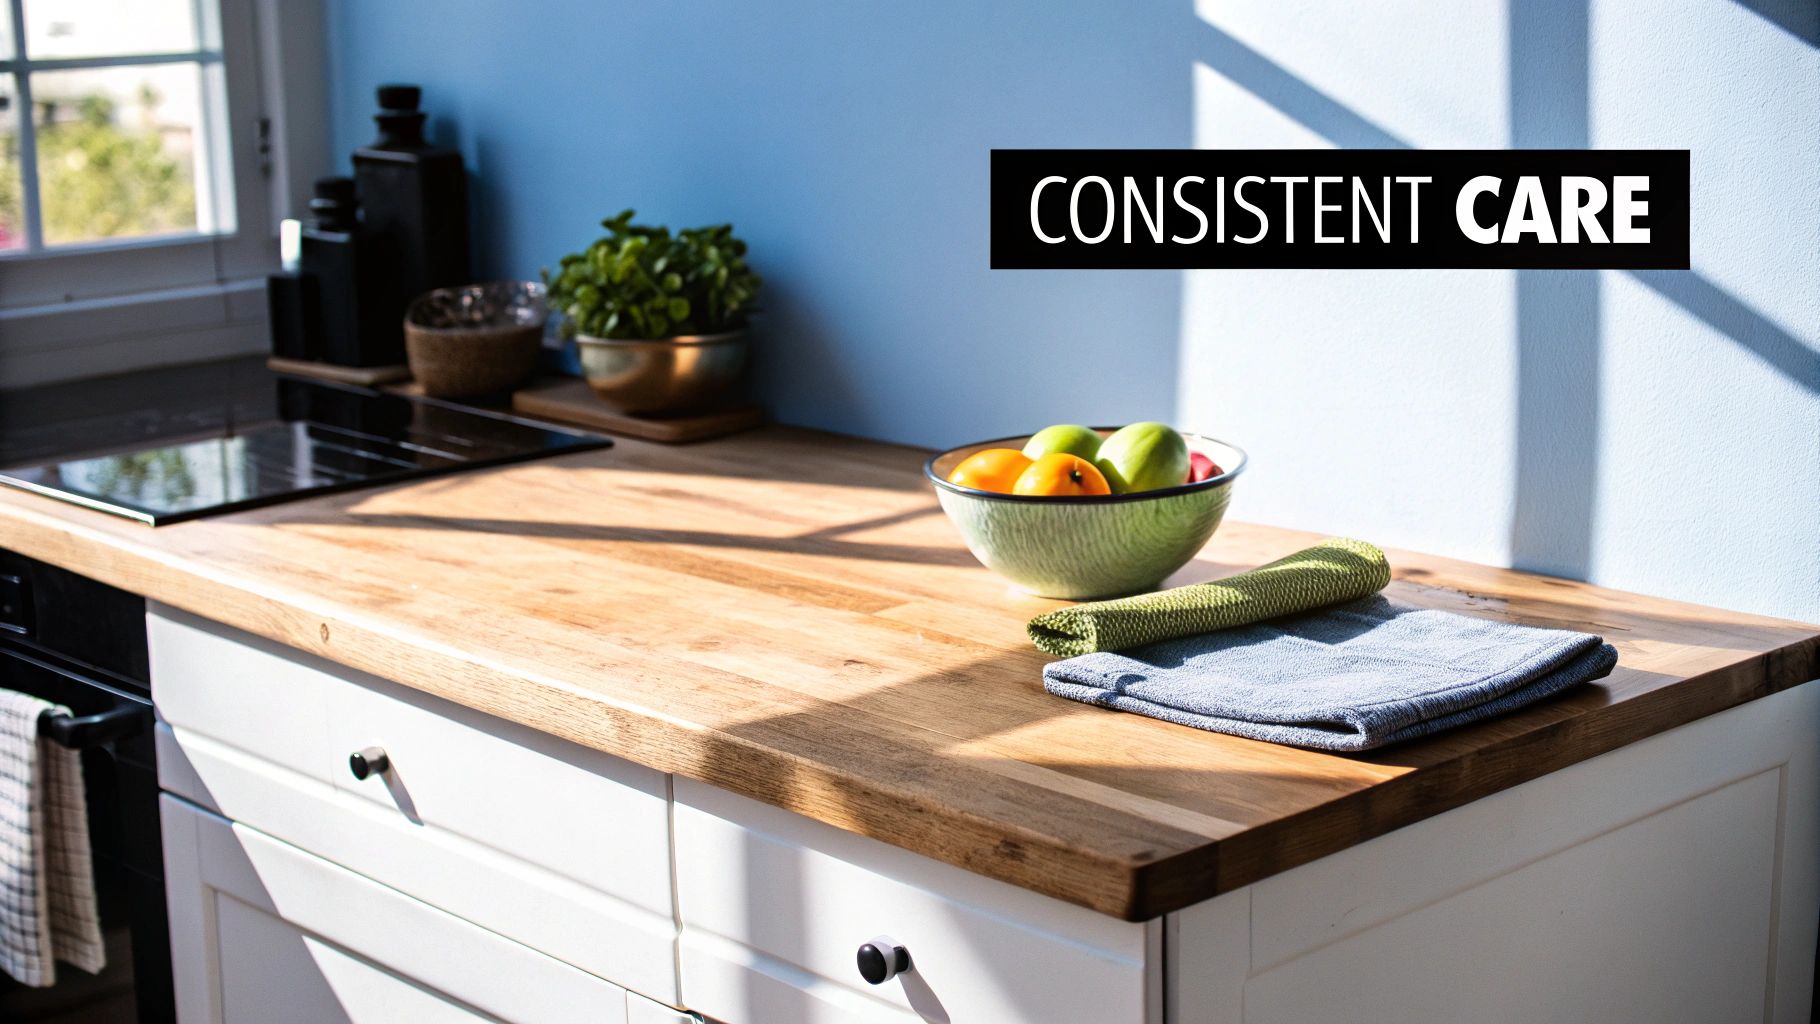
Butcher block brings a warmth to a kitchen that few other materials can, but its longevity isn't automatic—it's earned. The secret is to stop thinking of maintenance as a chore and start seeing it as a series of small, proactive habits that turn a beautiful surface into a lifelong asset. This approach protects your investment by preventing costly repairs and keeping the aesthetic that makes wood so appealing in the first place.
This consistent care is built on a few core pillars that work together, shielding your countertops from the daily grind of a busy kitchen.
- Daily Cleaning: This is your first line of defense. It prevents food particles and moisture from soaking into the wood, which is what leads to stains and bacterial growth.
- Seasonal Oiling: Think of this as "feeding" the wood. Regular conditioning keeps it hydrated, preventing it from drying out, splitting, or cracking over time.
- Smart Repairs: Catching minor scratches and stains right away stops them from turning into bigger, irreversible problems.
The Long-Term Value of Maintenance
Adopting this simple routine pays off big time in durability. In a bustling commercial kitchen, a well-maintained butcher block countertop can have an impressive lifespan of 10 to 20 years, easily outlasting many laminate options. This longevity comes from wood's unique ability to be repaired; unlike stone that can crack for good, butcher block can be sanded down multiple times to erase years of deep cuts and heavy prep work.
The key is to see your countertop as a living surface. Just like any natural material, it responds to its environment and the care it receives. Consistent attention prevents the slow, cumulative damage that compromises its integrity.
It helps to think about how other wood surfaces benefit from the same kind of attention. For perspective, understanding the impact of proper hardwood floor maintenance offers a great parallel. Both surfaces reward consistency with lasting beauty and function, proving that a little effort now delivers substantial results down the road.
Your Daily Cleaning and Sanitizing Routine
Properly caring for your butcher block countertops comes down to a consistent daily routine. This isn't about a deep, time-consuming scrub, but rather a quick, mindful ritual that protects the wood from its two biggest enemies: moisture and bacteria.
The whole point is to get food debris and germs off the surface before they have a chance to work their way into the wood grain. Think of it as preventative maintenance that ensures a safe, long-lasting prep area.
The Right Tools for Everyday Cleaning
Success with daily care is all about speed and consistency. Spills, especially acidic ones like lemon juice or vinegar, can quickly stain an unsealed or lightly oiled surface. The longer they sit, the deeper they seep, turning a simple wipe-down into a much bigger project later. Get in the habit of tackling messes as they happen.
You don't need harsh chemicals or abrasive tools for this. In fact, aggressive cleaners can strip the wood's natural oils and damage its protective finish. The best approach relies on simple, gentle materials.
- Bench Scraper: This is your best friend. A simple plastic or metal bench scraper lets you quickly clear away flour, crumbs, and veggie scraps without gouging the wood.
- Soft, Lint-Free Cloth: A microfiber cloth is perfect for wiping the surface down. It’s absorbent enough to handle moisture but won’t mar the wood.
- Gentle Soap: Just a small amount of mild dish soap mixed with warm water is all you need. It's there to break down grease and lift any stubborn food residue.
A Food-Safe Sanitizing Method
In a commercial kitchen, cleaning isn't enough—you also have to sanitize. While a harsh chemical sanitizer can easily harm your butcher block, there’s an effective, food-safe alternative that's easy to make and use.
Grab a spray bottle and mix equal parts white vinegar and water. After your daily cleaning and drying are done, lightly mist the entire surface with this solution. Let it sit for a minute or two; this gives the vinegar enough time to neutralize surface bacteria.
Once the solution has done its job, wipe it away completely with another clean, dry cloth. Don't worry about the smell—the vinegar scent disappears quickly as it dries, leaving you with a clean, sanitized, and food-safe prep area. Making this quick spritz part of your closing routine is one of the best habits you can build for long-term butcher block care.
A quick checklist can help your team stay on track. Post this near the prep station to build a consistent routine.
Daily Butcher Block Cleaning Checklist
This simple checklist helps kitchen staff maintain consistent daily care, preventing common issues like staining, odors, and moisture damage before they start.
| Time of Day | Task | Tool/Material | Key Tip |
|---|---|---|---|
| Throughout Shift | Wipe Spills Immediately | Dry, lint-free cloth | Focus on acidic liquids (citrus, vinegar) to prevent stains. |
| End of Prep/Shift | Scrape Debris | Bench scraper | Scrape all solid food scraps into a waste bin. |
| End of Prep/Shift | Clean Surface | Soapy water, damp cloth | Use a mild soap solution, then rinse with a clean, damp cloth. |
| End of Prep/Shift | Dry Thoroughly | Clean, dry towel | This is the most crucial step. Never let water stand on the wood. |
| End of Day | Sanitize Surface | 1:1 vinegar & water spray | Mist lightly, let it sit for 1-2 minutes, then wipe completely dry. |
Following these simple steps every day is the single most effective way to keep your butcher block in prime condition, ready for whatever the next service throws at it. For a broader look at kitchen upkeep, our guide on cleaning restaurant equipment offers valuable context for your entire operation.
Mastering the Art of Oiling and Sealing
Beyond the daily wipe-down, the single most important habit you can build is regularly conditioning your butcher block. Oiling isn't just for a pretty sheen; you're literally feeding the wood, keeping its fibers hydrated and resilient enough to handle the abuse of a commercial kitchen. When you skip this step, the wood gets thirsty, brittle, and becomes a sponge for stains and odors.
This is what transforms a simple slab of wood into a durable, long-lasting work surface. It’s the proactive maintenance that pays off in longevity and food safety.
Understanding Oils Versus Sealants
When it comes to conditioning, it’s critical to know the difference between oils and sealants. They do two very different jobs.
- Penetrating Oils: Think of these as the lifeblood for a healthy butcher block. Food-grade mineral oil is the undisputed industry standard. It soaks deep into the wood grain to hydrate the fibers from the inside out. This is what stops the wood from drying out and cracking, a common problem in climate-controlled restaurant kitchens.
- Film-Forming Sealants: These products, usually containing beeswax or carnauba wax, create a protective barrier on top of the wood. While the oil nourishes from within, a sealant shields the surface. This topcoat gives you an extra layer of defense against water, stopping moisture from seeping in—a must-have around sink areas.
For most commercial kitchens, a two-part strategy is the way to go. Regular oiling keeps the wood’s internal health in check, while a final wax-based sealant gives you that surface-level protection against the daily onslaught of spills and moisture.
The Proper Application Technique
How you apply the oil is just as important as using it in the first place. A sloppy job leaves you with a sticky, gummy surface that’s a magnet for dust and kitchen grime. What you're aiming for is a clean, smooth finish where the oil is fully absorbed.
Grab a clean, dry, lint-free cloth. Pour a little food-grade mineral oil directly onto the countertop and start working it into the wood, always going with the grain. The trick is to apply a thin, even coat across the entire surface, including all the edges. You’ll notice some spots might look a little lighter or drier—give them some extra attention, as they’ll soak up more oil.
Now, let it sit. The oil needs at least 20-30 minutes to really soak in, but a few hours or even overnight is ideal if you can swing it. The wood will drink up what it needs. The final step is non-negotiable: take a fresh, clean cloth and buff off every last bit of excess oil. The surface should feel completely dry to the touch, not greasy or tacky. Any oil left sitting on top won't absorb any further; it will just get sticky.
It's a common mistake to think more oil is better. The wood can only absorb so much. Wiping away the excess is the real secret to a professional, non-sticky finish that protects without creating a mess.
Establishing a Realistic Oiling Schedule
How often you need to oil really depends on the age of your countertop and how heavily it's used. A brand-new butcher block is especially thirsty and needs more conditioning upfront to get properly seasoned.
Here’s a practical schedule that works:
- New Countertops: For the first month, oil it once a week. This initial seasoning is critical for building a solid, protective foundation.
- Established Countertops: After that first month, you can switch to oiling once a month. This is usually plenty to keep the wood hydrated and shielded from the daily grind of a busy kitchen.
Before you ever apply oil or wax, the surface needs to be clean. This simple daily process is the perfect prep.
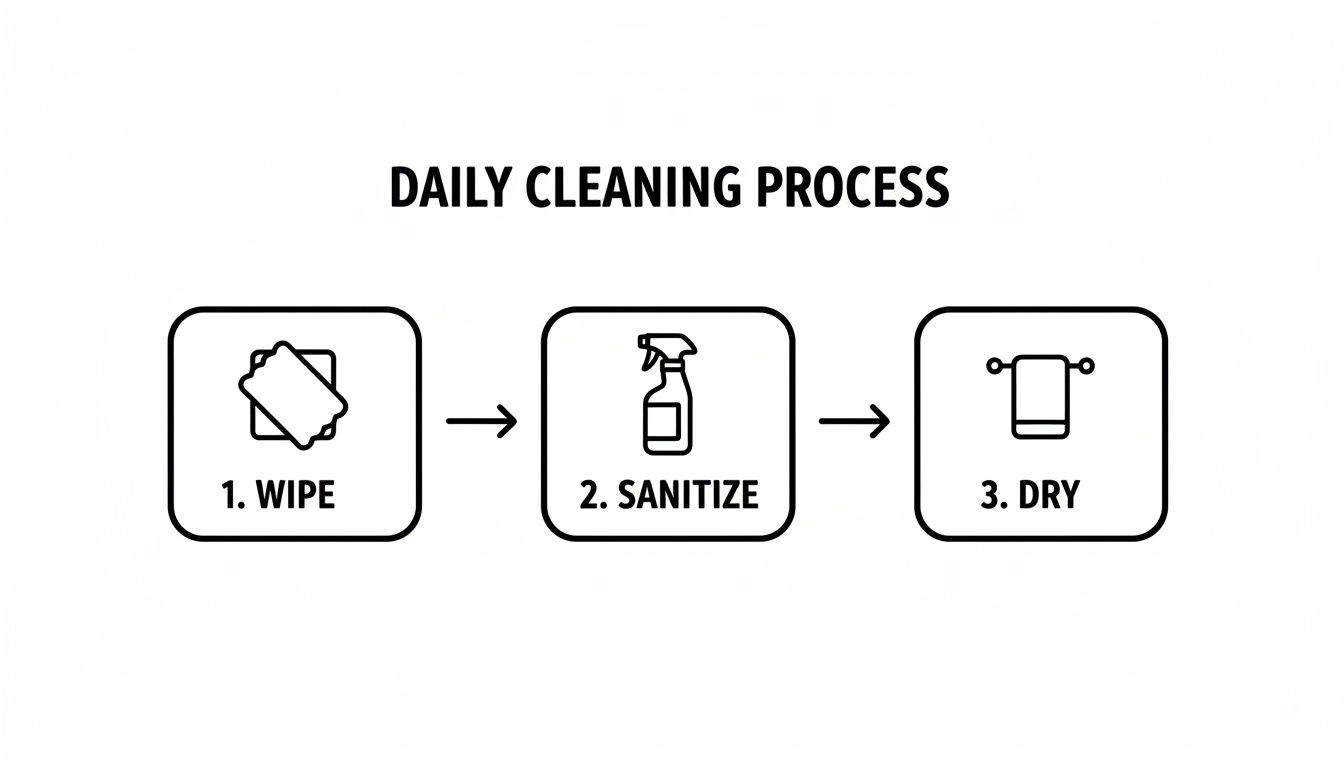
This visual breaks down the daily essentials—wiping, sanitizing, and drying—that give you a clean slate for effective conditioning.
The importance of this routine is hard to overstate. In commercial settings, maintenance logs show that monthly oiling prevents drying and cracking in 95% of butcher block countertops. That's a huge stat for restaurant owners in dry climates, where 50% of untreated wood surfaces can start showing fissures after just six months. For a high-use prep station in an air-conditioned kitchen, this simple task is your best defense against dehydration.
For surfaces that need extreme protection from heavy wear, an epoxy finish for woodworking projects can be an option. But for most food prep areas, a consistent oil and wax routine is the most practical and food-safe approach for long-term care.
How to Handle Scratches, Stains, and Minor Damage
No matter how careful your team is, a working butcher block countertop is going to show signs of life. It’s inevitable. A dropped knife, a forgotten berry stain, or a splash from a red wine bottle—these aren't failures. They're just evidence of a busy, productive kitchen. The real key to caring for butcher block countertops is knowing how to address this minor damage quickly, turning a potential eyesore into a simple fix.
This hands-on approach empowers your team to manage the upkeep without needing to call in a professional for every little thing. Most common cosmetic issues can be handled with some basic tools and the right technique, saving you both time and money.
Tackling Light Stains and Discoloration
For fresh spills and light discoloration, you can often solve the problem with items you already have on hand. These gentle, natural methods are surprisingly effective at lifting stains without damaging the wood fibers or compromising the food-safe surface.
One of the most effective techniques is a simple paste made from salt and lemon juice.
- First, sprinkle a coarse salt, like kosher salt, generously over the stained area. The salt acts as a mild abrasive and helps draw the stain out of the wood.
- Next, slice a lemon in half and use it to scrub the salt into the stain. Use a firm, circular motion to really work the mixture into the wood grain.
- Let the lemon and salt paste sit for a few minutes to work its magic, then wipe it away with a clean, damp cloth. Always finish by drying the area completely.
This method works wonders on common food stains, like those from berries or wine. For more stubborn spots, you can try a paste of baking soda and a few drops of water. Just apply it, let it sit for a while, and then gently scrub it off.
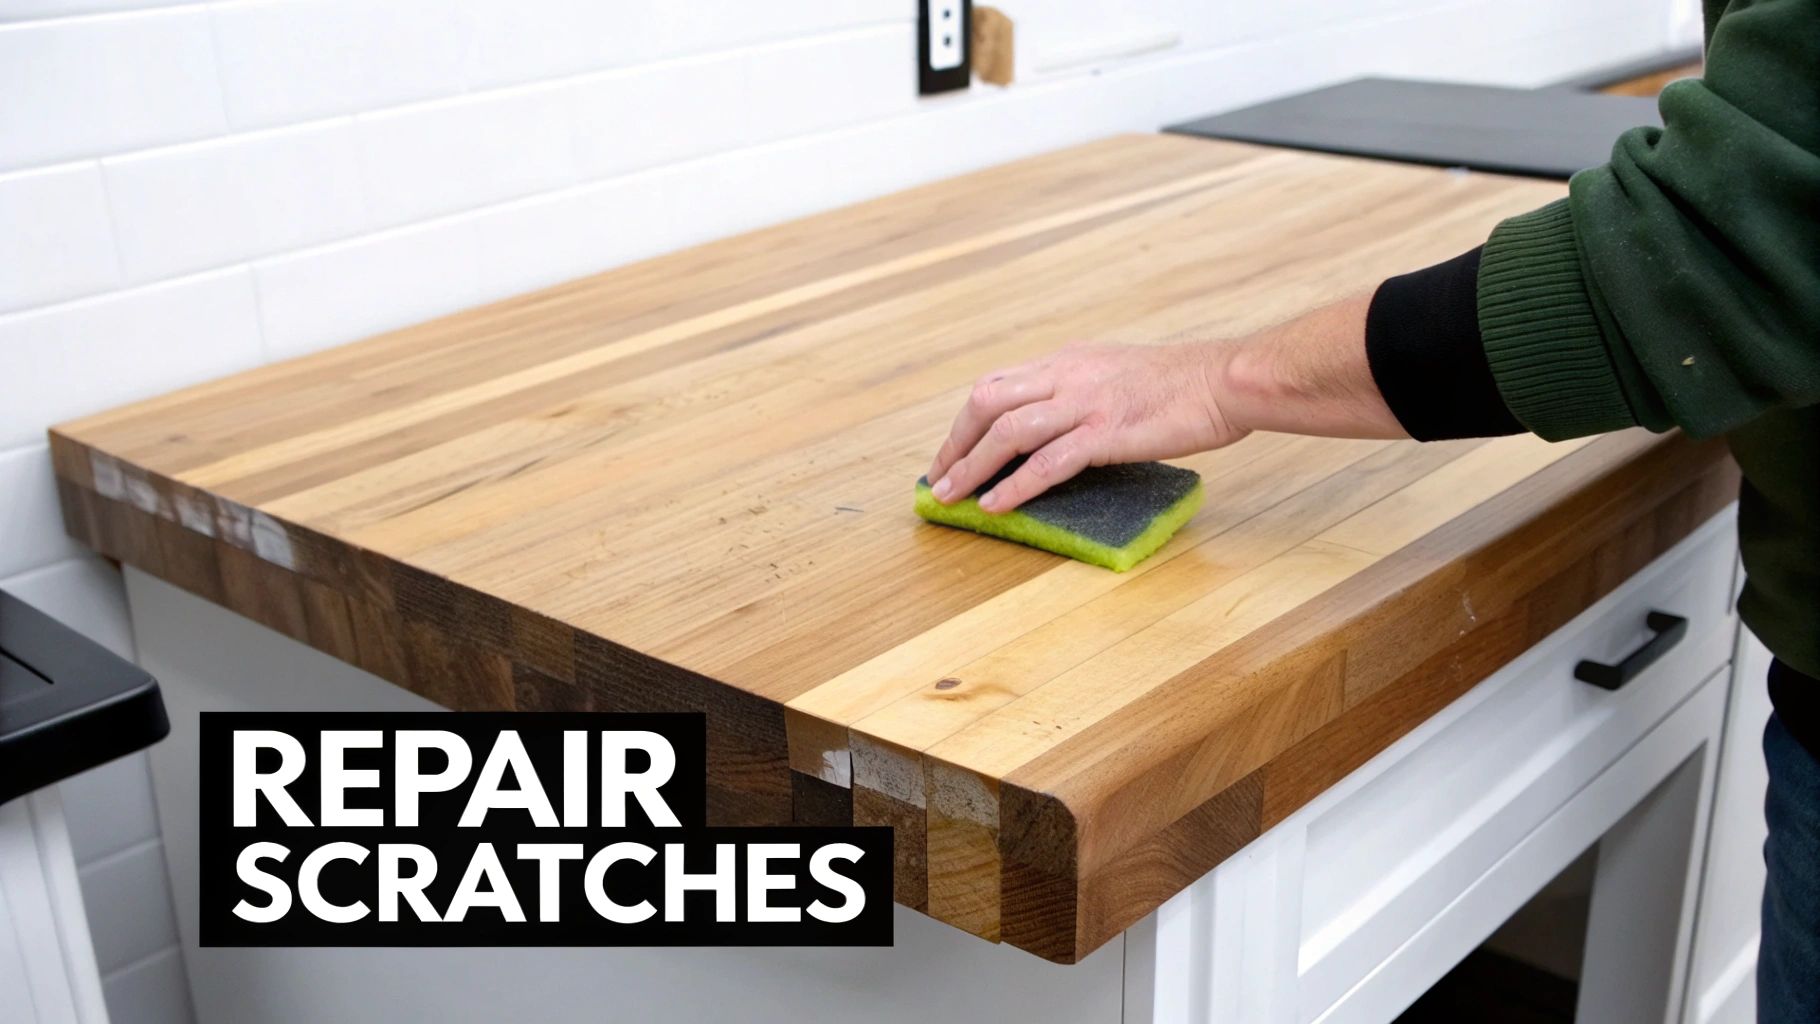
When and How to Sand Away Damage
For deeper stains, dark water rings, or a collection of shallow knife scratches, light sanding is your most reliable solution. The idea isn't to refinish the entire countertop, but to carefully address the affected area and blend it seamlessly back into the surrounding surface. Think of it as a spot treatment, not a full renovation.
Proper technique is everything here. You must always sand with the grain of the wood, never against it. Moving with the grain ensures you’re smoothing the wood fibers in their natural direction, which prevents you from creating new, more noticeable scratches.
- Start with a medium-grit sandpaper, something around 120-grit, to do the heavy lifting of removing the stain or scratch. For even pressure, wrap it around a sanding block.
- Once the mark is gone, switch to a finer grit, like 220-grit. This is for smoothing the surface and erasing any sanding marks left by the coarser paper. The end result should feel just as smooth as the rest of the countertop.
A critical mistake is stopping after the first sanding pass. Using a fine-grit paper for the final polish is what creates a seamless, professional-looking repair. It’s the difference between a rough patch and an invisible fix.
The Final Step: Restoring Protection
After you’ve sanded an area, you've also removed the protective layer of oil that was soaked into that spot. This newly exposed wood is vulnerable to moisture and new stains, making re-oiling a non-negotiable final step.
Apply a generous amount of food-grade mineral oil to the sanded patch with a clean, lint-free cloth. You'll probably notice the fresh wood is quite thirsty and will absorb the oil quickly. Let it soak in for at least 30 minutes, or even better, for a few hours.
After the oil has had time to penetrate, use another clean, dry cloth to buff the area vigorously. You want to wipe away every bit of excess oil until the surface feels completely dry to the touch. This crucial buffing step ensures a smooth, non-sticky finish that matches the rest of your countertop. This process is very similar to what's needed when you first prepare your cutting board for action, as both tasks rely on properly seasoning the wood for protection.
Simple Habits to Prevent Common Problems
The best way to care for your butcher block countertops is to stop problems before they even start. While it’s good to know how to fix a scratch or a stain, building a few simple habits into your kitchen’s daily rhythm can prevent most of that damage from ever happening. This isn't about adding a bunch of rigid rules; it's about developing smarter workflows that protect your investment with minimal effort.
A few small adjustments to your daily routine can help you sidestep the most common culprits of butcher block damage: water, heat, and deep cuts. These habits are the foundation for long-term durability, making sure your countertop remains a beautiful and functional centerpiece for years to come.
Taming the Top Three Threats
In any busy kitchen, butcher block is up against three main adversaries. Knowing what they are is the first step toward building a strong defense through simple, proactive habits.
- Water Exposure: Without a doubt, moisture is the number one enemy. Lingering puddles, especially around sinks, can seep into the wood, causing dark stains, warping, and even splitting over time.
- Direct Heat: Hot pots, pans, and even some countertop appliances can scorch the wood. This leaves behind permanent burn marks that are tough to get rid of without some serious sanding.
- Deep Knife Scores: While butcher block is designed for prep work, using it as a heavy-duty chopping block for absolutely everything will create deep grooves that trap food particles and become a real pain to clean.
Adopting a "prevent first" mindset is the most powerful tool in your maintenance arsenal. A trivet used consistently or a spill wiped up immediately is far easier than sanding out a burn mark or a water ring later.
Building a Protective Kitchen Workflow
Weaving protective habits into your kitchen's daily operations is pretty simple. It’s all about making the right choice the easy choice.
Start by placing trivets or silicone mats in a convenient spot right next to the stove. This simple visual cue encourages everyone on staff to use them for hot pans instead of setting them directly on the wood. In the same way, keep a dedicated, super-absorbent cloth near the sink just for wiping up splashes the moment they happen.
Water damage is the top threat to butcher block countertops in commercial kitchens. Unsealed surfaces can absorb moisture up to 15% faster near sinks, which leads to warping and stains in 40% of restaurant installations within two years if the issue isn't managed. In major markets where 60% of casual dining spots have prep sinks right next to work areas, this weakness boosts repair calls by 35%. Proactive sealing, however, slashes these risks dramatically. You can learn more about how to protect wood countertops from water damage.
Strategic Use of Cutting Boards
Just because you can cut on butcher block doesn't mean you always should. Using separate cutting boards is a crucial habit for both the longevity of your countertop and for maintaining food safety.
Think of your countertop as the main prep surface, and then use dedicated cutting boards for specific, potentially damaging tasks. This tiered approach protects the main surface from the heaviest wear and tear.
Smart Cutting Board System:
| Task | Recommended Board | Why It Matters |
|---|---|---|
| Raw Meat/Poultry | Non-porous (plastic, composite) | Prevents cross-contamination and seepage of juices into the wood grain. |
| Pungent Foods (garlic, onions) | Non-porous | Stops strong odors from getting absorbed into your main countertop. |
| Staining Foods (beets, berries) | Any dedicated board | Keeps vibrant pigments from staining the wood surface. |
| General Veggie Prep | Directly on butcher block (optional) | Light chopping is fine, but a board keeps knife marks contained. |
This system not only preserves your countertop's finish but also aligns with the best practices for a safe and organized cooking space. A well-structured workflow is a key component of any effective restaurant kitchen cleaning checklist. By adopting these simple habits, you actively extend the life and beauty of your butcher block, ensuring it remains a durable and cherished part of your kitchen.
Common Questions About Butcher Block Care
Look, even with the best daily routine, butcher block countertops have their own quirks. They’re not like stainless steel or granite, and questions are bound to pop up when you’re working on them day in and day out. Knowing the answers ahead of time means you can make quick, confident decisions in the middle of a busy service.
Let’s tackle some of the most common questions I hear from kitchen managers. Think of this as the go-to troubleshooting guide that backs up your daily and monthly maintenance plan.
How Often Should I Sand My Butcher Block Countertop?
A full-on sanding is a major refresh, not a frequent task. For most commercial kitchens, you’ll only need to do a complete, light sanding every 1 to 3 years. Honestly, the schedule depends entirely on how hard you use the surface. Forget the calendar and let the countertop tell you when it’s time.
Run your hand across the wood. Does it feel rough and splintery? Are there so many deep knife scores that cleaning them properly is a chore? Or do you have stubborn, set-in stains that spot treatments just won’t touch? If you're nodding along, it's probably time for a refresh.
But for smaller issues—a single dark water ring from a forgotten glass or a few shallow scratches—don't break out the big sander. Just spot-sand the affected area, wipe it clean, and re-oil it. This targeted approach is way less work than a full refinishing and is perfect for handling everyday wear and tear.
Which Food-Safe Finish Is Best: Mineral Oil or a Wax Blend?
This is a big point of confusion, and the honest answer is that it depends on your specific needs and where the countertop is. There isn't a single "best" finish, but understanding what each one does will point you in the right direction.
- Food-Grade Mineral Oil: This is the classic, time-tested choice for a reason. Its main job is to soak deep into the wood fibers to hydrate them from the inside out. This is what stops the wood from drying out, cracking, or splitting over time. It’s simple to apply but offers very little water resistance on its own.
- Beeswax or Carnauba Wax Blends: These products don't soak in as deeply. Instead, they create a protective film that sits right on the surface. This barrier provides excellent water resistance, making it the ideal choice for areas near sinks or in high-splash zones.
I’ve found that a hybrid approach gives the best results. Use mineral oil regularly to keep the wood healthy and conditioned, then follow up with a wax conditioner every few months—or more often in wet areas—for that extra layer of surface protection.
This two-step method gives you the best of both worlds: the deep hydration from the oil and the tough, water-repellent shield from the wax.
Can I Put a Hot Pan Directly on the Countertop?
That’s a hard no. You should absolutely avoid placing hot pots, pans, or even heat-generating appliances directly onto the butcher block. The intense, direct heat will scorch the wood, leaving a permanent dark burn mark that’s a real pain to remove without deep sanding.
It's not just a cosmetic issue, either. Sudden heat can cause the wood to dry out and crack in that spot, and over time, it can even weaken the glue joints holding the block together. The fix here is all about prevention.
Always use a barrier. Keep trivets, silicone mats, or even a folded side towel handy near your cooking stations. Making this a standard practice in your kitchen workflow is the easiest way to protect the surface and avoid a time-consuming repair job.
Why Does My Countertop Feel Sticky After Oiling?
A sticky or tacky feeling after oiling is a classic sign of one simple mistake: you've used too much oil and, more importantly, didn't wipe off the excess. Wood is porous, but it can only absorb so much oil at once. Any extra oil left sitting on the surface will just get gummy as it oxidizes.
Luckily, the fix is easy and all comes down to technique.
- Apply a Thin Coat: Pour a small amount of oil onto a clean, lint-free cloth, not directly onto the wood. Work it into the surface in a thin, even layer.
- Let It Soak In: Give the oil about 20-30 minutes to penetrate the wood fibers. You’ll probably notice some spots drink it up faster than others.
- Buff It Off (The Crucial Step): Take a fresh, clean, dry cloth and buff the entire surface vigorously. Your goal is to remove every last trace of unabsorbed oil until the countertop feels completely dry to the touch.
When you do it right, the surface will have a healthy, subtle sheen—not a greasy film. Proper buffing is the secret to a professional finish that protects the wood without making a mess.
For all your commercial kitchen needs, from durable work surfaces to heavy-duty cooking equipment, The Restaurant Warehouse provides the high-quality supplies and financing options to help your operation succeed. Equip your kitchen for excellence by exploring our extensive catalog at https://therestaurantwarehouse.com.
About The Author

Sean Kearney
Sean Kearney is the Founder of The Restaurant Warehouse, with 15 years of experience in the restaurant equipment industry and more than 30 years in ecommerce, beginning with Amazon.com. As an equipment distributor and supplier, Sean helps restaurant owners make confident purchasing decisions through clear pricing, practical guidance, and a more transparent online buying experience.
Connect with Sean on LinkedIn, Instagram, YouTube, or Facebook.