

Your Manitowoc Ice Maker Troubleshooting Guide
When your Manitowoc ice maker starts acting up, a quick diagnosis can be the difference between a simple fix and a costly service call that brings your kitchen to a halt. More often than not, the problem is a preventable issue like a dirty condenser or scale buildup—not a catastrophic mechanical failure. Starting with these basic checks is the key to smart, effective Manitowin ice maker troubleshooting.
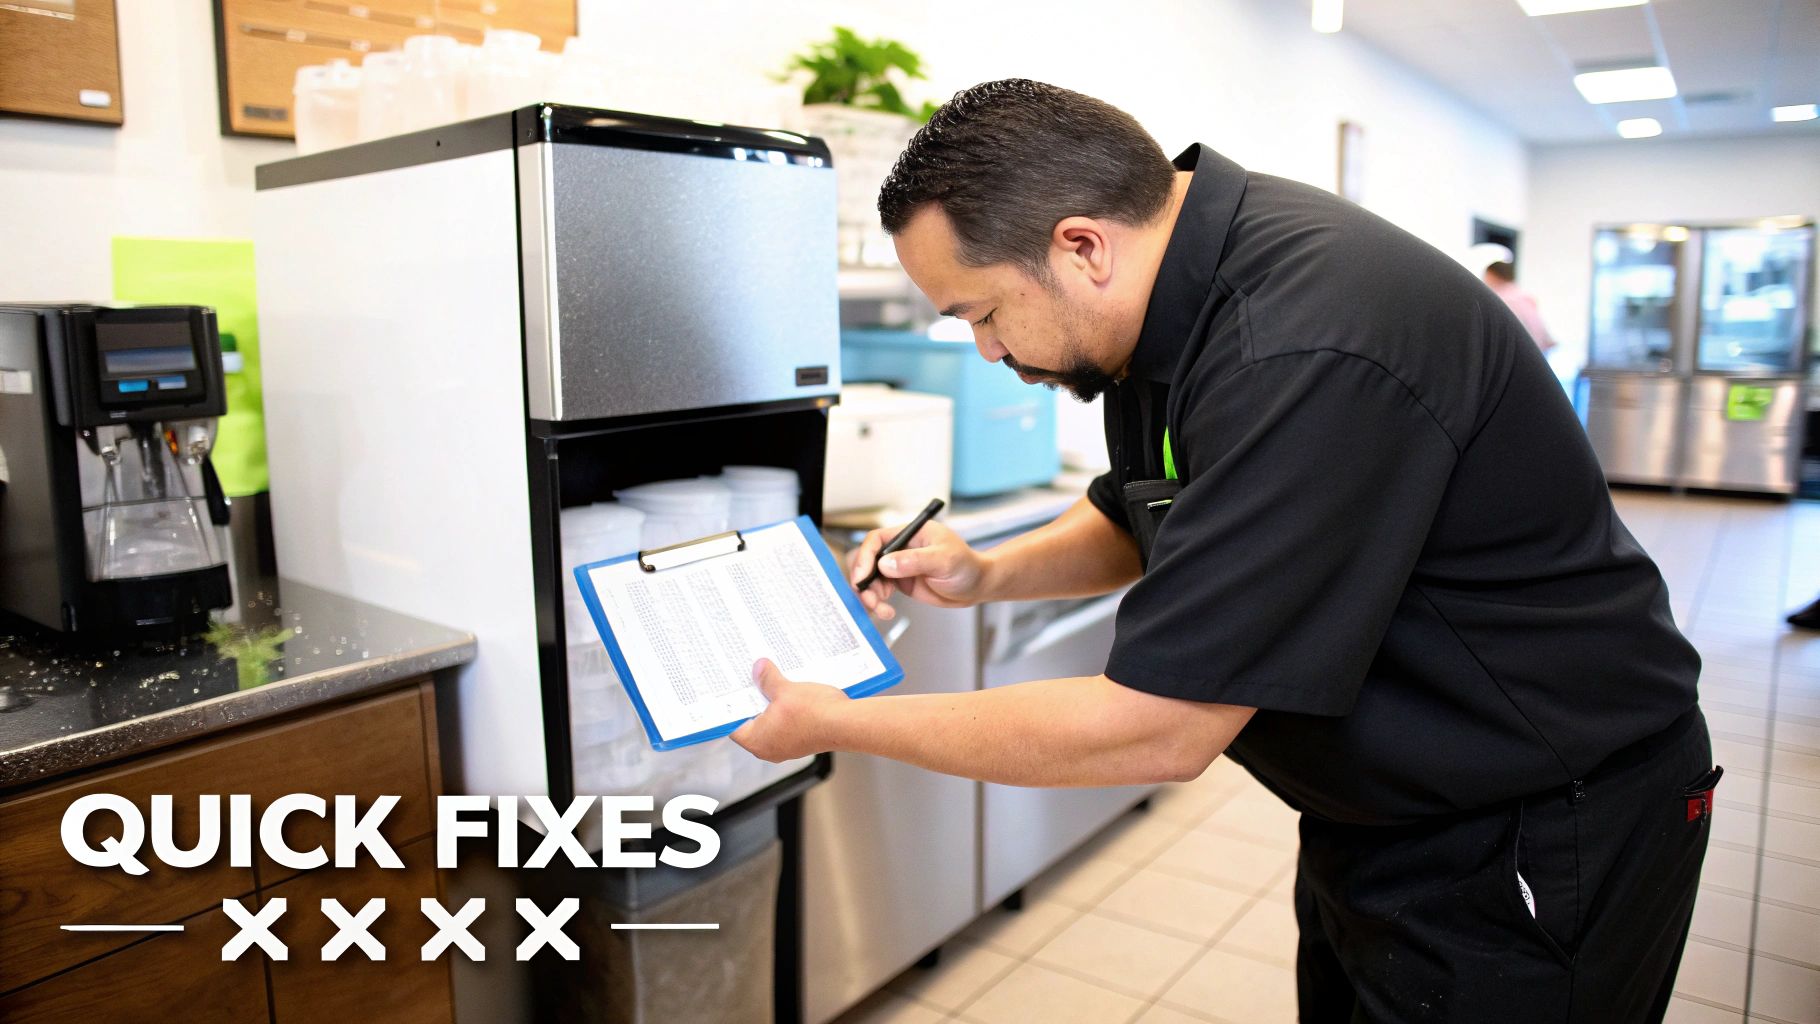
Quick Fixes for Your Manitowoc Ice Maker
Before you start tearing things apart, it's important to know that most ice maker problems have surprisingly simple roots. In the foodservice world, Manitowoc machines are absolute workhorses, but they still make up about 8–10% of all refrigeration service calls. What's really telling, though, is that over 60% of those calls are for issues that could have been prevented—things like dirty condensers, scale, or poor airflow.
Just a clogged condenser on an air-cooled model can slash your ice production by a staggering 30-50%. That's because all that built-up dust and grease stops the machine from rejecting heat properly. If you want to dig deeper into what causes most service calls, you can find more details in our comprehensive guide.
This simple decision tree is a great starting point to figure out where to begin.

As you can see, the path often splits between cleaning-related problems and system errors, which just goes to show how critical routine maintenance really is.
Start with the Basics
The first rule of any troubleshooting is to rule out the obvious culprits. Don't immediately assume the worst; start with what's easy to check and even easier to fix. With the right guidance, many restaurant owners can solve these issues themselves.
Here's where to look first:
- Power Supply: Make sure the machine is plugged in securely and check that the circuit breaker hasn't tripped. You'd be surprised how often a loose plug is the real villain.
- Water Supply: Go behind the machine and check that the water valve is cranked all the way open. Low water pressure or a shut valve will stop ice production cold.
- Air Filters and Vents: Pull out the air filters and see if they're clean. Also, make sure the vents aren't blocked by boxes or other equipment pushed up against them. Good airflow is non-negotiable for the refrigeration cycle.
- Control Panel: Take a good look at the display. Any error codes or blinking lights are your machine's way of telling you exactly what's wrong.
Pro Tip: Before you touch anything, always unplug the machine from the wall. Safety is your top priority whenever you're doing any kind of maintenance or repair.
For a lot of basic electrical checks, knowing how to safely use a multimeter to test continuity is an incredibly useful skill. It lets you diagnose problems with switches and probes without any guesswork. You can also get a broader overview of diagnostics by reading our guide on ice machine troubleshooting.
By methodically working through these basics, you can solve a huge number of common problems without ever having to pick up the phone to call a pro.
Quick Diagnostic Chart for Common Manitowoc Issues
To help you get started even faster, here's a quick reference chart. Use it to connect a symptom you're seeing to the most likely cause and your very first troubleshooting step.
| Symptom | Most Likely Cause | Your First Step |
|---|---|---|
| No Ice Production | Power or water supply issue | Check the plug, circuit breaker, and water valve. |
| Low Ice Production | Dirty condenser or clogged filter | Clean the air filter and condenser coil. |
| Safety Limit #1 Error | Freeze cycle is too long | Inspect the ice thickness probe for scale or damage. |
| Safety Limit #2 Error | Harvest cycle is too long | Check for a dirty evaporator or a faulty harvest assist solenoid. |
| Water Leaking | Clogged drain or misaligned components | Clear the drain line and check the water trough alignment. |
| Thin or Incomplete Ice | Low water flow or dirty evaporator | Clean the water distribution tube and the evaporator plate. |
This chart isn't exhaustive, but it covers the most frequent issues we see in the field. It should give you a solid starting point for getting your machine back up and running.
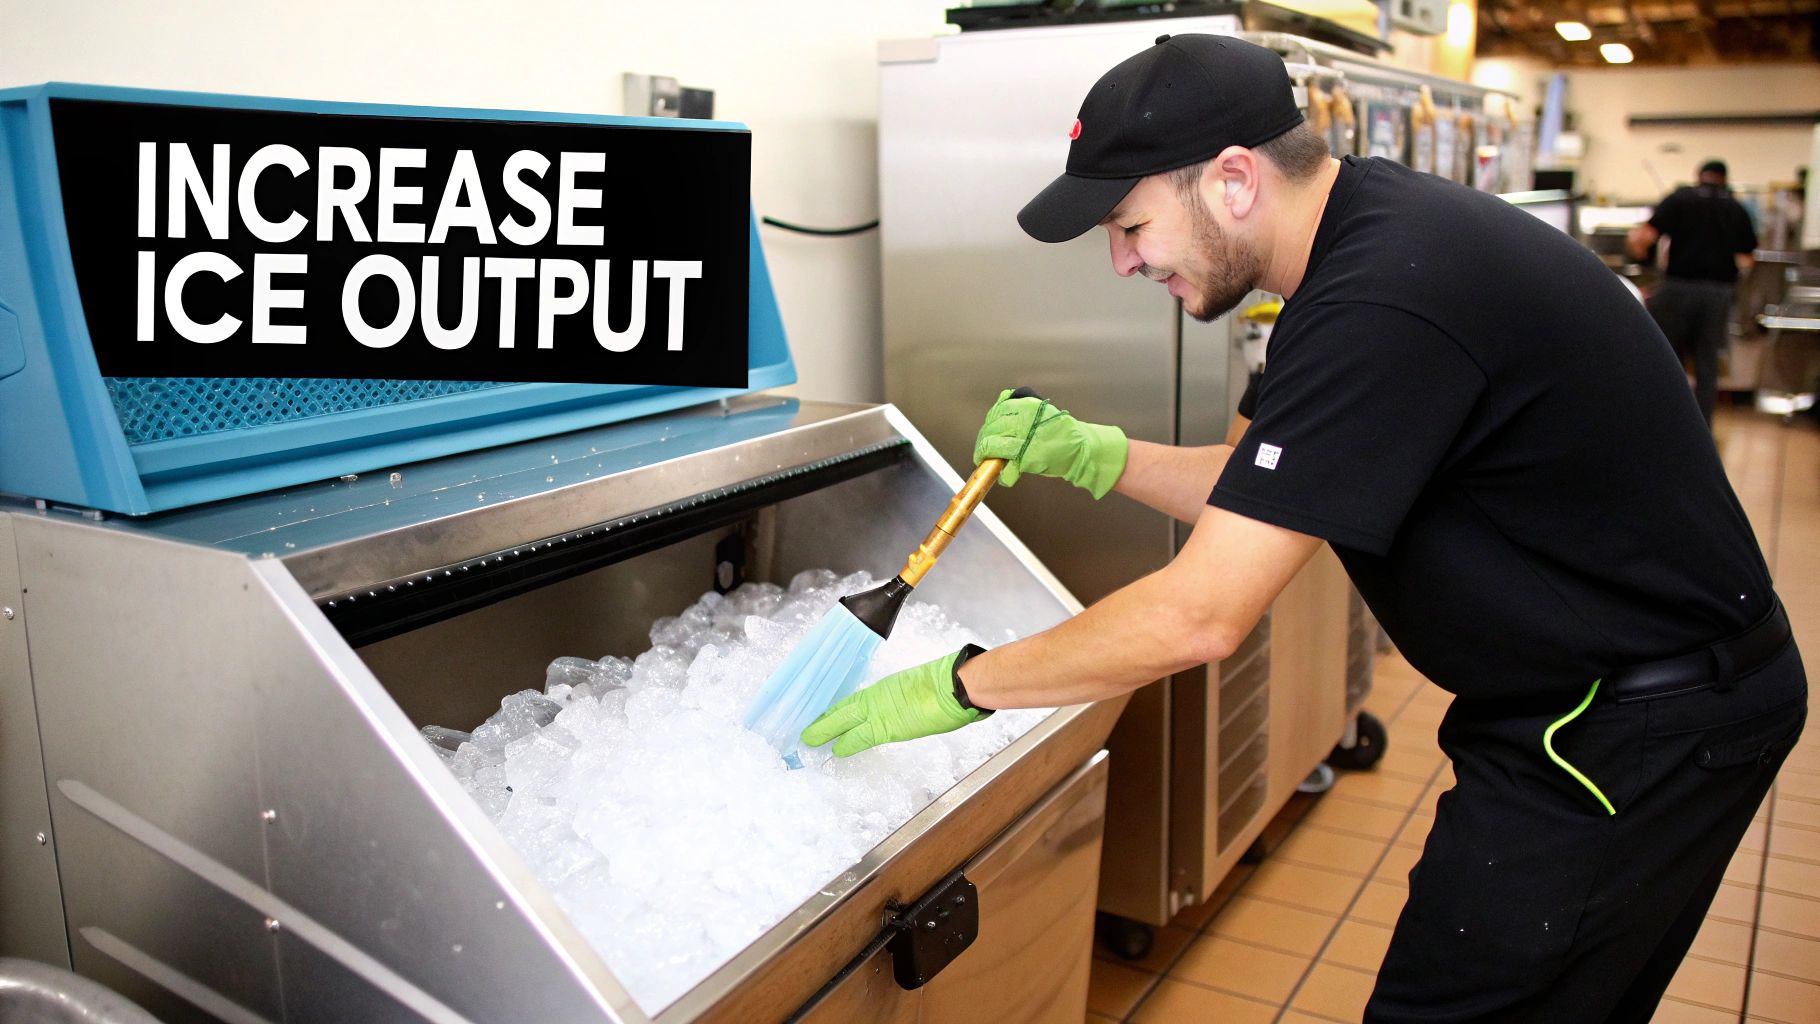
Solving Low Ice Production Problems
When your Manitowowoc ice maker suddenly can't keep up, it’s more than just a headache—it’s a direct hit to your service. Slow ice production is one of the most frequent calls we get, but the fix is often way simpler than you'd think. Before you start pricing out a new compressor, take a hard look at the machine's surroundings. They play a massive role in how well it performs.
A hot, cramped kitchen is pretty much an ice machine’s worst enemy. Air-cooled units, the kind you find in most commercial kitchens, need to pull in ambient air to cool the refrigeration system. When that air is hot and greasy, the machine has to work exponentially harder to make ice, and you’ll see the output drop like a rock.
Environmental Factors You Cannot Ignore
Think of your ice machine like an athlete; it can only perform its best under the right conditions. Things like high ambient temperatures, poor ventilation, and even warm incoming water can absolutely cripple its efficiency. It's amazing how much these factors can slash the final ice yield.
Take a super popular model like the air-cooled Manitowoc IDF-0600A. It’s rated to produce a whopping 632 lbs of ice per 24 hours, but that number is based on perfect lab conditions: 70°F ambient air and 50°F incoming water. In a real-world kitchen during a summer rush, where the air can easily hit 90°F, that same machine’s output can plummet by 25-40%. This isn't a defect—it's just physics.
When you're tackling low ice production, remember this: the problem is rarely a major refrigeration failure. Field data shows that dirty components are the root cause in over 70% of cases, and a thorough cleaning can restore full output in 80% of low-production complaints. You can discover more insights about real-time ice machine data on IceMakerPartsShop.com.
To fight back against these environmental challenges, make sure your machine has at least six inches of clearance on all sides for good airflow. If it’s stuck next to a fryer or oven line, seriously consider moving it to a cooler, better-ventilated spot. This one change can make a world of difference.
Practical Cleaning Steps to Restore Output
Since dirt and grime are the top culprits for low production, a methodical cleaning is your single most powerful troubleshooting tool. Don't just wipe down the outside; you need to get to the components responsible for heat exchange and water distribution.
Start with these key areas:
- Clean the Air Filter: This is your first line of defense. A clogged filter is like trying to breathe with a hand over your mouth—it starves the machine of the cool air it desperately needs. Slide it out, wash it with warm, soapy water, and let it dry completely before putting it back. This should be a weekly task, minimum.
- Clean the Condenser Coils: The condenser is the machine's radiator; its job is to expel heat. When it's caked in grease and dust, it can't do its job. Using a soft brush or a dedicated condenser coil cleaner, gently get all that gunk off the fins. Just be careful not to bend them.
- Inspect and Clean the Evaporator Plate: This is where the magic happens and ice is actually formed. Mineral buildup (scale) on the evaporator acts as an insulator, making it harder for water to freeze and causing the ice sheet to stick during harvest. Run a cleaning cycle with a Manitowoc-approved, nickel-safe cleaner to dissolve all that scale.
Interpreting Common Low-Production Error Codes
Your Manitowoc machine is smart enough to tell you when it’s struggling. Low ice production often comes with specific error codes that can point you right to the problem.
For example, an E04 (High Condenser Temp) error is a dead giveaway that your machine is overheating. This code often pops up when the ambient air temperature climbs above 90°F and can shut the machine down entirely if it hits 100°F. Seeing this code is a direct instruction: clean your condenser and improve ventilation, now. Likewise, "Safety Limit" errors related to long freeze or harvest cycles almost always trace back to a dirty evaporator or a scaled-up ice thickness probe. Always start with cleaning before you assume a part has failed.
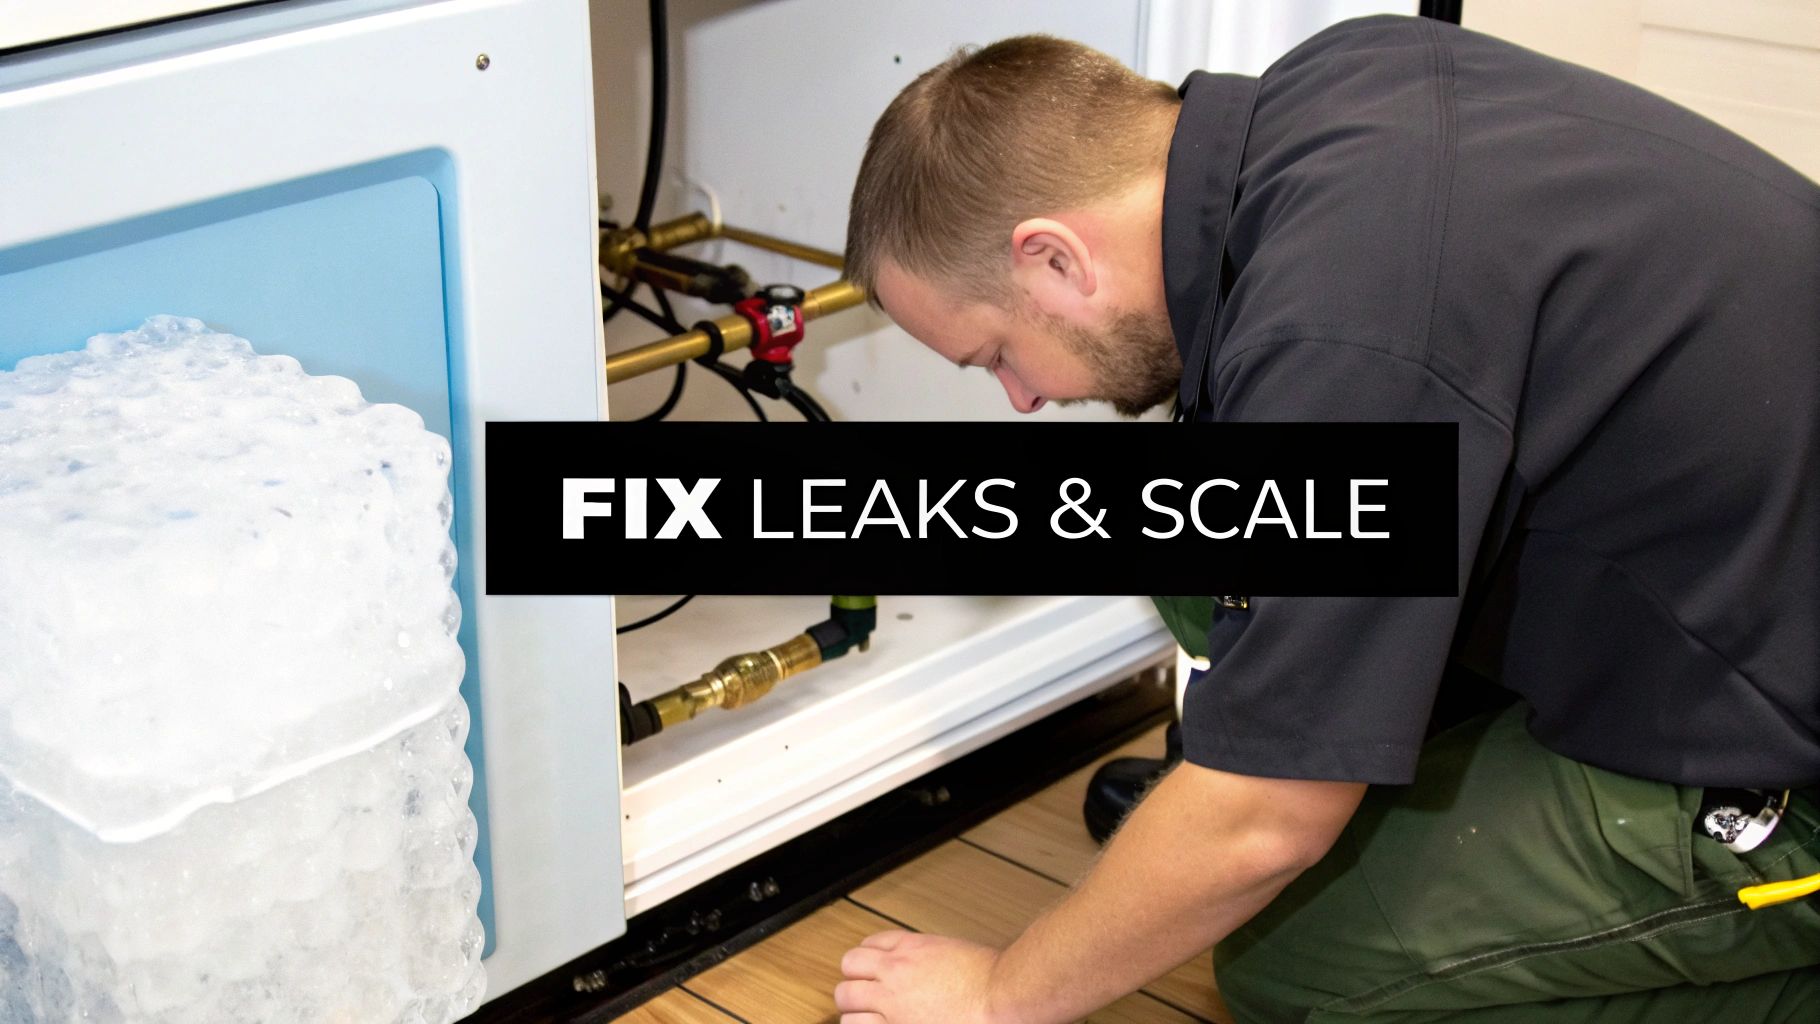
Troubleshooting Leaks and Poor Ice Quality
Nothing stops a busy service faster than a puddle spreading across the kitchen floor or a customer complaining about funky-tasting ice. When you’re dealing with a Manitowoc, water leaks and poor-quality ice are two sides of the same coin, and they almost always point back to your water system.
Let's be clear: water-related issues are incredibly common. From what I’ve seen in the field, things like clogged drains and failing water inlet valves are behind about 50% of flooding incidents with these machines. A leak is an obvious safety hazard, but cloudy, soft, or weirdly shaped cubes are just as bad—they kill the drink experience. Getting to the root of the problem isn't just about fixing a leak; it's about making sure every cube you serve is perfect.
Pinpointing and Fixing Water Leaks
When you find water on the floor, your first instinct might be to just mop it up. Don't. You need to play detective and trace that leak back to its source to make sure it doesn't happen again.
A methodical check of the most common failure points is the way to go. Here’s where to start looking:
- Water Inlet Valve: This little part controls all the water coming into your machine. If the seal wears out, it can cause a slow, constant drip that eventually leads to an overflow. Look for moisture around the valve itself and its connections.
- Drain Lines: A clogged drain is the number one cause of leaks, bar none. Slime, food bits, or mineral scale can easily create a blockage, causing water to back up and spill right out of the machine. It’s worth disconnecting the drain line to check for any gunk built up inside.
- Ice Bin Alignment: Sometimes the problem isn't the ice maker itself, but the bin it’s sitting on. If the bin gets knocked out of alignment or its internal drain gets clogged, meltwater has nowhere to go but onto your floor. Make sure the bin is seated properly and its drain is clear.
If you want to get a better handle on the plumbing side of things, our guide on connecting an icemaker to a water line has some great visuals and tips that can help.
Expert Tip: To quickly test for a leaky inlet valve, shut the machine off but leave the main water supply on. Watch the water trough or drain area closely. If you still see a trickle of water coming in, that valve is failing and needs to be replaced. This simple check can save you from a major flood.
Improving Your Ice Quality
Is your ice coming out cloudy, slushy, or tasting a little...off? The culprit is almost always your water quality. Clear, solid ice isn't just for looks; it's a sign that your machine is clean and running efficiently.
The main enemy here is mineral buildup, also known as scale. When you have hard water, those dissolved solids get trapped as the water freezes, resulting in cloudy, brittle ice that melts too fast. If your restaurant is in an area with hard water, a solid cleaning and filtration plan is absolutely non-negotiable.
Here’s a practical action plan to get your ice quality back on track.
Manitowoc Water Issue Troubleshooting Guide
Navigating water-related problems can be tricky, but this table breaks down the most common symptoms, their likely causes, and the exact steps you can take to fix them right now.
| Problem (Symptom) | Potential Cause | Solution Steps |
|---|---|---|
| Water leaking onto the floor | Clogged drain line | 1. Power off the machine. 2. Disconnect the drain line from the machine and the floor drain. 3. Use a flexible brush or high-pressure water to clear any slime, debris, or mineral buildup from inside the line. 4. Reconnect securely. |
| Cloudy or white ice | High mineral content (scale) in the water | 1. Run a full cleaning cycle with a Manitowoc-approved, nickel-safe descaler. 2. Ensure your water filter is not expired; replace if necessary. 3. Consider upgrading to a scale-inhibiting filter for hard water areas. |
| Thin, hollow, or incomplete cubes | Low water pressure or clogged inlet valve screen | 1. Verify incoming water pressure is between 20-80 psi. 2. Turn off the water supply and disconnect the inlet hose. 3. Check the small screen inside the water inlet valve for debris and clean it gently. |
| Ice has a bad taste or odor | Dirty machine or expired water filter | 1. Perform a complete sanitizing cycle according to the manual. 2. Replace the water filter cartridge. 3. Clean the ice bin thoroughly with a food-safe sanitizer to remove any lingering bacteria or mold. |
| Water constantly runs down the drain | Leaking water inlet valve or faulty dump valve | 1. Use the "Expert Tip" above to check the inlet valve. Replace if it leaks when the machine is off. 2. Observe the dump valve during a cycle; if it doesn't seal completely after draining, it may need replacement. |
By following these steps, you can systematically diagnose and resolve the vast majority of water-related headaches, from annoying leaks to subpar ice.
Field data I've seen confirms that cloudy ice is a direct result of high mineral content in about 80% of cases. In areas where water hardness is around 150-250 ppm, sticking to Manitowoc's recommended monthly cleaning and descaling routine can prevent 90% of all water-related quality problems. By staying on top of these fundamental water system tasks, you’ll stop leaks in their tracks and ensure every single cube is crystal clear and perfect.
Decoding Manitowoc Error Codes and Panel Lights
Your Manitowoc ice maker’s control panel is its voice. When something’s not right, it doesn’t just quit on you; it flashes a series of error codes and lights to tell you exactly what’s wrong. Learning to speak its language is one of the most powerful parts of Manitowoic ice maker troubleshooting. It turns a confusing breakdown into a clear path forward.
Instead of getting bogged down in a long, technical list, it’s much easier to think of these codes in groups based on the system they’re flagging. This approach helps you instantly narrow down where the problem is—whether it’s a water issue, a refrigeration snag, or a mechanical hang-up.
Interpreting Harvest and Freeze Cycle Errors
A huge number of the most common error codes point directly to the two main phases of ice making: the freeze cycle and the harvest cycle. When either of these takes too long, the machine triggers a "Safety Limit" error to stop itself from getting damaged.
A Safety Limit #1 error means the freeze cycle ran too long. Nine times out of ten, this points straight to the ice thickness probe. If that little probe is caked in scale or got bumped out of position, it can’t tell when the ice sheet is ready. The machine just keeps on freezing until it finally times out.
Then there's the Safety Limit #2 error, which tells you the harvest cycle is the problem. The machine made a beautiful slab of ice, but now it's struggling to drop it into the bin. The usual suspects here are a dirty, scale-covered evaporator plate that’s making the ice stick, or an issue with the harvest assist parts.
Knowing whether the error is about freezing or harvesting immediately tells you where to look. A freeze cycle error sends you to the ice thickness probe; a harvest error sends you to the evaporator and its related parts.
Understanding Water and Refrigeration System Codes
Another big family of error codes is all about the support systems: water flow and refrigeration. The good news is these codes often point to external problems or maintenance issues that you can fix pretty easily.
Some common water-related codes include:
- Long Water Fill Error: This just means the water trough took too long to fill up. Your first move should be to check that the main water valve is all the way open and then inspect the water inlet valve screen for any gunk.
- High Water Level Error: This signals that the float switch or water level probe senses too much water, which can cause overflows. The sensor might be stuck or just needs a good cleaning.
Refrigeration codes are often the machine's way of telling you it's getting too hot. If you see an error for high condenser temperature, don't assume the worst. Before you do anything else, check for a clogged condenser coil or blocked air vents. That machine needs to breathe to stay cool.
Common Manitowoc Error Code Diagnostics
Let's translate a few specific codes you're bound to run into. Think of this table as your cheat sheet for turning the machine’s language into a clear starting point.
| Error Code/Symptom | What It Really Means | Your First Troubleshooting Steps |
|---|---|---|
| Safety Limit #1 | Freeze cycle is too long. | 1. Power down the machine. 2. Find the ice thickness probe. 3. Clean it gently with a nickel-safe descaler and a soft cloth. 4. Make sure it’s positioned correctly and not touching the evaporator. |
| Safety Limit #2 | Harvest cycle is too long. | 1. Run a full cleaning and descaling cycle. 2. Check the evaporator plate for any leftover scale buildup. 3. Confirm the curtain switch is working and not stuck. |
| Long Water Fill | The machine isn't getting water fast enough. | 1. Make sure the main water supply valve is fully open. 2. Turn off the water and check the inlet valve’s filter screen for clogs. |
| High Condenser Temp | The refrigeration system is overheating. | 1. Wash the air filter with soap and water. 2. Use a condenser coil brush to gently clear all dust and grease from the fins. 3. Ensure there are at least six inches of clearance around the machine. |
When you learn to decode these messages, you can diagnose and often fix issues yourself, saving you a service call. And even if you do need a pro, telling them the specific error code saves a ton of time and helps them show up with the right parts for the job. This knowledge can turn a stressful breakdown into a manageable problem.
Your Essential Manitowoc Maintenance Schedule
Let’s be honest—the best kind of troubleshooting is the kind you never have to do. When it comes to your Manitowoc ice maker, a little proactive maintenance is your single best defense against the stress of an unexpected breakdown. It's far easier to build a simple, consistent schedule into your kitchen’s workflow than it is to scramble for a fix when the ice bin is empty during a dinner rush.
Think of this schedule as cheap insurance against downtime. A few minutes of attention each day or week can stop the scale, slime, and clogged filters that are behind the vast majority of service calls. This isn't about adding another complicated chore to your list; it's about forming simple habits that protect one of your kitchen's most critical assets.
Daily and Weekly Checks
The most effective maintenance plans are built on small, consistent actions. These quick checks take just seconds but can catch minor issues before they spiral into major headaches.
Daily Habits (Less than 2 minutes):
- Visual Ice Check: Scoop some ice out and take a good look. Is it clear and solid? If it looks cloudy, soft, or thin, that’s an early warning sign of potential scale buildup or water flow problems.
- Bin and Scoop Inspection: Make sure the ice scoop is stored in its proper holder, not buried in the ice where it can pick up germs. A quick glance inside the bin for any foreign objects or visible grime is another great habit to get into.
Weekly Tasks (Less than 10 minutes):
- Clean the Air Filter: For any air-cooled model, this is non-negotiable. Just slide the filter out, give it a wash with warm, soapy water, and let it air dry completely before popping it back in. A clogged filter is one of the top causes of overheating, which leads directly to low ice production.
- Wipe Down Exterior Surfaces: Use a food-safe cleaner to wipe down the machine's outside panels, door, and the surrounding area. This keeps things hygienic and prevents grime from building up.
Quarterly Deep Cleaning and Sanitizing
While the daily and weekly checks are your first line of defense, a full-blown cleaning, descaling, and sanitizing cycle every three to six months is what will truly extend the life of your machine. How often you do this really depends on your environment. A bakery with lots of airborne yeast might need it done quarterly, as will any location with hard water.
Key Takeaway: Always, always use Manitowoc-approved, nickel-safe cleaner and sanitizer. Grabbing a generic chemical off the shelf can cause severe corrosion on the evaporator plate, leading to a repair that costs thousands and will likely void your warranty.
This deep-cleaning process is more involved, but it's the ultimate preventative measure. For a complete walkthrough, check out our detailed guide on the full ice machine cleaning protocol.
The core process breaks down like this:
- Initiate the Clean Cycle: Your Manitowoc control panel has a "Clean" or "Wash" button. Pressing it will drain the water trough and get the machine ready for the cleaning solution.
- Add the Descaler: Follow the instructions for your specific model and add the correct amount of Manitowoc-approved descaling solution. The machine will then circulate it through the entire water system, dissolving mineral scale from the evaporator, water pump, and distribution tube.
- Sanitize the System: After the cleaning cycle finishes and the system is thoroughly rinsed, you'll repeat the process with a sanitizing solution. This step is absolutely critical for wiping out any slime, mold, and bacteria to ensure your ice is perfectly safe and hygienic.
For a broader perspective on equipment upkeep, looking into general HVAC maintenance practices can offer some valuable insights. Many of the core principles around airflow and coil cleaning apply to different types of commercial equipment. By committing to this simple maintenance rhythm, you'll shift from reactive troubleshooting to proactive care, making sure your ice machine remains a reliable workhorse for your business.
Knowing When to Call a Professional Technician
Look, this guide is designed to empower you. We want you to feel confident tackling many of the common hiccups a Manitowoc ice maker can throw at you. But it's just as important to know when to put the tools down and pick up the phone.
Attempting a complex repair without the right training isn’t just risky—it can turn a manageable problem into a catastrophic, expensive failure. Knowing the clear signs that you're out of your depth protects you, your staff, and your investment. Simple fixes like cleaning cycles, swapping out basic parts, or resetting a common error code are well within your reach. However, some symptoms are major red flags pointing to serious system failures.
Signs You Need an Expert
If you've run through the basic checks and you're still facing one of these issues, it's time to call a certified service agent. Don't hesitate.
- Strong Electrical Smells: Any kind of burning odor is a serious warning sign of an electrical fault. This is a potential fire hazard. Unplug the machine immediately and call for service.
- Loud Grinding or Squealing Noises: These aren't normal operational sounds. They often point to a failing compressor or a motor that's about to seize up. Continuing to run the machine could cause irreversible damage.
- Visible Refrigerant Leaks: If you spot an oily residue around the coils or connection points, you've likely got a refrigerant leak. Handling refrigerant requires special licensing and equipment—this is absolutely not a DIY job.
- Persistent Errors After Cleaning: You've done everything right—thoroughly cleaned the machine, checked the simple stuff—but the error codes keep coming back. This usually means a deeper issue, like a faulty sensor or a problem with the main control board.
Here's a solid rule of thumb I always follow: if the problem is inside the sealed refrigeration system (that's the compressor, condenser, or refrigerant lines) or involves tricky electrical diagnostics beyond checking a plug, it's a job for a pro.
When you do make that call, be ready with your machine's model number and a clear description of the symptoms or error codes you’ve seen. Giving the technician this information upfront helps them diagnose the problem faster and show up with the right parts, which means less downtime for your business.
Frequently Asked Questions
When you're in the middle of a busy service, the last thing you need is an ice machine acting up. Getting quick, reliable answers is key. Here are some of the most common questions we get about Manitowoc ice makers, along with the straight-up, actionable advice you need to get things running smoothly again.
How Often Should I Clean My Manitowotc Ice Maker?
For most restaurants, a full-blown cleaning and sanitizing cycle every six months is a solid rule of thumb. But honestly, you should think of that as the bare minimum for your Manitowoc ice maker troubleshooting routine.
The real cleaning schedule depends entirely on your kitchen's environment. If you've got a lot of airborne yeast from a pizza oven or brewery, or you know your local water is hard, you'll want to bump that up to every two or three months. Descaling is a different story—that’s all about water quality. Just make a habit of peeking at the evaporator every so often. If you see mineral buildup, it's time to descale.
Why Is My Manitowoc Ice Machine Suddenly So Loud?
Strange noises coming from your machine usually have simple mechanical causes, and figuring them out is a big part of effective troubleshooting. A rattling or vibrating noise, for instance, often just means the machine isn't sitting perfectly level on the floor.
If leveling it doesn't quiet things down, check for a loose exterior panel—it's a common culprit. A grinding sound or a high-pitched squeal, however, is a much bigger deal. That usually points to a failing component like the water pump or even the compressor. Safely shut the machine down, tighten up any loose panels, and make sure the condenser fan isn't clogged with debris. If that grinding noise is still there when you power it back on, call a technician right away to avoid a catastrophic failure.
Can I Use Any Cleaner on My Manitowoc Machine?
Absolutely not. This is one area where you can't cut corners. It is critical to use only Manitowoc-approved ice machine cleaner and sanitizer. These specific formulas are engineered to be tough on scale and slime while being completely safe for the machine's sensitive parts, especially that nickel-plated evaporator.
Using generic cleaners or other chemicals is a recipe for disaster. They can easily cause corrosion, permanently etch the evaporator plate, and lead to repairs that will cost you thousands.
Using the wrong cleaner is one of the fastest ways to void your machine’s warranty. The correct solutions are a small but necessary investment to protect a piece of equipment vital to your daily operations. Sticking to the recommended products is a fundamental part of proper care.
At The Restaurant Warehouse, we provide the high-quality equipment and parts you need to keep your kitchen running smoothly. Explore our extensive selection of commercial ice makers and maintenance supplies at https://therestaurantwarehouse.com.
About The Author

Sean Kearney
Sean Kearney is the Founder of The Restaurant Warehouse, with 15 years of experience in the restaurant equipment industry and more than 30 years in ecommerce, beginning with Amazon.com. As an equipment distributor and supplier, Sean helps restaurant owners make confident purchasing decisions through clear pricing, practical guidance, and a more transparent online buying experience.
Connect with Sean on LinkedIn, Instagram, YouTube, or Facebook.
Leave a comment