

Connecting an Icemaker to Water Line: Easy DIY Guide
Hooking up an icemaker to a water line is one of those projects that seems more intimidating than it actually is. With the right installation kit, a few common tools, and about an hour of your time, you can get it done. The real key to avoiding leaks and multiple trips to the hardware store is making sure you have all the correct parts before you even start.
Choosing the Right Tools and Supplies
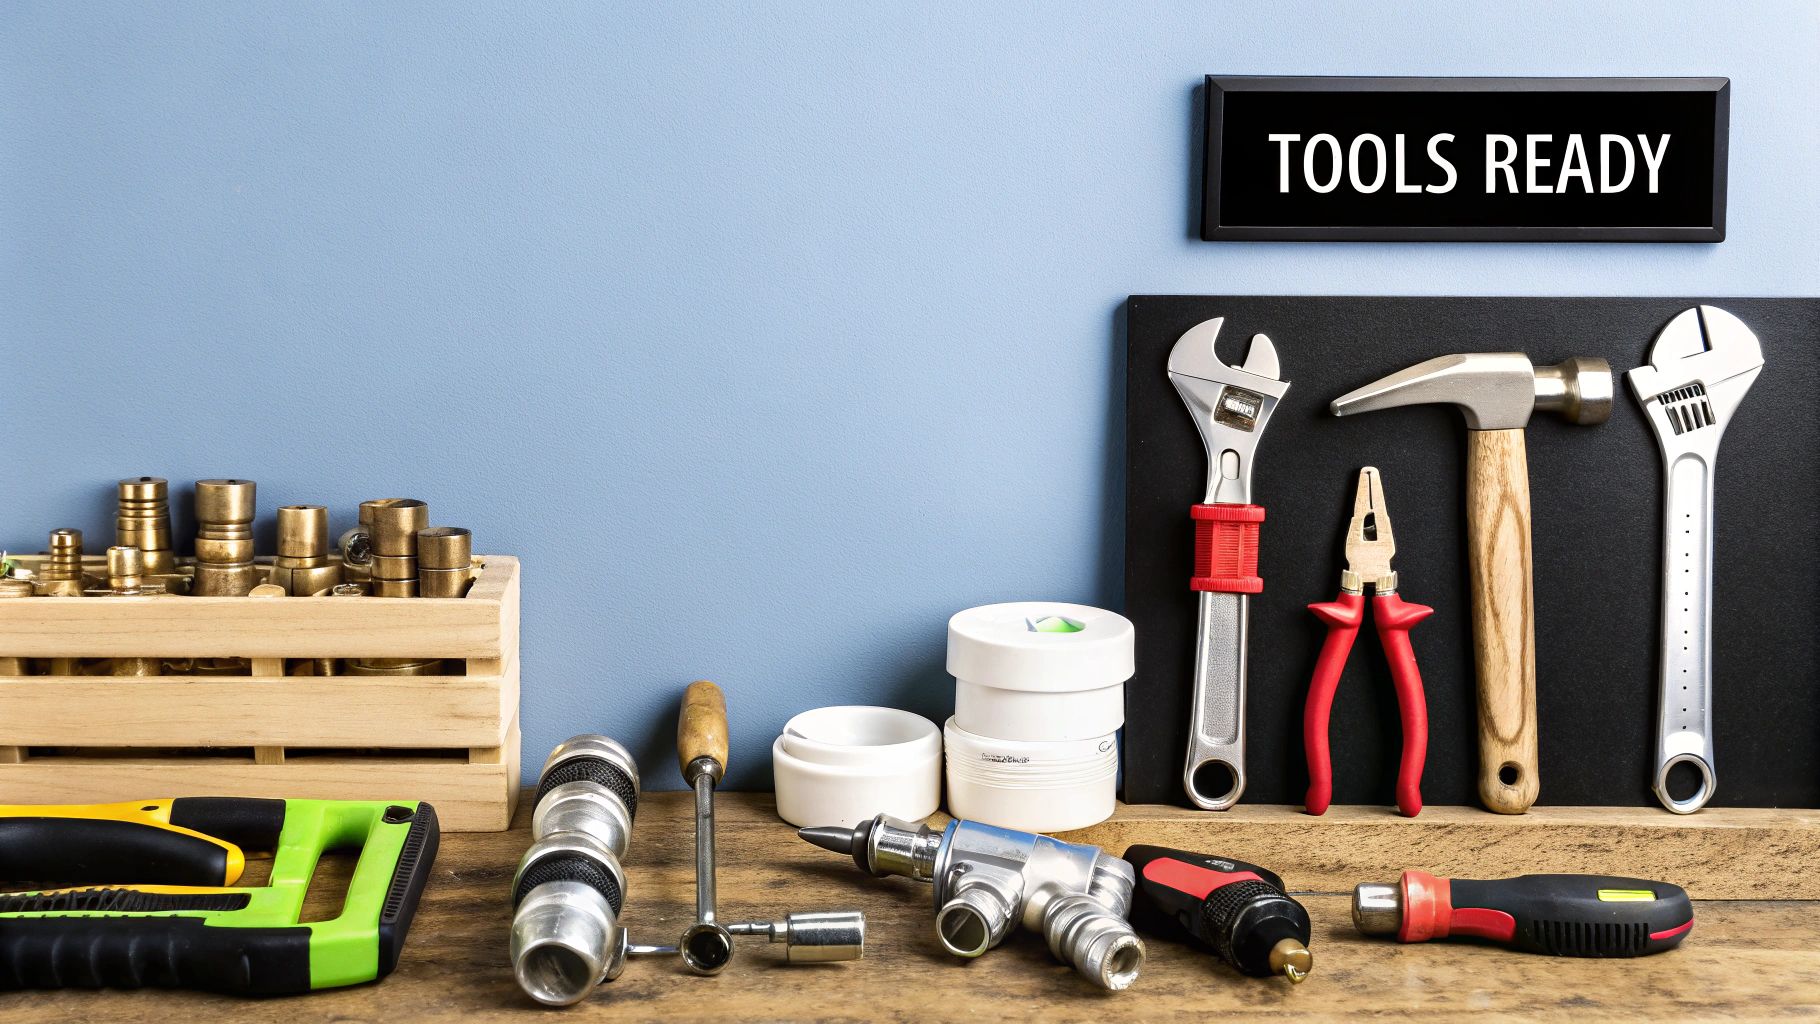
Before you start twisting any wrenches, let's talk about gear. Gathering the right stuff beforehand is honestly half the battle. This isn't just about grabbing any old tool; it's about setting yourself up for a smooth, leak-free installation that will last for years.
It’s no surprise that the global market for icemaker water line kits was valued at around USD 1.2 billion. That figure is expected to nearly double by 2033, which just goes to show how common this kind of upgrade has become for both homes and businesses. People want convenience and better water quality. You can dig into more of those market insights over at marketintelo.com.
Getting the right tools and materials is the first step to a successful icemaker hookup. The table below breaks down exactly what you'll need and why, along with a few tips I've picked up over the years.
Essential Gear for Your Icemaker Installation
| Item | Why You Need It | Insider Tip |
|---|---|---|
| Adjustable Wrench | For tightening the compression nuts on your water line fittings. A good grip is essential for a leak-proof seal. | Have two on hand. One to hold the valve steady and another to tighten the nut. This prevents stress on your plumbing. |
| Tube Cutter | Non-negotiable for cutting PEX or copper lines. It creates a clean, square cut without burrs that can cause leaks. | A small, one-handed mini-cutter is perfect for working in tight spaces behind appliances or under a sink. |
| Drill with 1/4" Bit | Needed if you have to run the water line through a cabinet wall to reach the icemaker. | Place a piece of painter's tape where you plan to drill. It prevents the wood from splintering and gives you a clean entry point. |
| Bucket & Towels | For catching any water that spills when you tap into the main supply line. Trust me, there will be some. | Keep the towels directly under your work area. The bucket is for draining the line once you shut the water off. |
Having this gear ready to go turns a potentially frustrating job into a straightforward task. Now, let's talk about the most important component: the water line itself.
Selecting the Best Water Line Material
The material you choose for the water line actually matters quite a bit. Each type has its own pros and cons, and the best one for you often depends on your kitchen's layout and how much you want to spend.
Insider Tip: I almost always recommend braided steel lines, especially for DIYers. They’re incredibly flexible, nearly impossible to kink, and the pre-attached fittings make the connection process so much simpler, which drastically cuts down on the chances for user error.
Here's a quick rundown of your main options:
- Braided Steel: This is my top pick. It’s highly flexible and durable, making it perfect for navigating the tight corners behind a refrigerator without kinking.
- PEX Tubing: A great modern choice. It’s very easy to work with, simple to cut, and offers excellent flexibility at a good price point.
- Copper Tubing: The old-school, ultra-durable option. It's the most rigid and can be tricky to bend without kinking, so it’s better suited for long, straight runs where you won’t have to make many turns.
At the end of the day, remember that the quality of your ice is directly tied to the purity of your water. For any commercial kitchen, understanding the importance of proper water filtration for restaurant equipment is crucial for both taste and keeping your machine in good working order.
Essential Prep for a Safe Installation
Let's be honest, nobody wants a mini-flood in their kitchen. That's why these first few steps are non-negotiable before you even think about connecting an icemaker to the water line. A little prep work now goes a long way in preventing a huge, frustrating mess later.
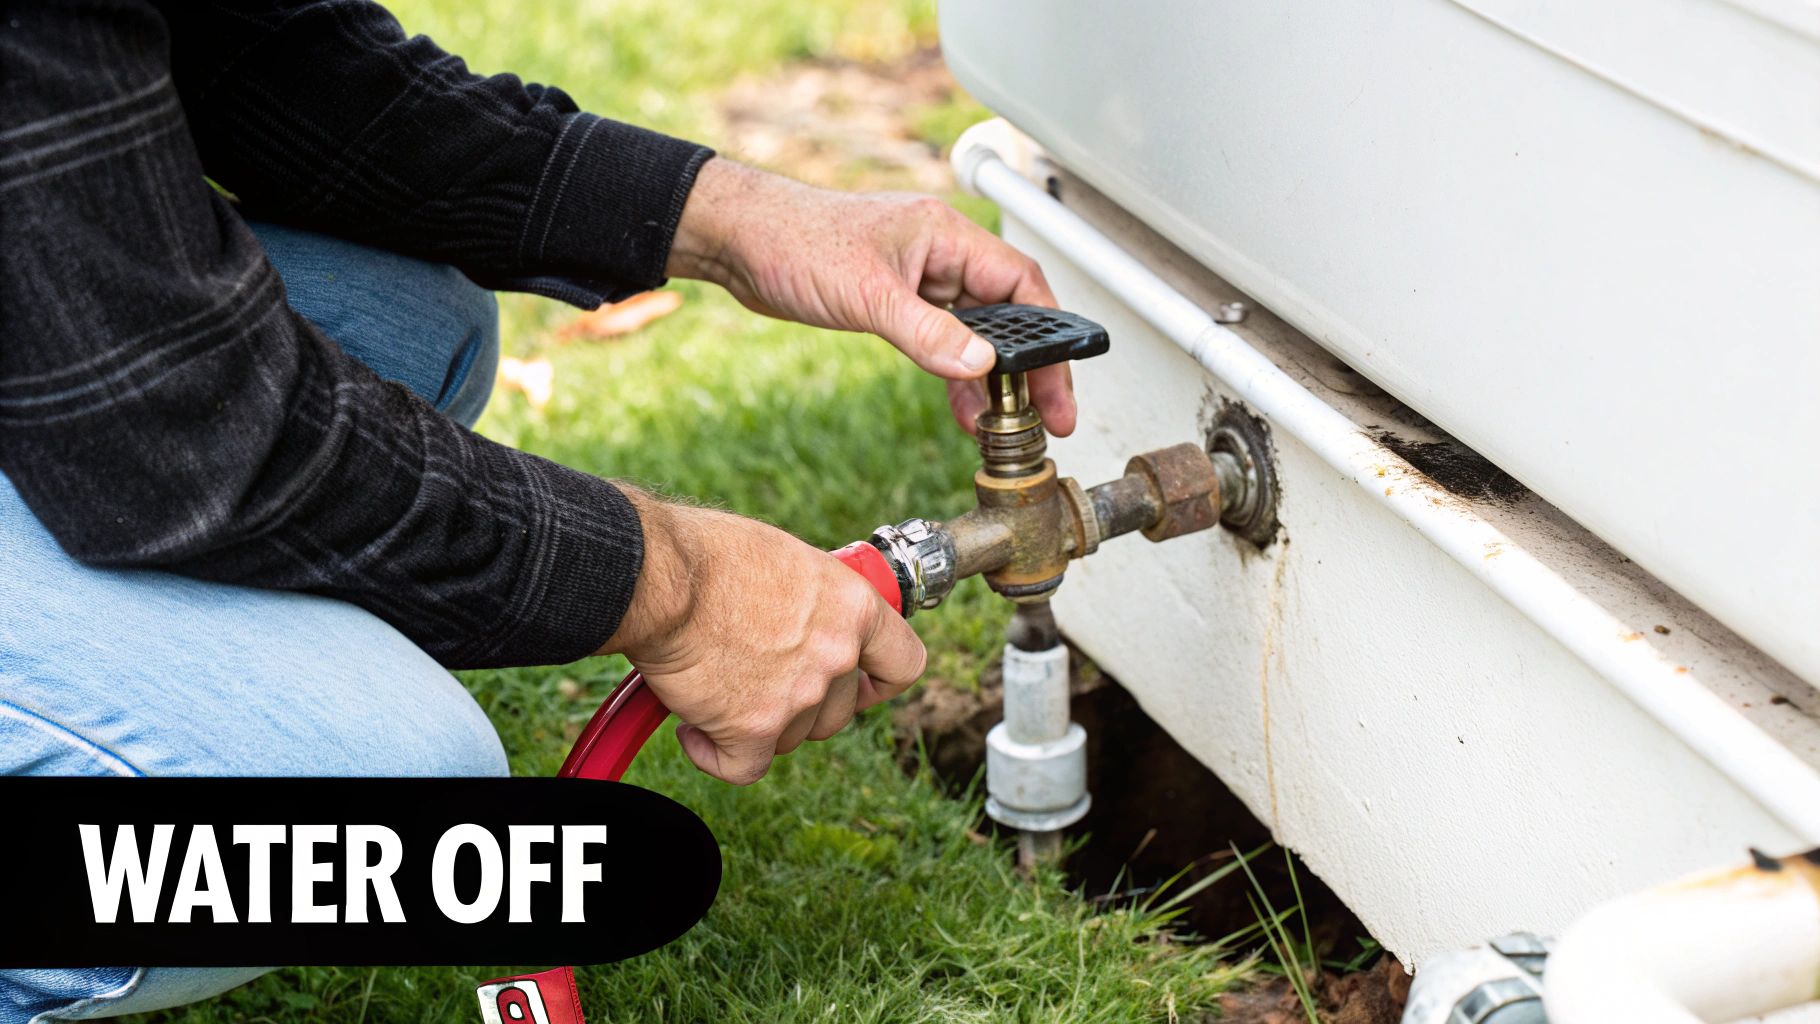
First things first: cut the water supply. Your target is the cold water shutoff valve, which you’ll typically find under the kitchen sink. If you can't locate it or aren't sure which one it is, the safest bet is to just turn off the main water supply to the whole house. Once you’ve done that, go ahead and open the kitchen faucet to let any water left in the pipes drain out.
Next up is the power. Unplug the refrigerator completely from the wall outlet. This isn't just a suggestion; it’s a critical safety step to eliminate any electrical risk.
Creating a Safe Workspace
With the water and power off, it’s time to get your work area ready. Gently slide the refrigerator away from the wall. If you’ve got floors that can scratch easily, like hardwood or vinyl, do yourself a favor and lay down a piece of cardboard or an old moving blanket first.
Pro Tip: Grab a shallow baking pan and a few old towels before you start. Even with the main valve off, you're going to get some drips from residual water in the lines. Tucking the pan and towels under your connection point will save you from mopping up a puddle.
Now you can get a clear look at the back of the fridge and the water pipe you plan on tapping into. Give yourself enough room to move around and work comfortably without having to twist into an awkward position.
Taking these few minutes to create a clean, dry, and safe workspace is the foundation for a successful hookup. You've just eliminated the most common headaches and potential damage points, setting the stage for the rest of the project to go smoothly. You're now ready to get to the actual connection.
Tapping Into Your Cold Water Line
Alright, this is where the magic happens—actually connecting your icemaker to its water source. Most installation kits will give you a saddle valve. It's a handy little device that clamps right onto an existing pipe and pierces it, creating a brand-new water line just for your machine. Your main job here is to find the right spot on a cold water pipe.
I can't stress this enough: double-check that you're working with a cold line. Tapping into the hot water line will force your ice machine to work way too hard and can definitely lead to it failing much sooner than it should. Look for a stretch of vertical or horizontal pipe that’s easy to get to, usually under your kitchen sink. You can do this on both copper and PVC pipes, but how you do it is a little different for each.
This simple graphic breaks down those crucial first steps for finding your connection point and planning the route.
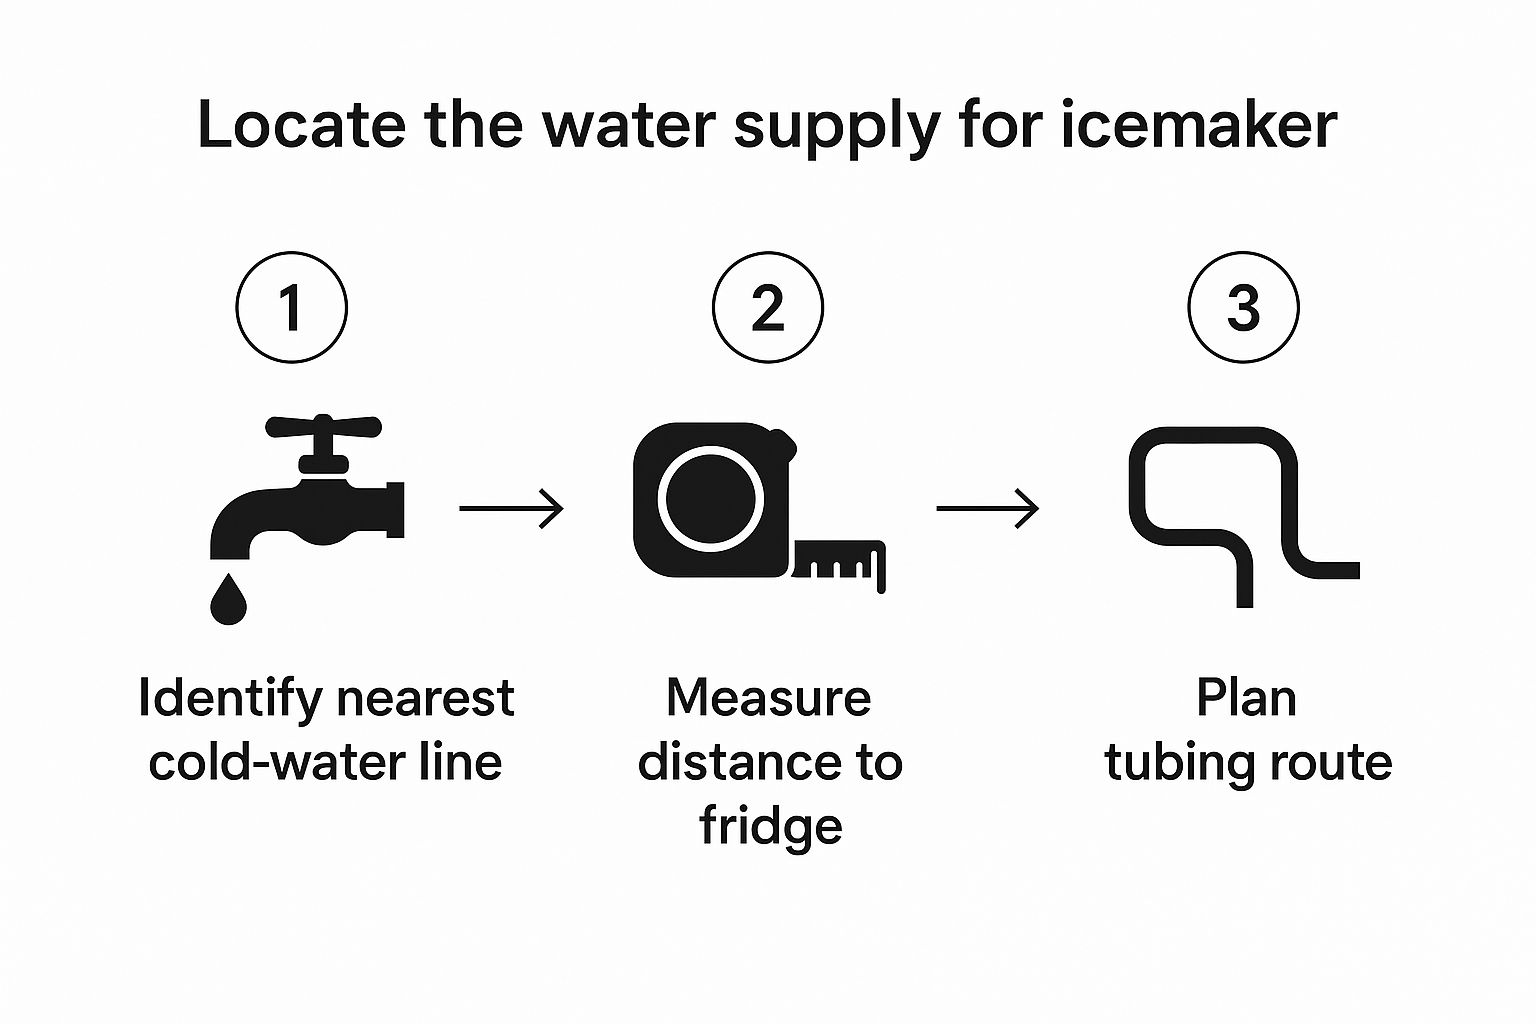
As you can see, a good connection starts with a solid plan. You need to identify the right pipe and map out a clear, simple path for the tubing to run.
Securing the Saddle Valve
Once you've scouted out the perfect spot, it's time to get that valve attached. A saddle valve comes in two pieces: a back plate and the front piece that holds a rubber gasket and the piercing lance. You'll position the clamp around the pipe, making sure the rubber gasket is sitting perfectly flat against the pipe's surface.
Now, slowly tighten the screws. The trick is to alternate between them so you get nice, even pressure. You want it snug, but not so tight that you're crushing or denting the pipe—this is especially important with softer copper lines. The goal is a firm, watertight seal, not a damaged pipe.
Once the clamp is secure, it's time to pierce the line. Slowly turn the T-handle clockwise. You'll feel a bit of resistance as the lance makes contact with the pipe. Keep turning until it comes to a complete stop. This creates the clean hole you need for steady water flow. Don't back the handle out just yet!
The process for a commercial setup is pretty similar, though you'll often be dealing with more heavy-duty fittings. For a closer look at a commercial installation, this guide on Atosa under-counter ice machine installation is a great resource. Many of the same principles of connecting to a water line apply to other plumbing jobs, like when you install a kitchen faucet.
Running and Securing the Water Line
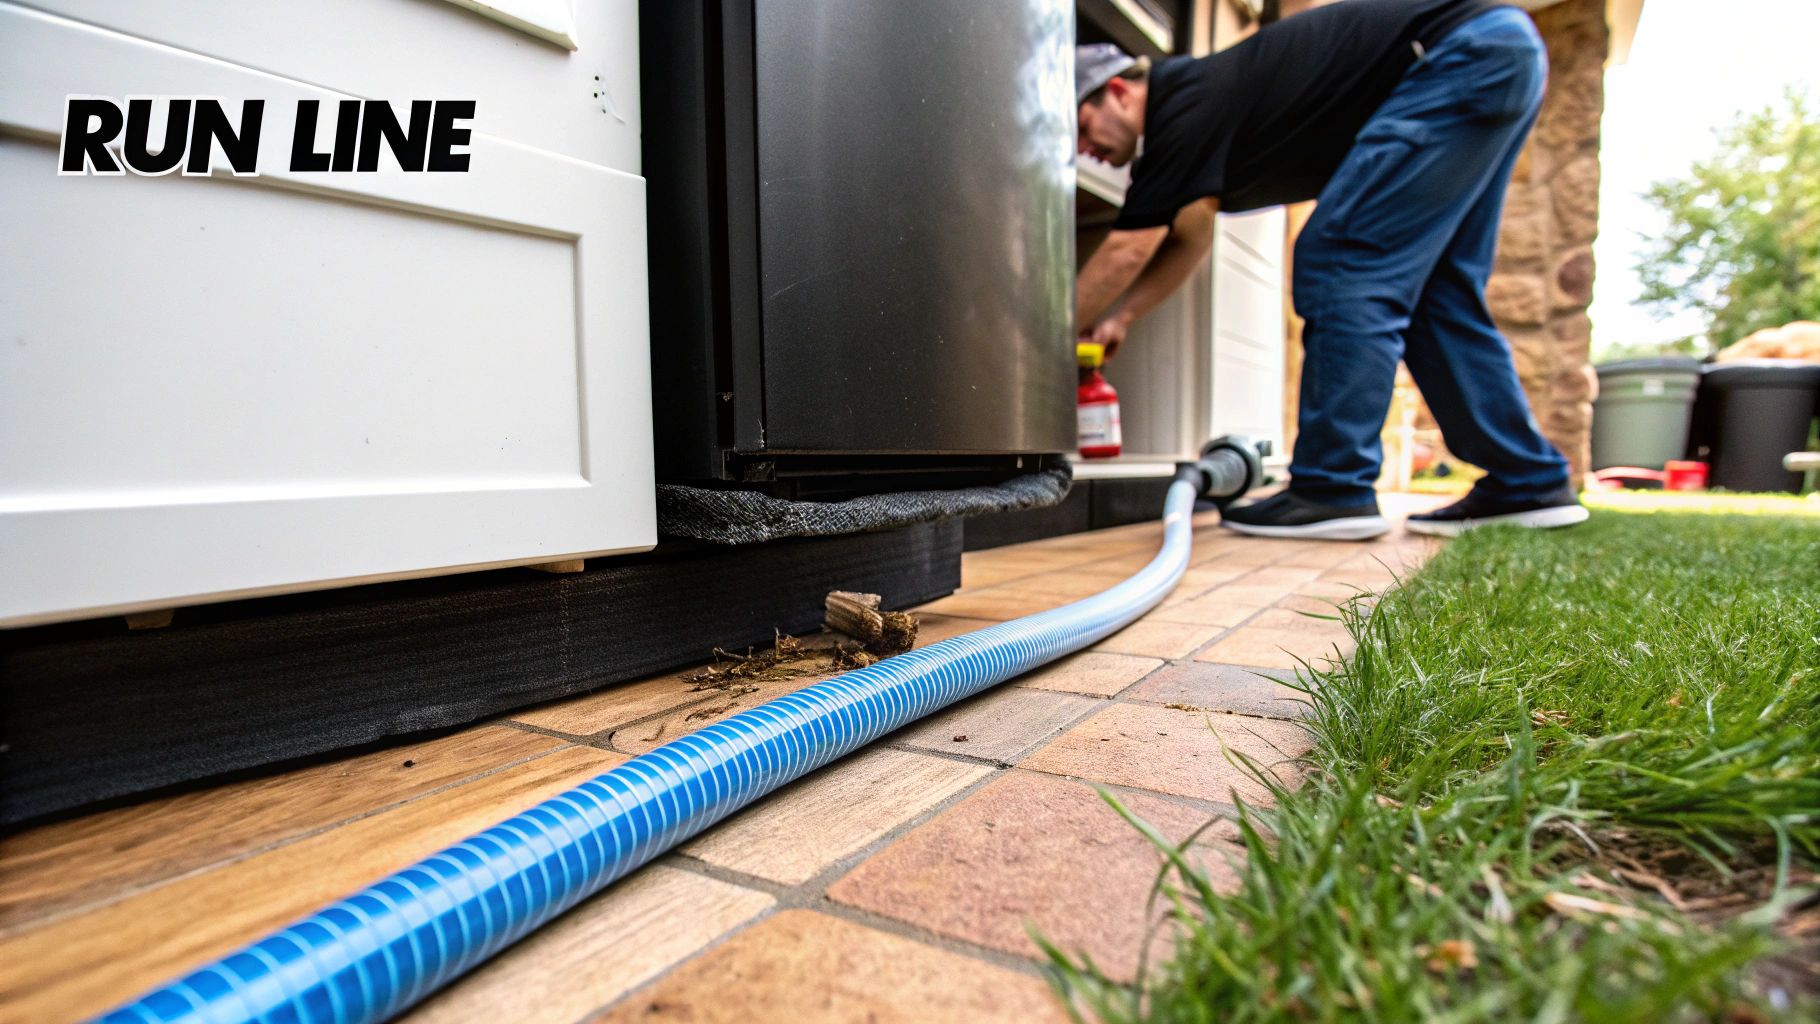
You've got the water source tapped, so now it's time to run the line that will bridge the gap to your icemaker. Don't rush this part—the path you choose is just as critical as the connection itself. You’re aiming for a route that’s both out of sight and safe from any accidental damage.
Think about the most protected path possible. This could mean running the line behind your cabinets, tucked neatly along a baseboard, or through a small, drilled hole in a cabinet divider. The main goal is to keep that tubing out of harm's way, preventing it from ever getting snagged, pinched, or kinked.
Speaking of kinks, that’s a rookie mistake you want to avoid at all costs. Any bend tighter than a gentle curve will restrict water flow, basically choking the supply to your machine. Picture a garden hose folded in half; that’s exactly what you’re trying to prevent. Smooth, gradual turns are the key to a steady, reliable water supply.
Measuring and Cutting the Tubing
When you're measuring out the tubing, here's my best piece of advice: always add extra slack. A lot of extra slack. Measure the distance from your saddle valve to the icemaker’s inlet, then add another 6 to 8 feet. No, that's not a typo.
This extra length creates what we call a service loop. It gives you the freedom to pull the refrigerator or icemaker out for cleaning and maintenance without ever having to disconnect the water line or worry about stretching and breaking it. Trust me, you’ll thank yourself later.
Once you’ve got your measurement, use a dedicated tube cutter for a clean, square cut. Using a sharp blade ensures you get a perfectly flush end, which is absolutely essential for creating a watertight seal when you attach the compression fittings.
Attaching the Compression Fittings
Now for the final connections. Most kits rely on compression fittings, which are made up of a nut and a small brass ring called a ferrule. They're simple but effective.
Here’s how you put them on:
- Slide the Nut: Start by sliding the compression nut onto the tubing, making sure the threads are facing the end you just cut.
- Add the Ferrule: Next, slide the ferrule onto the tubing. You'll want to position it about half an inch from the end.
- Insert and Tighten: Push the tubing all the way into the valve outlet until it stops. Then, slide the nut and ferrule down to meet the threads and hand-tighten the nut as far as it will go.
To finish, grab an adjustable wrench and give the nut another half-turn. You're looking for a snug fit—tight enough to create a seal, but not so tight that you risk stripping the threads. Do this again for the connection on the back of the icemaker, and you're all set.
The Final Check for Leaks and Flow
You’re on the home stretch, but this final step is what really gives you peace of mind after connecting an icemaker to a water line. The trick here is to turn the water back on slowly. Don't just yank the valve all the way open. Instead, crack it just a little and let the pressure build up gradually in the line.
Now, it’s time to play leak detective. Grab a flashlight and give every single connection point a thorough inspection—from the saddle valve on the pipe to the fitting at the back of the icemaker. You're looking for even the tiniest drop of moisture. A great pro tip is to run a dry paper towel over each fitting; it’ll pick up any dampness your eyes might have missed.
Takeaway: A slow, patient check is your best defense against water damage. Most leaks from compression fittings are slow drips, not dramatic sprays, so a meticulous inspection now saves a massive headache later.
Once you're absolutely sure everything is bone-dry, you can go ahead and open the water valve completely. Now we just need to confirm we have good flow and sort out any little hiccups.
Diagnosing Common Installation Issues
Sometimes, things just don't work perfectly on the first go. If your icemaker isn't getting any water, don't panic. The solution is usually pretty straightforward.
Start by running through this checklist of common culprits:
- Incomplete Saddle Valve Pierce: Did you really crank the T-handle on that saddle valve all the way in until it stopped? If you didn't, it might not have fully pierced the copper pipe to let water through.
- Hidden Kinks: Go back and trace the entire length of the water line you ran. It’s incredibly common for a sneaky kink to be hiding behind the refrigerator or under a cabinet, completely blocking the flow.
- Icemaker Arm Position: This one is a classic. Make sure the wire shutoff arm on the icemaker itself is in the "down" or "on" position. It’s a simple oversight that happens all the time.
Properly maintaining your equipment is just as important as the initial setup. For commercial units, following a regular cleaning schedule is key to longevity. Check out our guide on Atosa ice machine maintenance for step-by-step instructions.
The cost of installation can also be a factor, with professional help typically running around $100. This can vary based on the distance to the water source and the materials used, from less expensive plastic lines to more durable copper. You can learn more about the costs of installing a water line at Angi.com.
A Few Common Questions About Icemaker Hookups
Even when an installation goes off without a hitch, a few questions almost always come up. Getting good answers can be the difference between feeling confident in your handiwork and second-guessing things later. Let's run through some of the most common things people ask when connecting an icemaker to a water line.
First off, the hot water question. I hear this one a lot: "Can't I just hook it up to the hot water line?" The answer is a firm no. Tapping into hot water forces your refrigerator’s entire cooling system to work way harder than it should. It’s a huge energy waster and puts a ton of unnecessary strain on the appliance, which can lead to it failing much sooner than it should. Always, always stick to the cold water supply.
Another point of confusion is how much extra tubing to leave behind the unit.
Slack, Leaks, and Flow Problems
It can be really tempting to snip the line to the perfect length for a clean look, but that’s a mistake. You absolutely want to leave extra slack. A good rule of thumb is to have an extra 6 to 8 feet of tubing coiled loosely behind the fridge. This makes it a breeze to pull the unit out for cleaning or service without having to disconnect a single thing.
Pro Tip: If your brand-new icemaker isn't making ice, don't jump to conclusions. Before you start taking anything apart, check the simple stuff. Is the wire shutoff arm in the "down" position? Is the new valve you installed opened all the way?
So, what if you check all that and there's still no water flow? The most common culprits are simple oversights. Besides that shutoff arm, take a moment to carefully trace the entire water line. Look for any kinks or tight bends that could be pinching off the water supply. It's surprisingly common to find a hidden crimp in the tubing, but it's an easy fix once you spot it. A quick visual check can save you a mountain of frustration.
For all your commercial kitchen needs, from icemakers to walk-in coolers, trust the experts at The Restaurant Warehouse for top-quality equipment and fast delivery. Explore our full catalog at https://therestaurantwarehouse.com.
About The Author

Sean Kearney
Sean Kearney is the Founder of The Restaurant Warehouse, with 15 years of experience in the restaurant equipment industry and more than 30 years in ecommerce, beginning with Amazon.com. As an equipment distributor and supplier, Sean helps restaurant owners make confident purchasing decisions through clear pricing, practical guidance, and a more transparent online buying experience.
Connect with Sean on LinkedIn, Instagram, YouTube, or Facebook.
Leave a comment