


How to Clean an Ice Machine: A Pro's Guide
To keep your ice machine running smoothly and safely, it needs more than a quick wipe-down. At least every six months, it requires a full deep clean, descale, and sanitization cycle. This process tackles the two main culprits behind bad ice: mineral buildup (that chalky stuff known as scale) and invisible bacteria or mold. A properly clean ice machine isn't just about better performance; it's about food safety. We'll walk you through using the right food-grade cleaners and sanitizers to get the job done right, ensuring every cube is perfect.
Skipping this can lead to serious health risks and cause some pretty expensive damage to your equipment over time.
Is a Clean Ice Machine *Really* That Important?
Let's be honest—cleaning the ice machine often gets pushed to the bottom of the prep list. But ignoring this task is a much bigger deal than most people realize. The FDA actually classifies ice as a food, which means your ice machine is held to the exact same hygiene standards as any other food-contact surface in your kitchen.
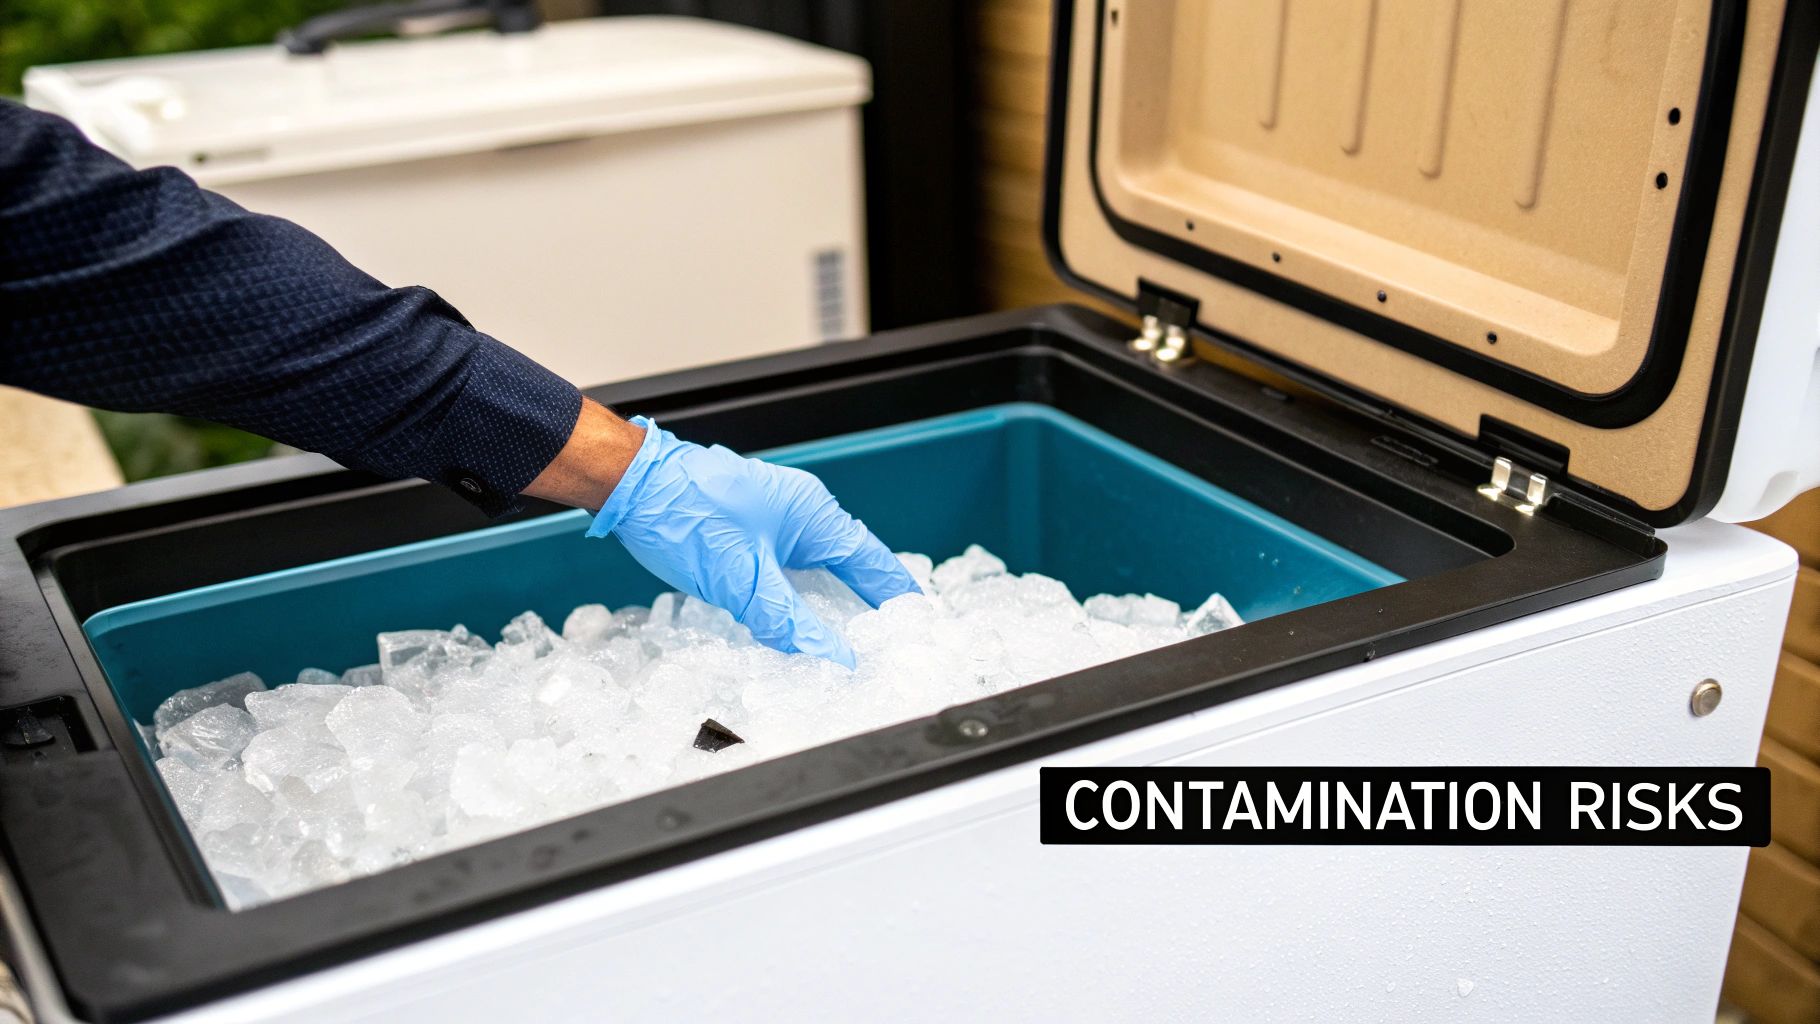
The inside of an ice machine is cool, dark, and damp, making it the perfect breeding ground for all sorts of nasty stuff. If you don't clean it regularly, you're rolling out the welcome mat for:
- Biofilm: A slimy, nearly invisible layer of bacteria that sticks to every surface.
- Mold and Yeast: These are the culprits behind foul odors and can ruin the taste of your ice and, by extension, your drinks.
- Harmful Bacteria: We're talking about serious pathogens like Listeria, Salmonella, and E. coli that can thrive in a neglected machine.
Just imagine your busy restaurant unknowingly serving contaminated ice. The fallout can range from a few bad online reviews complaining about "funky-tasting" drinks to a full-blown health code violation that shuts you down and torpedoes your reputation for good.
Protecting Your Customers and Your Business
It’s time to shift your mindset. This isn’t simple maintenance; it's a core safety practice. A clean ice machine isn't just about making pretty, clear cubes—it's about protecting public health.
This focus on hygiene is why the global demand for automatic cleaning ice machines is growing. The industry, valued at around USD 5.3 billion, is expected to keep expanding as safety standards get stricter.
To really nail this process, it helps to start by understanding the difference between sanitizing and cleaning. Cleaning physically gets rid of the dirt and scale, while sanitizing kills the microscopic organisms left behind. You absolutely need to do both for a truly safe machine.
How Water Quality Impacts Your Machine
The quality of the water going into your machine plays a huge role in how clean it stays. If you're in an area with hard water—water that's full of minerals like calcium and magnesium—you're going to see scale buildup. This chalky deposit doesn't just look bad; it creates a rough surface where biofilm can easily grab hold and grow.
An effective water filtration system is your first line of defense. It cuts down the mineral content before the water even hits the machine, which dramatically slows down scale formation and makes your cleaning efforts way more effective.
Putting in a good filtration system will extend the life of your equipment and give you better-tasting ice. For a deeper dive, our guide on water filtration for restaurants can help you pick the right system. At the end of the day, the magic formula for safe, crystal-clear ice is simple: routine cleaning plus high-quality water.
Gather Your Cleaning Supplies
Walking into this job unprepared is a surefire way to get frustrated. Let’s think of this as your pre-flight checklist, making sure you have everything you need on hand before you even touch the power cord. Having the right supplies ready to go is the difference between a smooth, effective cleaning and a drawn-out headache.
First things first, you'll need two completely different types of solutions: an ice machine cleaner and an ice machine sanitizer. I can't stress this enough—they are absolutely not interchangeable. The cleaner is an acidic solution, and its whole job is to dissolve and strip away mineral scale and that nasty slime buildup. The sanitizer, on the other hand, comes in after the cleaning is done to kill off any lingering bacteria, mold, or viruses.
Choosing the Right Cleaner and Sanitizer
When you're picking out a cleaner, it is critical that you choose a nickel-safe formula. A lot of modern ice machines have nickel-plated evaporators, and hitting them with a harsh, non-approved cleaner can cause permanent damage. That's a mistake that leads to some seriously expensive repairs. Always, always check your machine’s manual for recommended products.
For the sanitizer, you need to make sure it’s an EPA-approved, food-contact safe solution. You're making ice that people will consume, after all.
Quick reality check: Cleaning gets rid of the gunk you can see, but sanitizing is what actually makes the ice safe to serve. If you skip either step, the job is only half-done, and you’re putting your customers at risk. You have to clean first, then sanitize. No shortcuts.
Finding a Residue-Free Cleaner
When you're shopping for an ice machine cleaner, the goal is to find a product that's tough on scale but completely safe for food contact. A "residue-free" cleaner is exactly what it sounds like—it does its job and then rinses away completely, leaving zero harmful chemicals behind on any surface that touches your ice. Before you buy anything, your first move should always be to check the ice machine's instruction manual. The manufacturer will specify what to use and, more importantly, what *not* to use. As mentioned earlier, many machines have nickel-plated parts, and using the wrong cleaner can cause expensive, irreversible damage. Remember, you're producing a food product, so using a cleaner that is specifically formulated for ice machines isn't just a suggestion; it's a critical step in maintaining food safety and protecting your equipment.
Don't Forget These Tools and Safety Gear
Beyond the chemicals, your toolkit should have a few basics to make the job easier and, more importantly, safer.
- Dedicated Buckets: Have at least two on hand. You’ll want one for your cleaning solution and a separate one for rinse water to keep things from getting cross-contaminated.
- Soft Cloths & Nylon Brushes: You’ll need non-abrasive materials to scrub away buildup without scratching up the interior surfaces. An old toothbrush can be your secret weapon for getting into tight corners.
- Spray Bottle: This is perfect for applying sanitizer and ensuring you get even coverage across all the machine's components.
- Personal Protective Equipment (PPE): Safety is completely non-negotiable here. You must wear gloves and safety goggles to protect your skin and eyes from chemical splashes.
With these items lined up and ready to go, you can work efficiently and be confident you’re doing a thorough, safe job from start to finish.
Alternative Solutions and Critical Safety Warnings
Before we move on, let's address a few common questions and clear up some critical safety points. When it comes to cleaning, taking shortcuts or using the wrong products can be ineffective at best and dangerous at worst. It’s tempting to reach for something you already have in the kitchen, but your ice machine is a specialized piece of equipment that needs proper care to keep it running safely and efficiently.
A Note on Vinegar, Bleach, and Soap
You might see DIY tips online suggesting household products for cleaning your ice maker. While vinegar is a food-safe acid and can help dissolve minor scale buildup in a pinch, it often isn't strong enough to tackle the heavy-duty mineral deposits found in a commercial machine. Bleach is even riskier; it can damage machine components and, if not rinsed out with extreme thoroughness, can contaminate your ice. And soap is an absolute no-go. It leaves behind a residue that’s nearly impossible to fully rinse from the machine's intricate parts, resulting in soapy-tasting ice and a potential home for bacteria.
The Golden Rule: Never Mix Cleaner and Sanitizer
This is the most important safety rule, so I’m going to be very direct: Never, under any circumstances, mix the ice machine cleaner with the sanitizer. These are two different chemical compounds that must be used in separate steps. The cleaner is an acid designed to break down mineral scale, while the sanitizer is formulated to kill microorganisms. Mixing them can cause dangerous chemical reactions, potentially releasing toxic gas into your kitchen. Always follow the two-step process: clean the machine first to remove all the physical grime and scale, rinse it thoroughly, and then apply the sanitizer to a clean surface to do its job of killing germs. One step without the other leaves the job half-done and puts your customers’ health on the line.
Your Step-by-Step Guide to a Squeaky-Clean Machine
Alright, this is where we roll up our sleeves and get to the heart of the matter. A true deep clean goes way beyond just making the machine look good. It's all about systematically tackling the mineral scale and slimy biofilm that kill performance and, frankly, can become a health hazard. We'll go through this step by step, and I’ll explain the why behind every action.
First thing’s first: safety. Before you do anything else, power the machine down completely. And I don't just mean flipping a switch—unplug it from the wall. You’ll also want to shut off the water supply line feeding into the unit. This takes any risk of electrical shock or an accidental startup right off the table.
With the machine safely offline, your next job is to get it totally empty. Scoop out every last cube of ice and toss it. Even if it looks perfectly fine, it could be contaminated with the very gunk you're about to clean out.
Step 1: Prep Your Machine for Cleaning
Now it's time to start taking apart the key internal components. Most commercial ice machines are designed for this, with parts that come out easily without needing any tools. You’ll typically be removing the water curtain, the distribution tube, and any other removable plates or baffles.
These are the high-traffic areas where water is constantly moving, making them prime real estate for scale and slime to build up. Lay them out on a clean, sanitized surface so you can give them a good manual scrubbing in a bit. It's always a good idea to consult your machine's manual here, since the exact location of these parts can differ between models. For instance, our detailed guide for Atosa ice machines offers model-specific advice that can be a real help.
Once the components are out, you're ready to bring in the cleaning solution. Follow the manufacturer's instructions to a T for mixing the right ratio of descaler to water. Using too little won't cut through the grime, and using too much is just wasteful and could potentially harm the machine. Pour the mixed solution directly into the water trough or reservoir, just like your manual tells you.
Step 2: Run the Cleaning Solution and Scrub Away Grime
Most modern machines come with an automated "Clean" or "Wash" cycle. Go ahead and start that up. This will circulate the descaling solution through the entire water system, mimicking the path water takes during ice production. It’s basically the machine's way of cleaning itself from the inside out.
Let the cycle run its full course, which usually takes anywhere from 20 to 45 minutes. This gives the acidic cleaner plenty of contact time to dissolve and break loose all those stubborn mineral deposits. This process is specifically targeting the limescale that comes from hard water—a challenge you also see when addressing hard water buildup in your home's water-using appliances.
While the machine is doing its thing, you can get to work on the parts you removed earlier. Grab a soft-bristle nylon brush and use some of the cleaning solution to meticulously scrub every surface. Pay extra attention to the corners, crevices, and any little water outlet holes where gunk loves to hide.
Understanding the distinct roles of cleaning and sanitizing is key to maintaining a safe ice machine. Here’s a quick breakdown of their purpose and frequency.
| Process | Purpose | Chemical Used | Recommended Frequency |
|---|---|---|---|
| Cleaning & Descaling | Removes mineral scale (limescale) and slime buildup. | Acid-based cleaner/descaler. | Every 3-6 months, depending on water hardness. |
| Sanitizing | Kills bacteria, viruses, mold, and other harmful microorganisms. | EPA-registered sanitizer. | Every 3-6 months, immediately after cleaning. |
This table shows that while both processes are crucial, they serve very different functions and require different chemicals to get the job done right.
This infographic breaks down some of the essential tools you'll need for both the cleaning and sanitizing stages of the job.
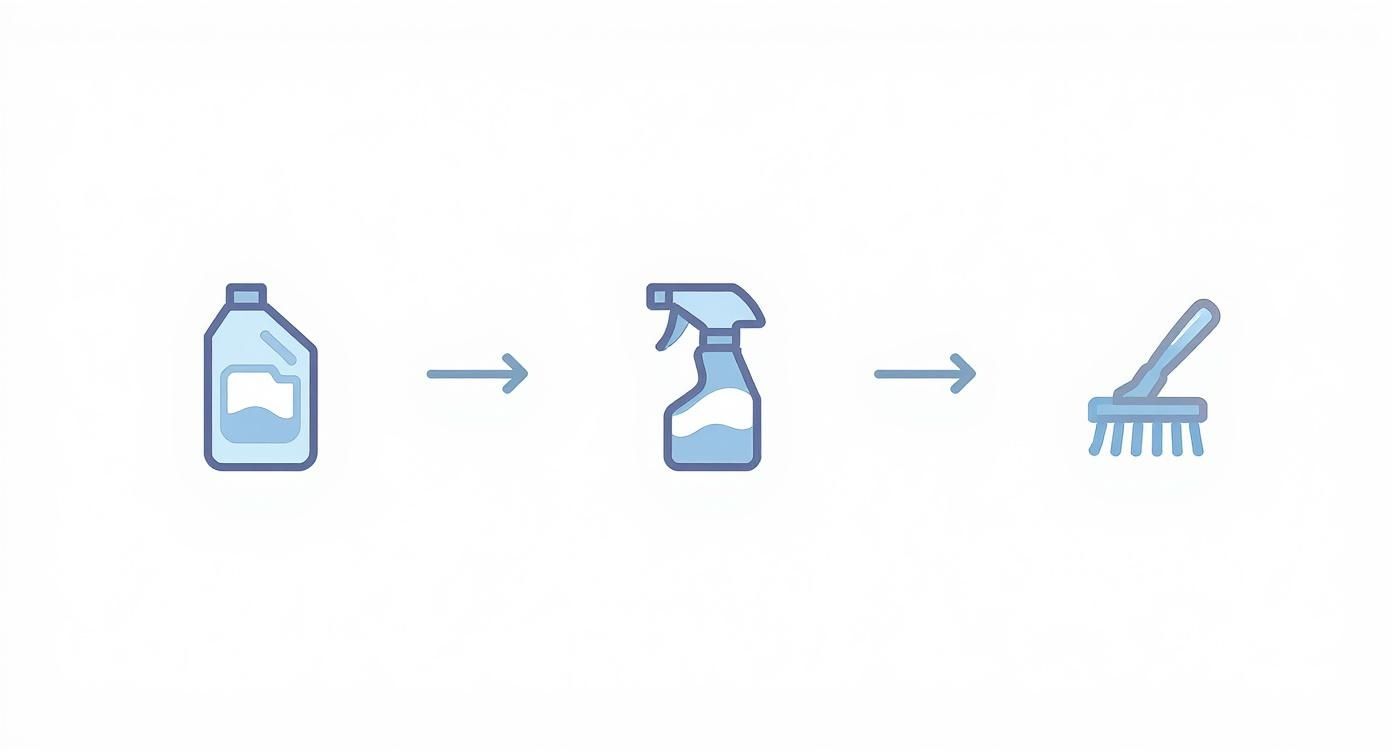
As you can see, it’s not just about the chemicals. Physical tools like brushes are absolutely essential for the manual scrubbing that breaks loose the toughest grime.
Step 3: Rinse Everything Thoroughly
After the clean cycle is finished, the machine will drain out the dirty, used-up solution. This next step is arguably the most important part of the entire process. If you don't rinse properly, you risk leaving chemical residue behind that will end up in your next batch of ice.
Never assume the initial drain is enough. You must initiate several rinse cycles to flush the system completely. Some machines have an automated rinse, while others may require you to manually add fresh water and run the "Clean" cycle again to circulate it.
Your one and only goal here is to make sure every last trace of that descaling solution is gone. Run as many rinses as it takes until you're confident the system is totally clear. Once the internal system is flushed, give the components you scrubbed by hand a thorough rinse under fresh water and pop them back into place. Now, your machine is officially descaled and ready for the final, critical step: sanitization.
How to Properly Sanitize Your Ice Machine
Alright, you've done the hard part. All that scrubbing and rinsing has your ice machine looking brand new, completely free of scale and grime. It’s tempting to flip the switch and start making ice, but hold on—we're at the most critical safety checkpoint.
This last phase isn't about making things look good; it's about handling the invisible threats that a simple cleaning can't touch. Sanitizing is the non-negotiable step that wipes out harmful microorganisms like bacteria and mold. It’s what guarantees the ice you serve is not just clear and tasteless, but completely safe to consume. Skipping this would be like washing a cutting board after prepping raw chicken but never actually sanitizing it.
Step 1: Mix Your Sanitizing Solution
First things first, you need the right tool for the job. Your sanitizer absolutely must be an EPA-approved, food-contact safe solution made specifically for ice machines. Grabbing a general-purpose cleaner won't cut it and could leave behind dangerous chemical residues.
Always double-check your machine’s manual for recommended sanitizers. Using the wrong one could damage sensitive parts. Once you’ve got the right product, mix it exactly as the label instructs. A common shortcut is to just eyeball the ratio, but that’s a huge mistake. Too weak, and it won't kill anything. Too strong, and you'll struggle to rinse it off, potentially tainting your ice with a chemical aftertaste.
Crucial Takeaway: Sanitizing is a chemical process that depends on two things: the right concentration and enough contact time. If you rush or guess on either of these, the whole effort is basically useless, leaving your machine wide open to recontamination.
Step 2: Apply the Sanitizer and Let It Sit
With your solution mixed and ready, it's time to apply it. You’ll be focusing on two key areas: the internal water system and all those removable components you cleaned earlier.
For the machine's guts, pour the sanitizer into the water trough and kick off the "Clean" or "Wash" cycle, just like you did with the descaler. This will push the solution through every pipe, tube, and surface that water touches when it's making ice.
While that cycle is running, you can tackle the other parts.
- Removable Components: Grab a dedicated spray bottle and give the water curtain, distribution tube, and any other disassembled parts a thorough coating.
- The Storage Bin: Spray down every single interior surface of the bin. Pay extra attention to corners, seams, and the door gasket where gunk loves to hide.
- The Ice Scoop: Don't forget this! It's a high-touch tool that needs to be sanitized just as meticulously as the machine itself.
Now for the part that requires a little patience: dwell time. Every sanitizer needs a specific amount of time sitting on a surface to do its job and kill microorganisms. This is usually somewhere between 2 and 10 minutes. Check the product label for the exact time required and do not cut it short. Rushing this is a critical error that completely undermines the safety of your otherwise clean ice machine.
Step 3: The Final Rinse (or Air Dry)
Once the sanitizer has had enough time to work its magic, your next move depends on the specific product you’re using. Some formulas, especially older chlorine-based ones, need a good, thorough rinse with clean water to get rid of any residue. If that's what you have, run a couple of rinse cycles through the machine and manually rinse all the other components.
However, many modern sanitizers are "no-rinse" formulas. For these, you simply let everything air dry completely. This is often the better method, as it avoids any potential for recontamination from the rinse water.
Once the machine and all its parts are bone dry, you can put it all back together.
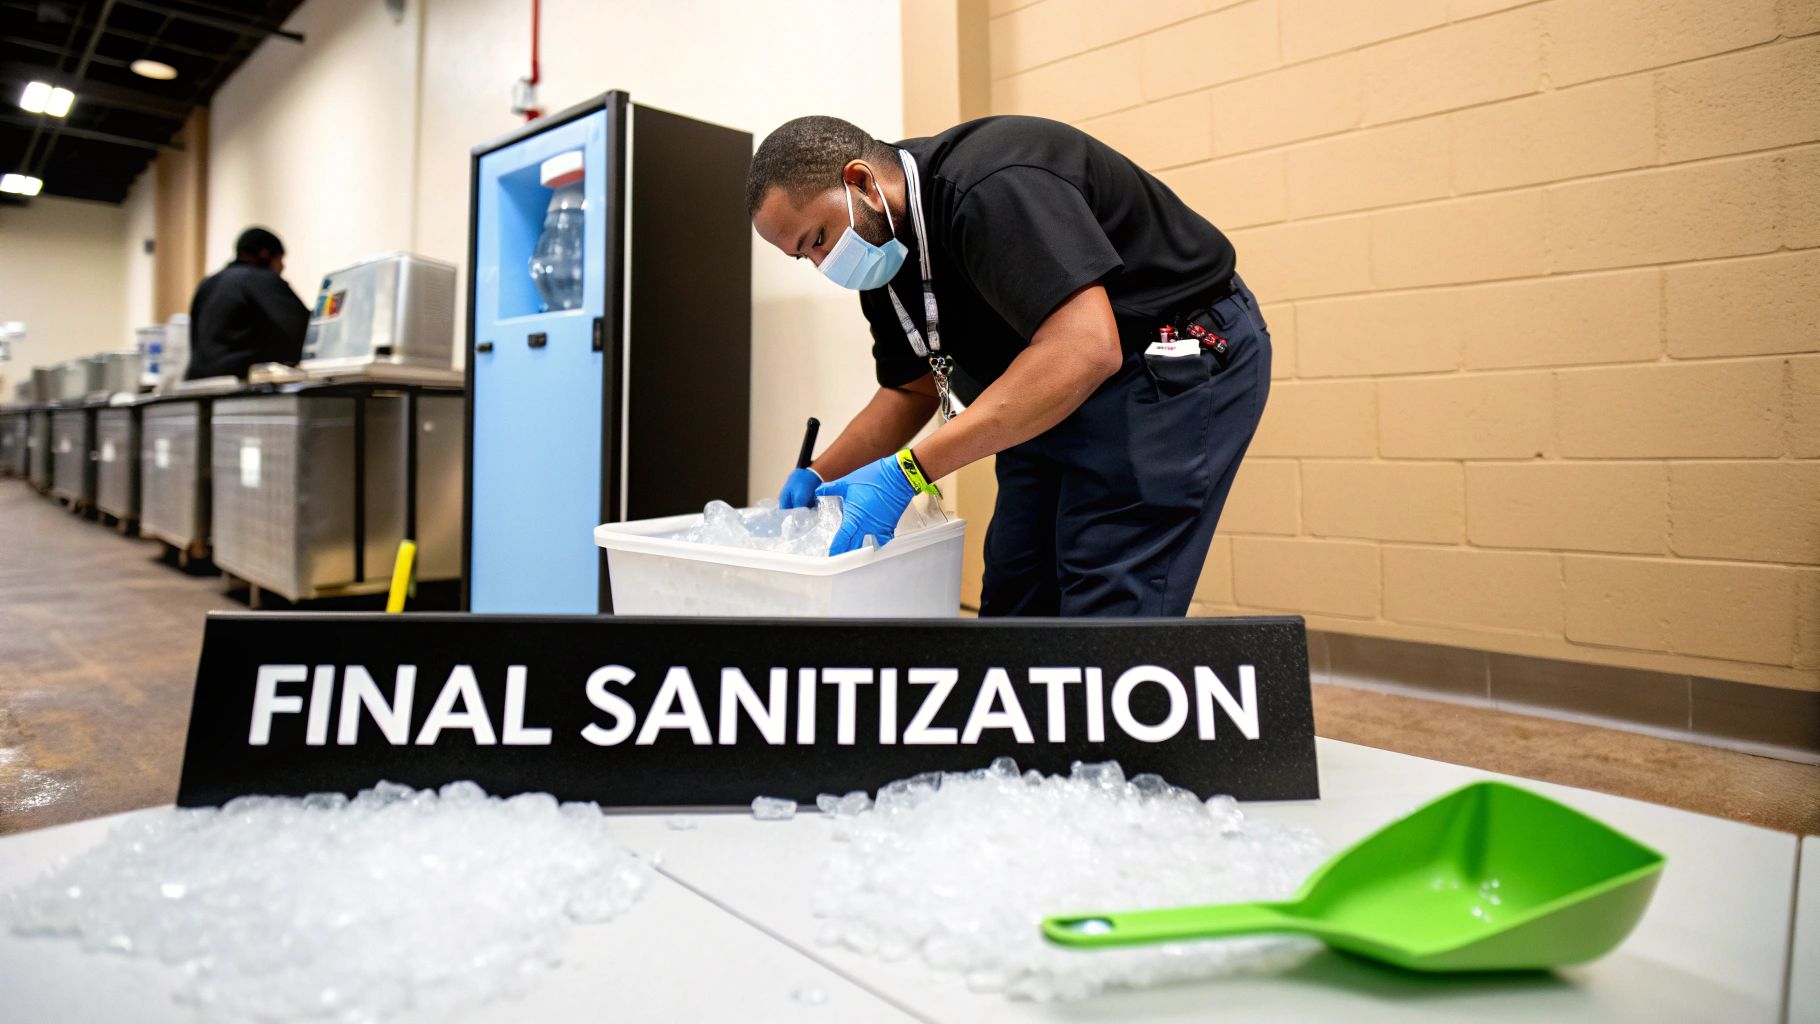
To wrap things up, turn the machine back on and let it run through one complete ice-making cycle. As a final precaution, discard this first batch of ice. This ensures any last traces of the sanitizer are flushed out. Now you're officially done—your machine is clean, sanitized, and ready to produce safe, high-quality ice.
Step 4: Discard the First Few Batches of Ice
You’ve made it through the entire cleaning and sanitizing process, and your machine is finally reassembled and running. It's tempting to immediately start scooping that fresh, sparkling ice, but there's one last, crucial step. Let the machine run through a complete ice-making cycle and then throw that entire first batch away. Think of this as the final flush for the system. This simple action is your ultimate guarantee that any lingering traces of sanitizer are completely washed out before a single cube makes it into a customer's drink. This isn't just a best practice; it's a critical step to uphold food safety standards and protect both your patrons and your reputation. After all that hard work, this final precaution ensures the ice you serve is nothing but pure, clean, and safe.
Simple Habits for a Continuously Clean Ice Machine
A deep clean is essential, but it’s the day-to-day habits that really keep your ice machine in fighting shape. Think of it less like a massive annual project and more like simple, ongoing upkeep. The small things you do every day are what prevent those big, expensive problems from ever taking root.
This is where you build your machine's long-term health. A quick, repeatable schedule keeps the entire unit—inside and out—humming along. It’s a common mistake to focus only on the inside, but neglecting the exterior, especially critical parts like air filters, can lead to some surprisingly costly breakdowns.
Your Two-Minute Daily Wipe-Down Routine
Let's start with the easy stuff. At the end of every shift, the outside of the machine needs a quick wipe-down. This includes the door, the handle, and any control panels. Just use a clean, damp cloth and a mild, food-safe detergent.
Why bother? Because the same hands touching the ice scoop are also touching the machine's door. It’s a simple, two-minute task that acts as your first line of defense against cross-contamination from the grease, dust, and grime of a busy kitchen.
Your Weekly and Monthly Checks
While a full deep clean is only needed every few months, you can't just set it and forget it in between. A few quick checks each week will help you spot trouble early. Once a week, inspect the air filter—if it's clogged with dust and grease, the machine has to work harder, which can lead to a breakdown. Also, take a second to listen for any strange noises and check the quality of the ice. If it's cloudy or soft, that's a sign something is off. As experts point out, neglecting your machine can lead to bad-tasting ice and even cause health problems or break the machine.
Once a month, it's time for a more thorough inspection. With the power off, open up the machine and take a look inside with a flashlight. You're looking for the early signs of scale or slime buildup on the components. Catching it early makes your next deep clean much easier. This is also a good time to check that the water filter is still in good shape and that all connections are secure. These simple, proactive steps are what separate a well-maintained machine from one that needs constant, expensive repairs. Keeping all your restaurant equipment on a regular maintenance schedule is the best way to protect your investment.
Are You Checking Your Air Filter and Coils Monthly?
The air filters and condenser coils are basically the lungs of your ice machine. They pull in air to cool the refrigeration system, and in any professional kitchen, that air is full of airborne grease and dust. When they get clogged, the machine has to work way harder. This jacks up your energy bills and can cause the compressor to overheat and fail—a repair nobody wants to pay for.
At least once a month, make these quick checks a priority:
- Clean the Air Filters: Slide the filters out and look for buildup. Most are reusable and can be washed easily with warm, soapy water. Just be sure to let them air dry completely before popping them back in.
- Check the Condenser Coils: Grab a flashlight and peek at the coils. If you see a thick blanket of dust or a greasy film, it’s time for a cleaning. You can gently brush off light dust yourself, but if they're caked in grease, it's best to have a professional handle it during your annual service.
A Pro Tip You Can't Ignore: The ice bin is for ice and only ice. Never, ever use it as a makeshift cooler for drinks or even to store the ice scoop. This is probably the fastest way to introduce bacteria and mold into a perfectly clean environment. The scoop needs its own dedicated, sanitized holder, period.
Your Six-Month Deep-Clean Checklist
While your daily and monthly habits are the foundation of good maintenance, you need to schedule a more intensive deep clean every six months. This is when you go beyond the surface to tackle the parts of the machine that work the hardest. This routine service is your best defense against unexpected breakdowns and ensures your machine runs as efficiently as the day you bought it, saving you money on both energy and potential repair bills down the line.
Cleaning the Condenser Coils
Twice a year, it's time to give the condenser coils a thorough cleaning. While you're checking them monthly for dust, this is a more dedicated effort to remove any stubborn grease and grime that has built up. These coils are essential for releasing heat from the refrigeration system. When they're caked in dirt, the machine can't cool itself effectively. This forces the compressor to work overtime, which not only drives up your electricity costs but can also lead to a complete system failure. A clean condenser is a core part of maintaining all your commercial refrigeration, and your ice machine is no exception.
Properly Storing Your Ice Machine
If you run a seasonal business or know you'll be shutting down for an extended period, you can't just turn the ice machine off and walk away. Proper storage is key to making sure it's ready to go when you are. Before you do anything, perform a full cleaning and sanitizing cycle as described above. Storing a dirty machine is a recipe for a serious mold and bacteria problem. Once it's completely clean and dry, unplug the unit from the wall and disconnect the water line. If possible, store it in a cool, dry place away from dust and debris to protect its components until you're ready to start up again.
Why Everyone Wants Crystal-Clear Ice
The push for pristine, impurity-free ice isn't just a niche trend; it's a booming market. The global clear ice maker market is valued at around USD 2.44 billion for a reason. High-end restaurants and bars demand ice that's not only visually perfect but also hygienically superior.
These specialized machines use advanced freezing techniques that naturally resist bacterial growth, proving just how much the industry is focusing on cleanliness from start to finish. You can explore detailed market analysis on VerifiedMarketResearch.com to see how this trend is shaping the equipment landscape.
Cleaning Countertop and Portable Ice Makers
While we've focused on the heavy-duty commercial units, let's not forget about their smaller cousins. Countertop and portable ice makers are the unsung heroes in smaller cafes, office breakrooms, and catering setups. They face the exact same enemies—mineral scale, slimy mold, and bacteria—and demand the same level of care. The good news is that their compact size makes the cleaning process much faster and less intimidating. The core principles are identical: you need to dissolve the mineral buildup and then sanitize all the surfaces to ensure the ice you serve is safe, clear, and tastes clean.
Ignoring these smaller units is just as risky as neglecting a large commercial machine. Contaminated ice is a health hazard, no matter the scale of your operation. A simple, consistent cleaning routine is all it takes to keep these machines in top shape and protect anyone enjoying the ice. We'll walk through a straightforward process using common household items, share some tips for tackling those tricky spots, and cover the best ways to prevent buildup from happening in the first place. It's a small investment of time that pays off in safety and performance.
A Simple Cleaning Process Using Vinegar
For a straightforward and effective cleaning, you don't need much more than standard white vinegar. Start by unplugging the machine and emptying it of any water or ice. Next, mix a solution of one part white vinegar to ten parts water. Dip a soft, non-abrasive cloth into this mixture and thoroughly wipe down every interior surface you can reach. This mild acid is perfect for breaking down the initial layers of mineral scale without being harsh on the machine's components. After you've wiped everything down, give the inside a complete rinse with clean water to wash away the vinegar and loosened grime. Repeat the rinse until you can no longer smell any vinegar.
Helpful Tools for Hard-to-Reach Spots
Even in small machines, there are always tight corners and crevices that a cloth just can't reach. This is where an old toothbrush becomes your best friend; its bristles are perfect for scrubbing out those tiny grooves and water lines where grime loves to hide. For an even deeper clean on stubborn buildup, a small, handheld steamer can be a game-changer. The hot steam helps dislodge mineral deposits in hard-to-reach areas, making them easier to wipe away. You can find more clever cleaning hacks from other users who have tackled the same problem.
How to Prevent Mold and Mineral Buildup
The key to avoiding a major cleaning headache is consistency. You should plan to deep clean your countertop ice maker at least every three to six months. This regular schedule is the best way to prevent the growth of mold and bacteria and stop mineral scale from hardening into a rock-solid layer that's difficult to remove. One of the most effective preventative measures you can take is to simply change the water you're using. Instead of filling the reservoir from the tap, try using distilled water. Since distilled water has virtually no mineral content, it dramatically reduces scale buildup, giving mold and biofilm fewer places to hide and grow—a simple tip that experts recommend for easier maintenance.
Common Ice Machine Cleaning Questions
Even with a solid cleaning schedule, questions are bound to pop up. I get them all the time. Getting quick, clear answers helps you stay on track and ensures you’re doing right by your machine. Let's tackle some of the most common queries I hear from operators.
How Often Should a Commercial Machine Be Cleaned?
The industry standard is a full deep clean and sanitization at least every six months. But honestly, that’s just a baseline. This isn't a one-size-fits-all rule, and your kitchen’s environment plays a huge role in how often you really need to clean.
Take a high-yeast environment like a bakery or a brewery, for example. All that airborne yeast gets sucked into the machine, and it’s basically a superfood for slime and mold. In those spots, you absolutely have to bump up your cleaning schedule to every three months to stay ahead of the grime. Always check your manufacturer's guide, too—local water quality and your specific model can also change the timeline.
Is It Safe to Use Vinegar?
This is a big one. While vinegar is a go-to for cleaning coffee makers at home, it's a hard "no" for your commercial ice machine. It's just not powerful enough to cut through the heavy mineral scale that builds up in a high-volume machine. More importantly, it is not a nickel-safe solution.
Using vinegar or other non-approved chemicals can corrode sensitive components like the evaporator plate, leading to expensive, irreversible damage. Sticking with a professional, nickel-safe descaler is the only way to protect your investment and ensure your warranty remains intact.
What Are the Telltale Signs an Ice Machine Needs Cleaning?
Your machine will give you some pretty clear signals when it's time for a deep clean. Don't just wait for the calendar reminder if you start noticing any of these red flags.
- Visual Cues: This is the most obvious one. If you can see any slime, mold, or scale building up inside the machine or the bin, it’s past due.
- Ice Quality Issues: Are your cubes suddenly smaller, cloudy, or soft? Do they have a weird taste or smell? That's a huge indicator that something is off inside the machine.
- Operational Problems: If the machine is taking way longer than usual to drop a batch of ice or just isn't producing as much as it used to, that's often a sign that scale is gumming up the works. For more help with these kinds of issues, check out our guide on ice machine troubleshooting.
Catching these signs early doesn't just guarantee safe ice; it also prevents a minor cleaning issue from snowballing into a major repair bill.
At The Restaurant Warehouse, we provide the high-quality, reliable ice machines and cleaning supplies you need to keep your operation running smoothly and safely. Equip your kitchen with the best by visiting https://therestaurantwarehouse.com.
Key Takeaways
- Master the Two-Step Process: Clean First, Then Sanitize: Cleaning removes the visible mineral scale and slime, but sanitizing is what kills the invisible bacteria and mold. Skipping either step leaves your ice unsafe to serve.
- Your Choice of Cleaner Matters—A Lot: Always use a manufacturer-approved, nickel-safe cleaner to avoid corroding internal parts. Using the wrong chemicals like vinegar can lead to expensive, irreversible damage.
- Make Small, Daily Habits Your Best Defense: A deep clean every six months is crucial, but daily wipe-downs and monthly air filter checks are what prevent major breakdowns and keep your machine running efficiently long-term.
Related Articles
About The Author

Sean Kearney
Sean Kearney is the Founder of The Restaurant Warehouse, with 15 years of experience in the restaurant equipment industry and more than 30 years in ecommerce, beginning with Amazon.com. As an equipment distributor and supplier, Sean helps restaurant owners make confident purchasing decisions through clear pricing, practical guidance, and a more transparent online buying experience.
Connect with Sean on LinkedIn, Instagram, YouTube, or Facebook.