

What After Using a Meat Slicer You Should Do for Peak Safety
Once you're done slicing for the day, the clock starts ticking on one of the most important safety procedures in your entire kitchen: the shutdown and cleaning process. This isn't just something to get to when you have a spare moment; it's a critical food safety protocol that prevents nasty bacteria like Listeria from taking hold. Proper care after every use is what keeps your slicer compliant with health codes, safe for your team, and running like a champ.
Your Essential Post-Slicer Safety Checklist
Let's cut right to it—what you do after turning off that slicer is non-negotiable. This is about way more than a quick wipe-down. It's about protecting your customers from foodborne illness, satisfying health inspectors, and making sure your expensive equipment lasts.
The whole process really boils down to three core pillars you can't afford to skip:
- Safe Shutdown and Disassembly: This means making sure the machine is completely dead—unplugged and powered off—before you even think about taking it apart.
- Meticulous Cleaning and Sanitizing: Every nook and cranny needs to be scrubbed free of food debris. After that, a proper sanitizing step is what kills the invisible pathogens.
- Proper Reassembly and Inspection: Putting it all back together the right way is just as important. This is also your chance to spot any wear and tear before it becomes a real problem.
This simple infographic breaks down the core process flow for slicer care.
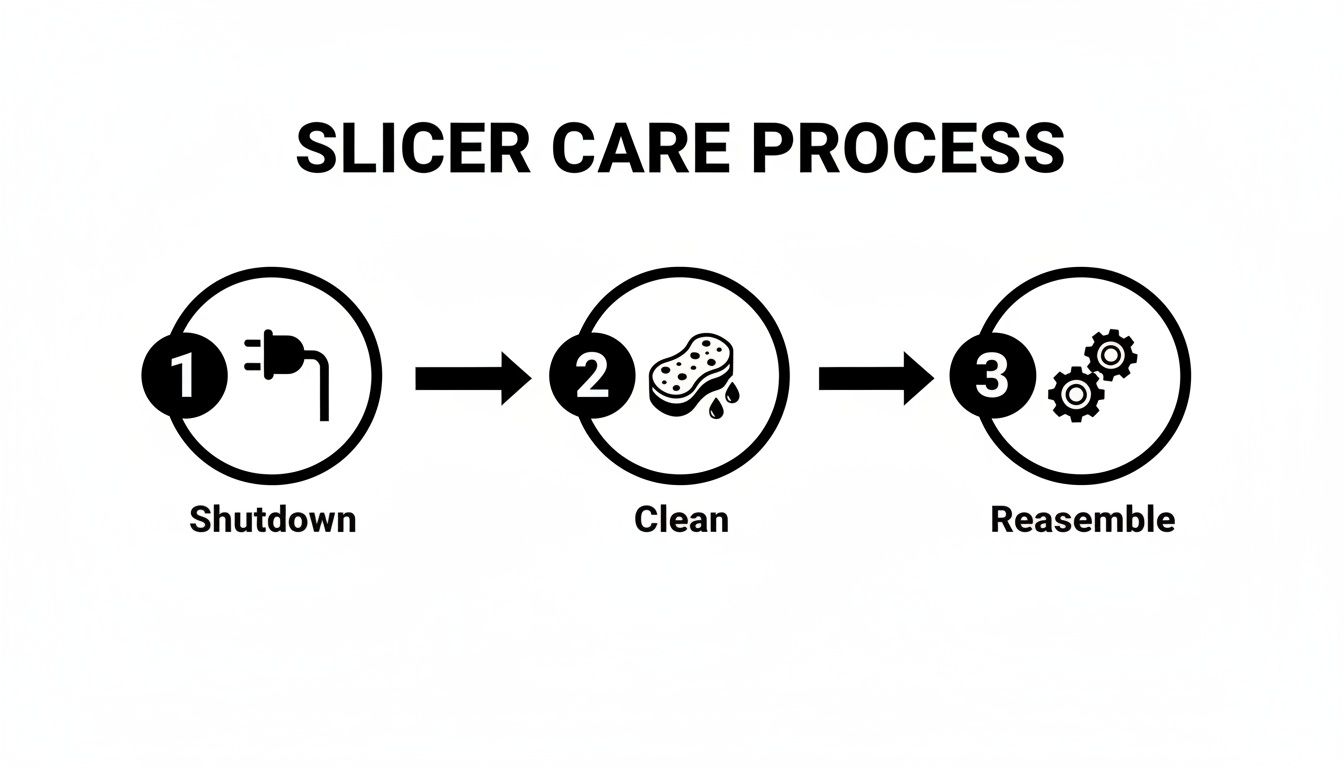
This visual just reinforces the golden rule: safe shutdown always comes first, followed by a deep clean, and then a careful reassembly.
The Reality of Slicer Cleaning Compliance
Even though the rules are clear, the industry as a whole has a tough time keeping up. A landmark EHS-Net study brought some pretty sobering numbers to light, revealing that only 26.9% of workers were actually breaking down, cleaning, and sanitizing their slicers every four hours, which is the FDA's recommended frequency. That's a huge gap in a critical food safety practice.
The principles of creating and following strict safety checklists are universal. For instance, learning how to improve safety and lab productivity in a lab setting offers great insights into creating systems that work, a mindset that applies directly to the meticulous job of handling a meat slicer.
To give you a quick, at-a-glance reference, here’s a simple checklist summarizing the post-use process.
Quick Reference Post-Slicer Use Checklist
| Action | Frequency | Primary Benefit |
|---|---|---|
| Safe Shutdown | After every use session | Prevents accidental injury during cleaning. |
| Disassembly | After every use session | Allows access to all food-contact surfaces. |
| Cleaning | After every use session | Removes visible food soil and debris. |
| Sanitizing | After every use session | Kills harmful microorganisms and bacteria. |
| Reassembly & Inspection | After cleaning/sanitizing | Ensures proper function and spots potential maintenance issues. |
Having a clear, repeatable process like this is your best defense against both health code violations and unexpected equipment failures.
For a wider view on keeping your entire operation safe, take a look at our guide for building a complete commercial kitchen safety checklist.
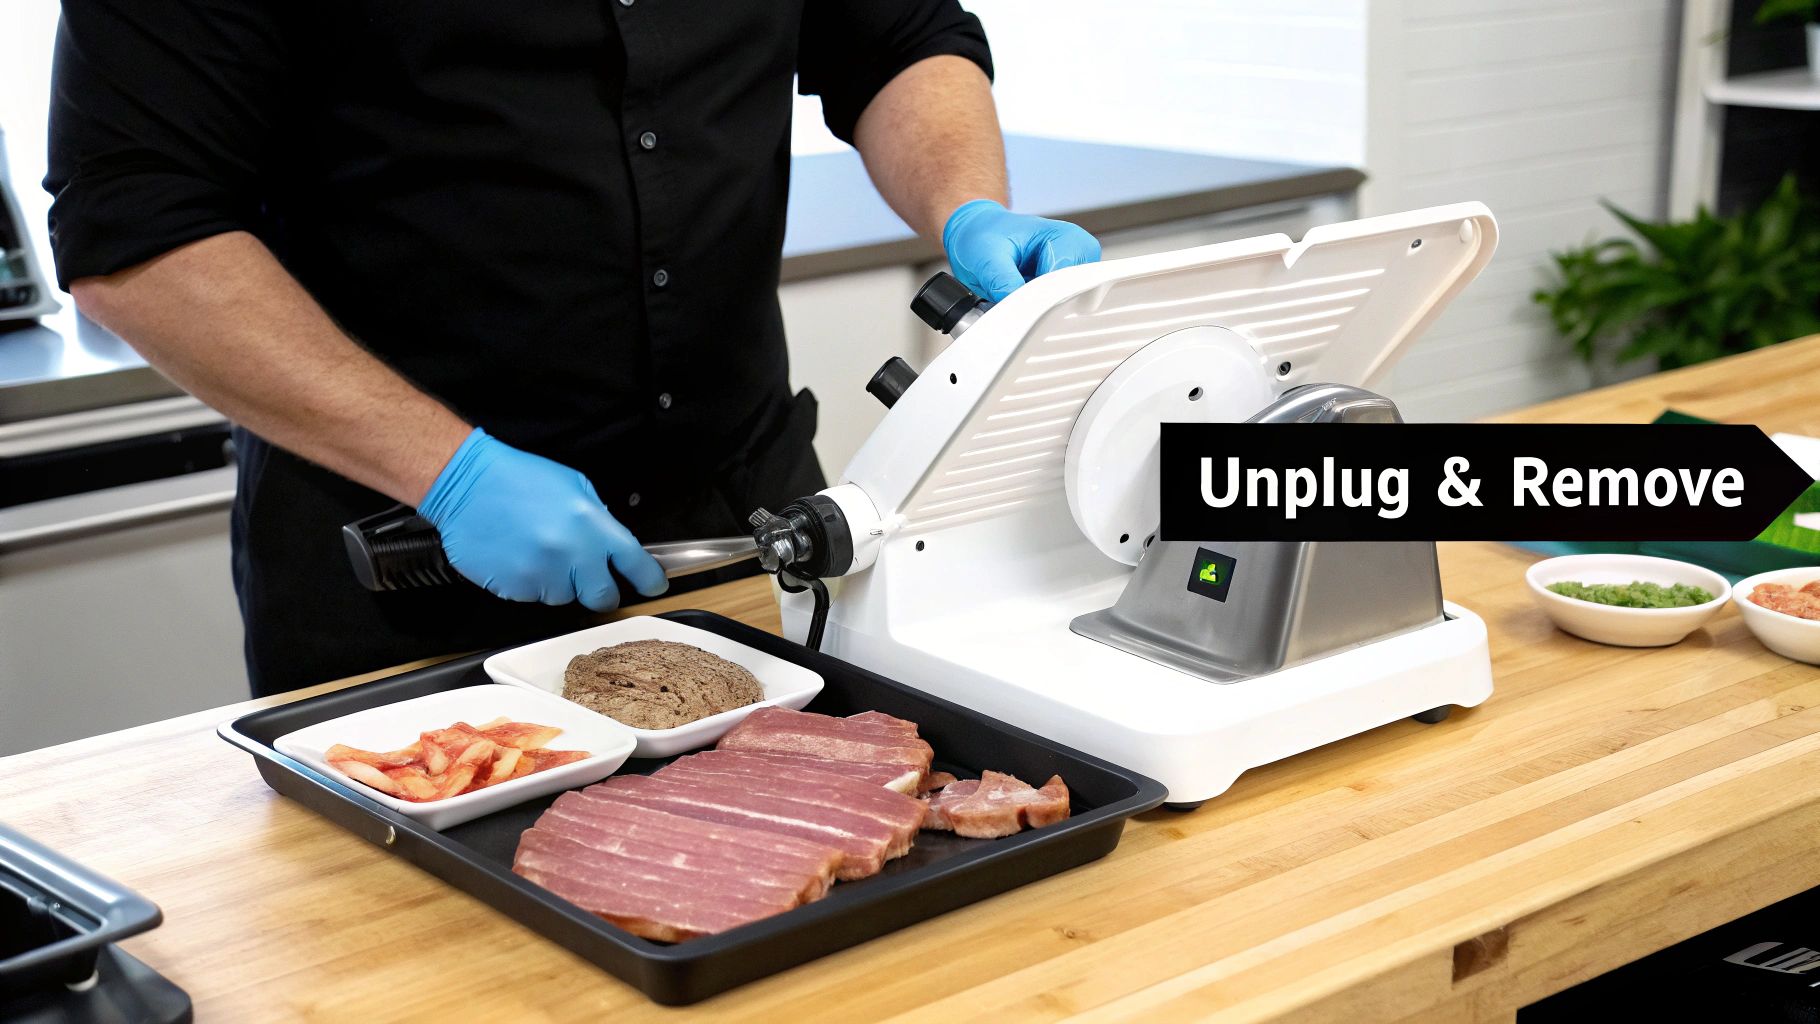
Getting It Ready for a Safe Shutdown and Disassembly
This is the most important moment in slicer care, and it happens before a single drop of cleaner touches the machine. I’ve seen it time and again: that transition from active use to cleaning is where the worst accidents happen. Getting the shutdown and disassembly right isn't just a good idea—it's a non-negotiable safety protocol that protects your team from life-altering injuries.
The very first thing you do after using a meat slicer you should be to completely cut the power. I don't just mean flipping the switch to "off." You need to physically unplug that unit from the wall outlet. This is the only way to guarantee the motor can't accidentally kick on while someone's hands are anywhere near that blade.
With the slicer completely dead, you can get it ready for disassembly. This involves a few key safety checks that should become pure muscle memory for your crew.
Pre-Disassembly Safety Checks
Before a single part comes off, always run through this quick checklist to secure the machine:
- Dial It to Zero: Crank the thickness adjustment knob all the way down until the gauge plate is flush against the blade. This acts as a primary shield for that razor-sharp edge, minimizing the chance of an accidental brush.
- Lock Down the Carriage: If your model has a lock for the product tray or carriage, use it. The last thing you want is that heavy component sliding around unexpectedly while you're working.
- Gear Up: This one is absolutely mandatory. Everyone involved must put on a pair of food-safe, cut-resistant gloves. Let me be clear: standard latex or vinyl gloves offer zero protection from a slicer blade.
These simple habits drastically reduce the risk of cuts and foster a much safer environment for the entire cleaning process.
Pro Tip: Before you start, create a "parts zone" on a nearby counter. Just lay down a clean, dry towel and place each component there as you take it off. It’s a simple organizational trick that keeps small screws from vanishing and prevents delicate parts from getting knocked to the floor.
A Methodical Approach to Taking It Apart
Once the slicer is secure, you can begin removing the main components for cleaning. Every model is a little different, so your manufacturer's manual is your best friend here, but the general order of removal is pretty consistent.
Start with the easy stuff. The product tray (or food chute) usually comes off first, followed by the carriage arm. These are typically the largest pieces and are easiest to handle. Next, you’ll carefully unfasten and remove the blade guard or ring guard. This piece sits right over the blade, so its removal requires your full and undivided attention.
With the main components detached and set aside in your parts zone, the slicer is officially ready for a deep clean and sanitization. This structured approach ensures no steps get skipped and every part is accounted for, making the entire process safer and more efficient from start to finish.
Mastering the Four-Hour Clean and Sanitize Rule
When it comes to meat slicers, there’s one rule that is absolutely non-negotiable in any commercial kitchen: the four-hour clean and sanitize rule. After using a meat slicer you should always follow this protocol. This isn't just a friendly suggestion; it's a critical food safety mandate designed to stop dangerous bacteria, like Listeria, from setting up camp on your equipment.
Think of it this way: any tiny food particle left behind in a crevice is a welcome mat for pathogens. The process to get rid of them is a strict one-two punch: cleaning, then sanitizing. You absolutely cannot skip one and call it a day.
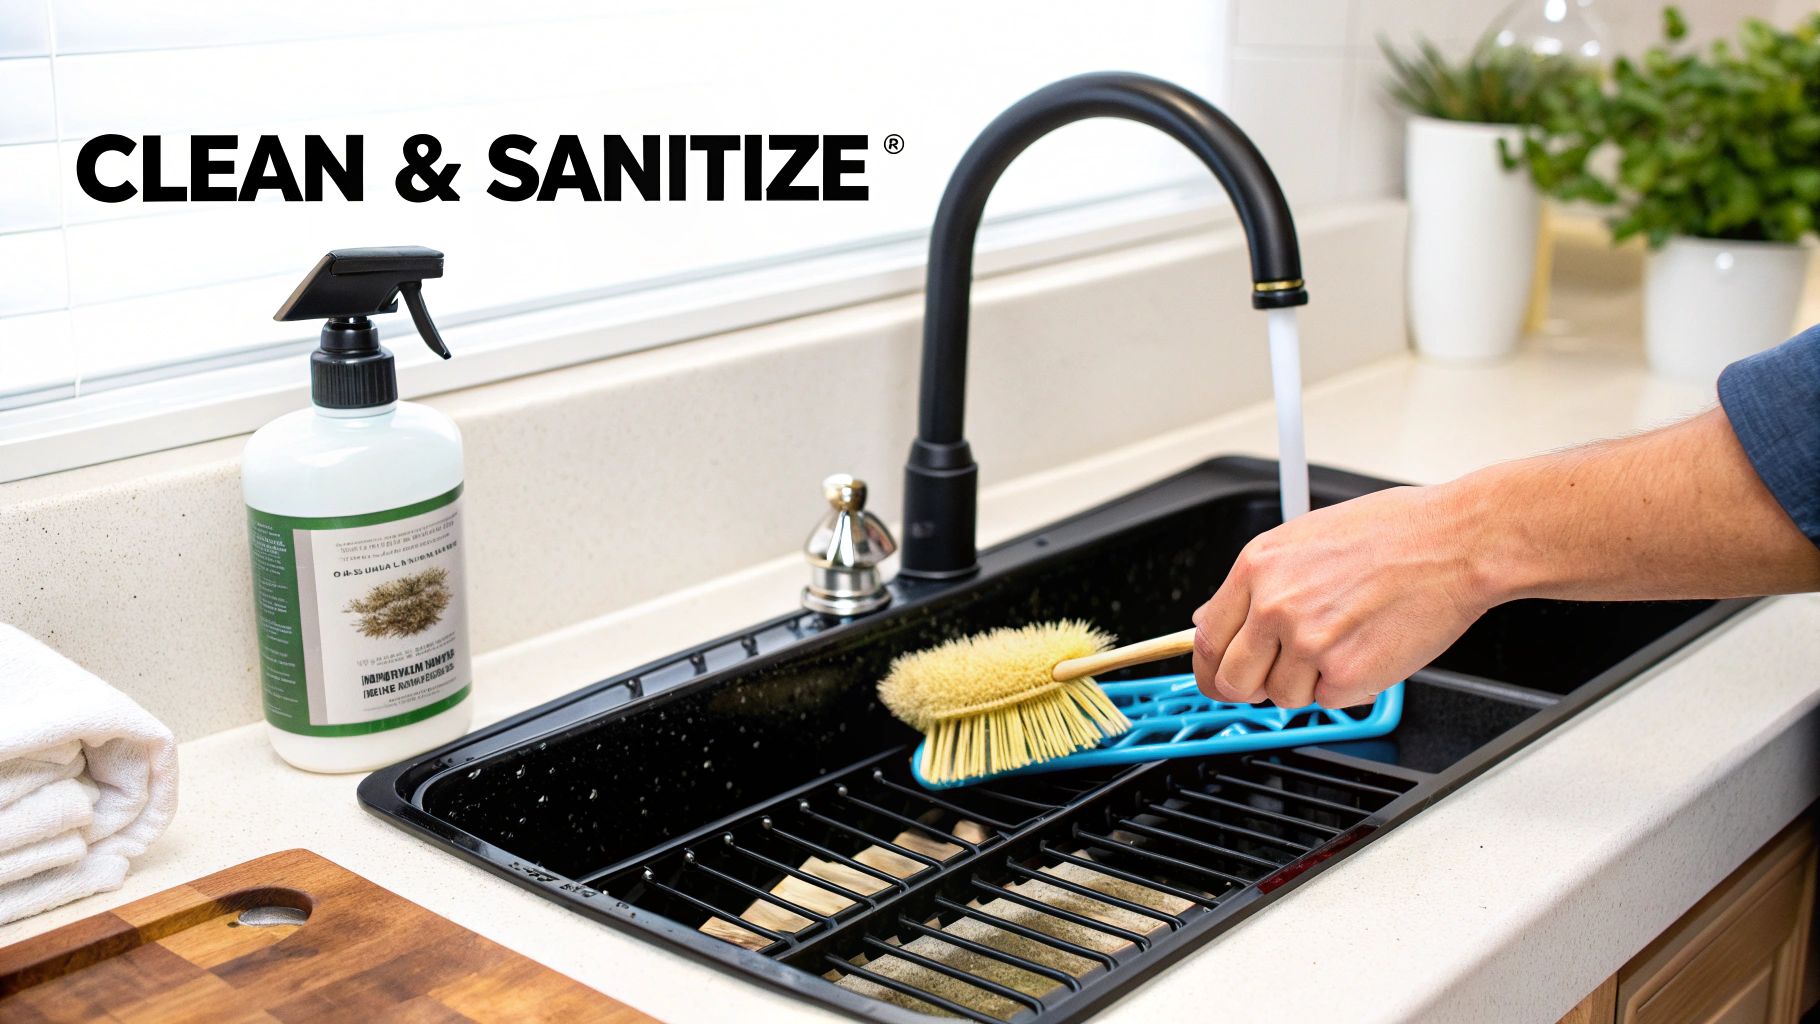
The Cleaning Phase: Removing Physical Debris
First things first, you have to get rid of all the physical gunk. This initial stage is all about scrubbing every single disassembled component with hot, soapy water. Don't just give it a quick rinse; this needs to be a detailed, thorough scrub-down.
Specialized brushes are your best friend here. They’re designed to get into every groove, seam, and screw hole where food residue loves to hide. Your goal is simple: if you can see it—any trace of fat, meat, or cheese—it needs to go. This step is what clears the way for the sanitizer to actually do its job.
The regulatory bodies don't mess around with this. The FDA Food Code is crystal clear, requiring cleaning and sanitizing a slicer every four hours of continuous use to prevent cross-contamination. Research has even shown that poor slicer hygiene is a major Listeria risk, with one study noting that over 62% of inspected slicers had damage from neglected cleaning, turning them into pathogen hotspots.
The Sanitizing Phase: Eliminating Invisible Threats
Once every part is visibly spotless, it's time for the final, crucial step: sanitizing. This is what kills the microorganisms you can’t see. A food-safe, no-rinse chemical sanitizer is the standard tool for this job.
But here’s the secret to getting it right: contact time. Simply spraying and immediately wiping it off does nothing. The sanitizer needs to sit on the surface for the amount of time specified by the manufacturer—often around 60 seconds—to effectively kill the bacteria.
Crucial Takeaway: Sanitizing is not the same as cleaning. Sanitizer is made to kill germs on an already clean surface. If you try to sanitize a dirty slicer, the leftover food bits will neutralize the chemical, making it completely useless and giving you a false sense of safety.
After the sanitizer has done its work, let all the components air-dry completely on a clean, designated rack. Wiping them down with a cloth can just reintroduce contaminants you worked so hard to get rid of. Remember, any lingering moisture is an open invitation for bacteria to start growing all over again.
Proper equipment hygiene is a cornerstone of any successful kitchen. To broaden your knowledge, check out our comprehensive guide on cleaning restaurant equipment for more best practices.
How to Inspect and Maintain Your Slicer
Proper care goes way beyond just a good cleaning. After every single use, you should be giving your meat slicer a quick but vital inspection. This simple habit protects your investment, heads off costly breakdowns before they start, and keeps the machine running safely and efficiently day after day. Think of it as a quick health check-up for one of your kitchen’s biggest workhorses.
This post-cleaning once-over is your first line of defense against small issues snowballing into total failures. For example, a tiny, unnoticed crack in a rubber gasket might seem like no big deal. But that little flaw can let moisture seep into the motor housing, leading to corrosion and, eventually, a complete burnout—a repair that can set you back hundreds of dollars and leave you without a slicer for days.
Key Inspection Points
Once the slicer is clean, your eyes are your most important maintenance tool. Before you even think about putting it back together, methodically check these critical areas:
- The Blade: Look closely for any nicks, chips, or dull spots along the cutting edge. A damaged blade won't just give you shredded, unappealing cuts of meat; it's a serious safety hazard. A dull or chipped blade requires more force to operate, which dramatically increases the risk of accidents.
- Seals and Gaskets: Examine all the rubber and plastic seals for any signs of wear and tear, like cracks, brittleness, or looseness. These components are what keep moisture and food debris out of the internal mechanics, so they have to be in top shape.
- Moving Parts: Gently check the carriage, product tray, and blade guard. Are there any loose screws, wobbly fittings, or unusual resistance as you move them? Everything should feel smooth and secure, without any excessive play or grinding.
Turning this routine into a habit transforms a simple cleaning job into a proactive maintenance strategy. For a deeper dive into the mechanics and features of different models, our complete meat slicer machine guide has all the detailed info you need.
Lubrication for Longevity
After your inspection is complete, lubrication is the final step before you reassemble. This isn't just about making the parts move smoothly; it’s about reducing the friction that causes premature wear and tear on essential components like the slide rods and gears.
Important Note: Only use a food-grade lubricant that is specifically made for food service equipment. Never grab a standard mechanical oil like WD-40. The wrong type of lubricant can contaminate food and actually damage the slicer’s components. A small amount applied to the points specified by the manufacturer is all you need.
By making this inspect-and-lubricate routine part of your daily closing procedures, you turn a chore into a powerful strategy. This discipline is what keeps your slicer a reliable, high-performing tool instead of an unexpected liability waiting to happen.
Blade Sharpening and Safety Protocols
Let's be honest, the blade is the heart and soul of your slicer. It’s also, without a doubt, its most dangerous component. Getting blade sharpening and handling right isn't just about performance—it's about preventing serious, life-altering injuries. A dull blade is a dangerous blade. It forces your staff to use more pressure, which dramatically increases the chances of the product slipping and someone getting badly hurt.
Think of it this way: a dull blade is like trying to cut with a rusty saw, while a sharp one is like a surgeon's scalpel. One tears and shreds, demanding force and creating a completely unpredictable situation. The other glides through with precision and control. Your slicer blade should always be the scalpel.
When to Sharpen Your Slicer Blade
Forget trying to stick to a rigid calendar schedule. The best way to know when to sharpen is to let the slicer tell you. You’ll know it’s time when you start noticing these classic signs:
- Shredding Instead of Slicing: The meat comes off looking ragged or torn, not clean and uniform.
- Excessive Waste: You're seeing more "tailings" or unusable shredded bits at the end of each piece of meat.
- Increased Operator Effort: Your team has to push significantly harder on the carriage to make a clean cut.
These aren't just minor annoyances; they're direct communications from your machine that the blade needs attention. Addressing them right away maintains both your food quality and, more importantly, your team's safety.
Honing vs. Sharpening: Understanding the Difference
So many people use "honing" and "sharpening" interchangeably, but they are two totally different processes. Getting this right is the key to extending your blade's life and getting those perfect, paper-thin cuts.
- Honing: This is a quick touch-up. It realigns the microscopic edge of an already sharp blade that gets a little bent or warped from daily use. It doesn't actually remove any metal. Most built-in slicer sharpeners have a honing stone specifically for this purpose.
- Sharpening: This is the more intensive process. It involves grinding away a tiny amount of metal to create a brand new, razor-sharp edge. You do this only when honing just isn't cutting it anymore (pun intended).
A good rule of thumb is to hone the blade often—maybe even daily, depending on use—and sharpen it only when absolutely necessary. Over-sharpening will drastically shorten the lifespan of your blade, leading to a costly replacement you didn't need to make.
Expert Insight: Think of blade care like you would how to care for cast iron. It’s not a one-and-done task; it’s a consistent routine. Both demand attention to detail to ensure they last for years and perform at their best.
When to Call a Professional
There comes a point where the built-in sharpener just isn't going to be enough. If you spot deep nicks in the blade, if the edge is so dull that your sharpener can't fix it, or if the blade has become warped, it's time to call in a professional servicing company.
They have the specialized equipment to properly grind, balance, or replace the blade safely. Never, ever attempt major blade repairs yourself. After every use of a meat slicer, safety has to be your top priority, and that includes knowing when a task is beyond your team's capability.
Putting It All Back Together and Smart Storage
Alright, you've made it through the deep clean. Every piece is sparkling, sanitized, and completely dry. Now it's time to put your slicer back together, and this isn't a step to rush. Think of reassembly as the final, critical safety check.
A wobbly blade guard or a carriage that isn't seated just right can create a huge hazard the next time someone fires it up.
Take your time and follow the reverse order of how you took it apart. You're looking for that satisfying, secure click as each component locks into place. If you have to force something, stop. That's a red flag. Pull out the manual and double-check—a properly assembled slicer is a safe and efficient slicer.
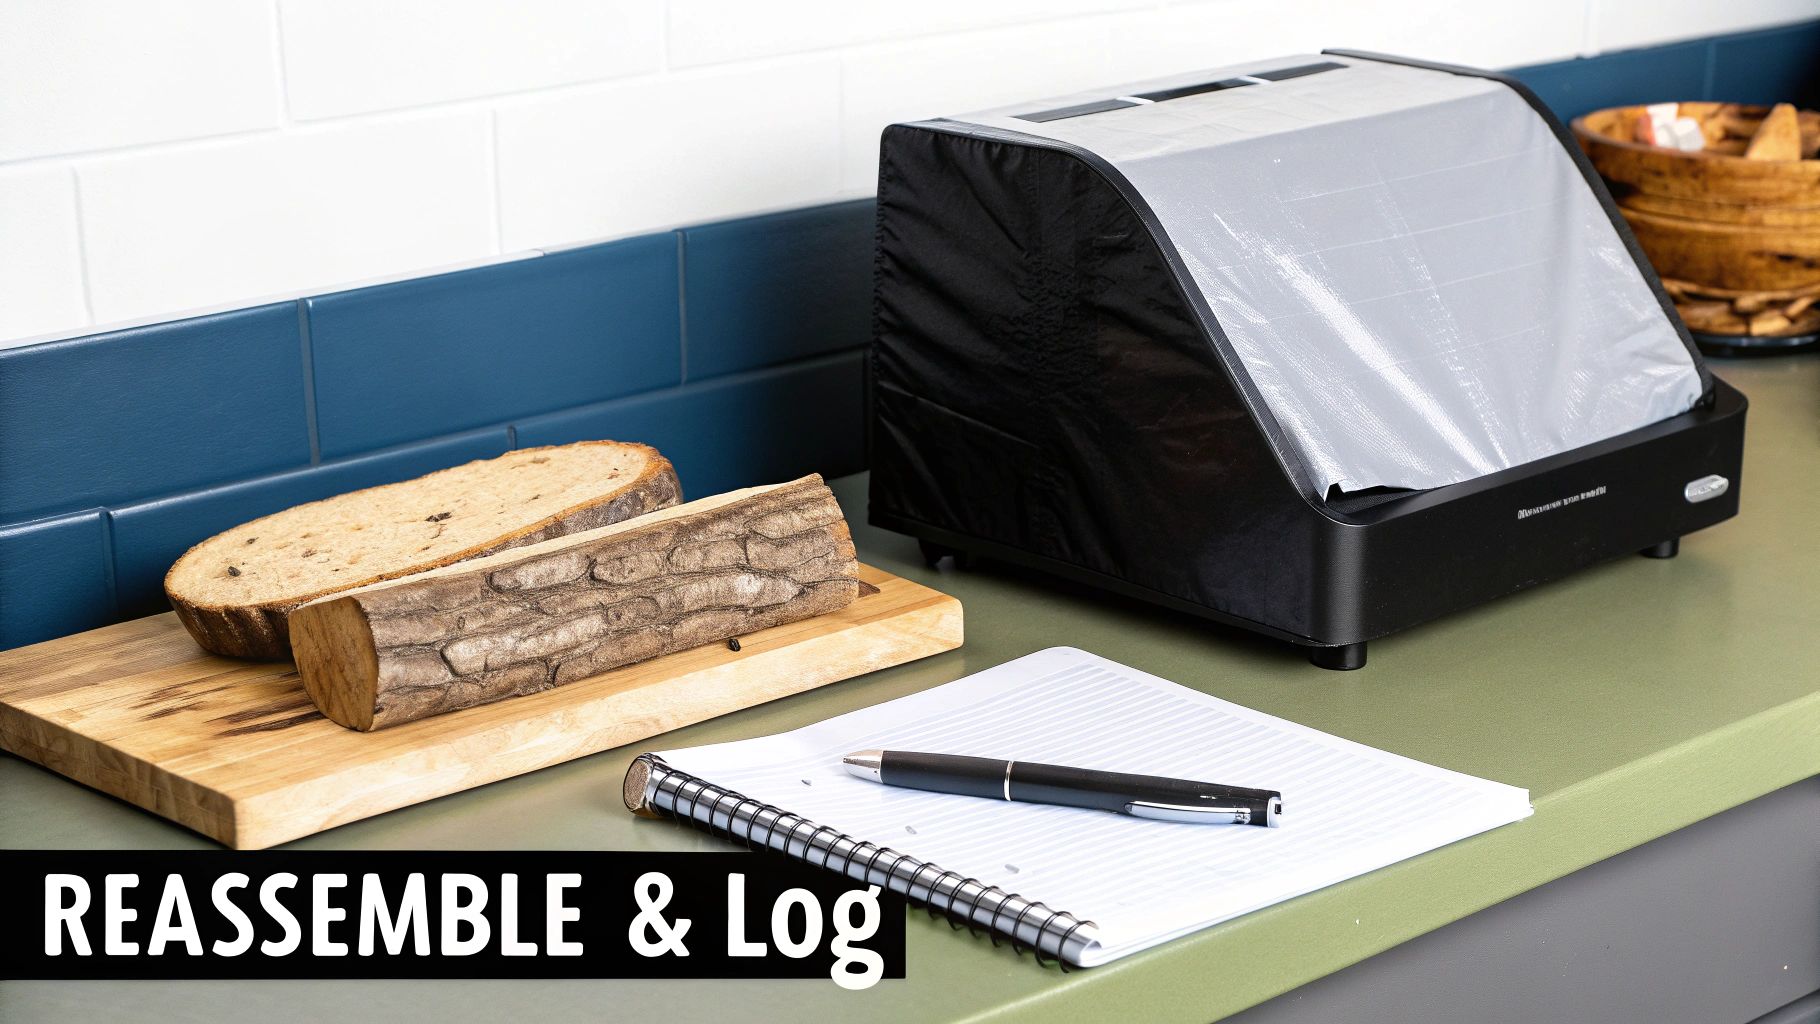
Smart Storage and Keeping Records
Once it's reassembled, don't just leave your slicer exposed on the counter overnight. Grab a dedicated slicer cover to shield it from airborne grease, dust, and whatever else settles in a kitchen after hours.
Before you cover it, do one last quick check: is the blade dial set to zero? Is the blade guard locked in tight? Making this a habit is the best way to prevent someone from accidentally brushing against an exposed blade.
To really elevate your kitchen's professionalism, start a cleaning and maintenance log. It might seem like extra paperwork, but this simple notebook is your best friend during a health inspection and an amazing tool for tracking the slicer's long-term health.
A detailed log isn't just about compliance; it's about professionalism. It should track the date, time, and initials of the person who cleaned, sanitized, and inspected the machine. Don't forget to note any maintenance tasks, like when the blade was sharpened.
This is the kind of detail that separates the pros from the amateurs. It proves that after using a meat slicer you should always follow a complete, documented safety protocol. This simple log gives you a clear history, helping you spot recurring problems and schedule preventative maintenance before a minor issue turns into a costly breakdown.
Common Meat Slicer Questions Answered
Let's be honest, the official manual doesn't always have the answers you need when you're in the middle of a busy shift. Here, we’re digging into the real-world, practical questions we hear from operators all the time. These are the details that matter for keeping your kitchen safe, efficient, and up to code.
How Often Should I Really Clean My Slicer?
Even if you only use it once or twice a day, the FDA Food Code is your guide here. You need to clean your slicer after each period of use. Bacteria don’t wait for a convenient time to grow; any food-contact surface left unattended is a potential hazard.
A full clean and sanitize cycle is also mandatory when you're switching between different foods. This is absolutely critical when going from raw meat to a ready-to-eat product, or between common allergens like cheese and deli meat, to prevent dangerous cross-contamination.
Key Takeaway: The four-hour rule applies if you're using the slicer continuously. However, any break in service where the slicer is sitting idle creates a new "use period." That means it needs a full cleaning before you start it up again.
What Is the Best Sanitizer to Use?
Your best bet is a food-grade, no-rinse sanitizer that’s approved by your local health department. The most common and effective types are based on:
- Chlorine
- Iodine
- Quaternary ammonium (you'll often hear this called "quats")
The real secret is following the instructions to the letter. Pay close attention to the manufacturer's directions for the right concentration and, most importantly, the contact time. Most sanitizers need to sit on the surface for about 60 seconds to do their job and kill off microbes. Never, ever grab a household cleaner; they can leave unsafe residues on food surfaces and might even damage your slicer's parts over time.
How Do I Know When to Sharpen the Blade?
Don't go by the calendar; let the slicer's performance tell you when it's time. A high-volume deli might need to sharpen its blade every single day, while a smaller cafe might get by with doing it weekly.
If you start seeing meat shredding or tearing instead of getting a clean cut, it’s time. Another dead giveaway is if your staff has to apply more pressure to get the job done. Remember, frequent, light sharpening is much better for the blade’s health and longevity than waiting until it's completely dull and doing an aggressive sharpening session.
At The Restaurant Warehouse, we provide the durable, high-quality equipment you need to keep your kitchen running smoothly and safely. Explore our full range of commercial meat slicers and other essential supplies.
About The Author

Sean Kearney
Sean Kearney is the Founder of The Restaurant Warehouse, with 15 years of experience in the restaurant equipment industry and more than 30 years in ecommerce, beginning with Amazon.com. As an equipment distributor and supplier, Sean helps restaurant owners make confident purchasing decisions through clear pricing, practical guidance, and a more transparent online buying experience.
Connect with Sean on LinkedIn, Instagram, YouTube, or Facebook.
Leave a comment