


under the counter refrigerator dimensions: A Practical Guide
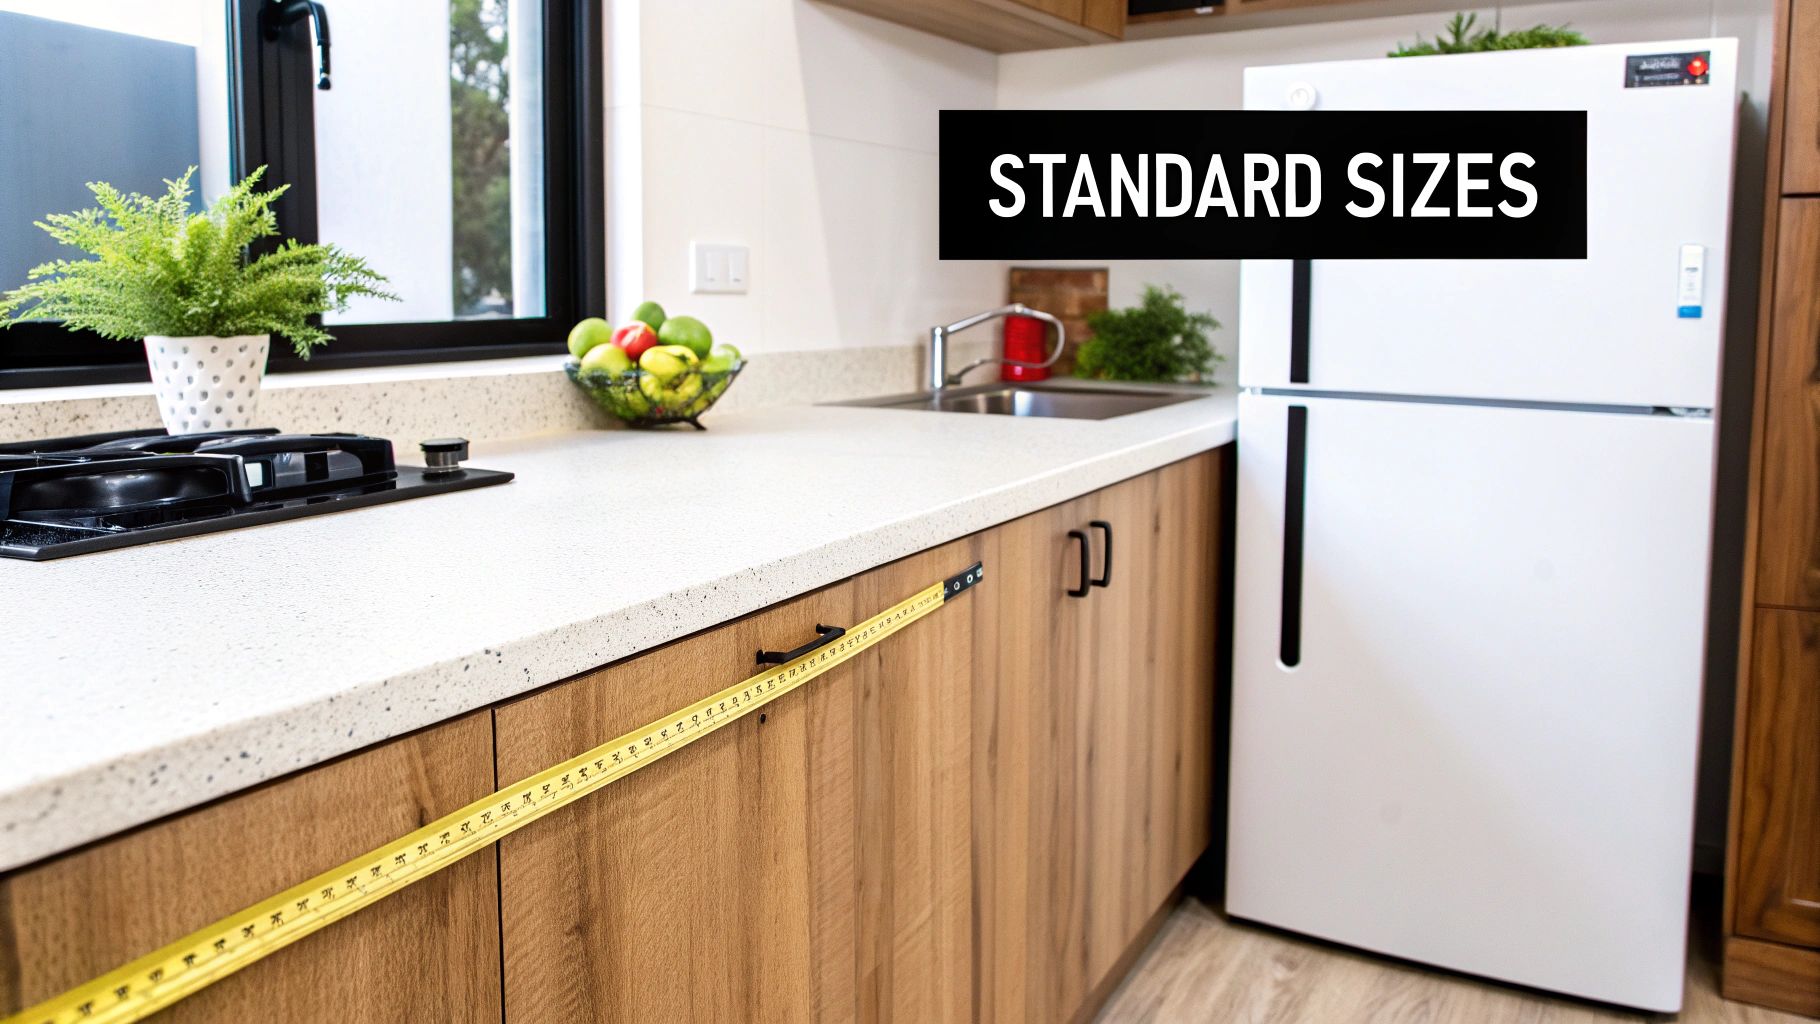
When you're trying to fit a new undercounter refrigerator into your kitchen layout, getting the dimensions right is everything. These units are specifically designed to slide perfectly into standard kitchen cabinetry, which is why most models hover around 24 inches wide, 34.5 inches high, and 24 inches deep. This isn't a coincidence; these numbers ensure they line up neatly with typical countertop heights and cabinet depths for that clean, professional, built-in look.
Standard Undercounter Refrigerator Dimensions Explained
Before you start measuring, it helps to understand why these dimensions are standard. Undercounter refrigerators are engineered from the ground up to integrate with the most common kitchen designs, making them a go-to for both commercial prep stations and home bars. The whole point is to achieve a flush, cohesive appearance without needing to pay for expensive custom cabinetry.
The most common models you'll find on the market stick to a pretty tight range. Widths usually run from 24 to 36 inches, while heights are almost always between 34 and 36 inches to sit just right under the counter. Depth is another key piece of the puzzle, with most units measuring between 24 and 28 inches deep so they don't stick out and disrupt the flow of your workspace.
Why These Dimensions Are Standard
These measurements aren't just random numbers; they’re based on long-established industry norms for kitchen design and cabinet manufacturing. Sticking to these standards makes life easier for everyone involved, from the designers planning the layout to the crew handling the installation. For a deeper look into how kitchen cabinetry is typically sized, you can explore a complete guide on standard kitchen cabinet sizes.
Quick Reference for Standard Undercounter Refrigerator Dimensions
To make things easier, here's a quick-reference table that summarizes the typical industry dimensions. This should help you quickly identify the right fit for your cabinetry and layout.
| Dimension | Common Range (Inches) | Primary Consideration |
|---|---|---|
| Width | 24" – 36" | Fits standard cabinet openings. 24" is the most common size by far. |
| Height | 34" – 36" | Aligns with standard 36-inch high countertops, leaving just enough room for leveling. |
| Depth | 24" – 28" | Ensures a flush fit with standard 24-inch deep base cabinets without protruding. |
Keeping these common ranges in mind will help you quickly determine if a particular unit will work in your space. To learn more about how to choose the right model, check out our complete guide on selecting the best undercounter fridges.
Built-In Versus Freestanding Unit Dimensions
When you’re picking an undercounter refrigerator, one of the first big decisions is whether to go with a built-in or a freestanding model. They might look similar on the surface, but how they’re designed, how they breathe, and their exact dimensions are worlds apart. These differences directly dictate where and how you can install them, so getting this right is key to making sure the unit works properly and looks great in your kitchen or bar.
A built-in undercounter refrigerator is engineered to slide perfectly into your cabinetry for a completely seamless, flush finish. It's the go-to choice for that high-end, integrated look everyone wants in a modern commercial kitchen. To pull this off, these units have front-facing ventilation, usually a grille at the bottom. This clever design lets the compressor's heat escape from the front, meaning you don’t need to leave any clearance space on the sides or back.
On the other hand, a freestanding undercounter refrigerator is built to stand on its own. These models usually have finished sides and are designed to ventilate from the back and sides. This is a critical detail because it means they need several inches of open air all around them to get rid of heat properly. If you try to box a freestanding unit into a tight cabinet enclosure, you'll trap the heat, forcing the compressor to overwork itself into an early grave.
Key Dimensional and Installation Differences
The main distinction really boils down to ventilation and the clearance space it demands. A built-in model’s dimensions are cut and dry, designed to fit precisely into standard cabinet openings, often at exactly 24 inches wide. A freestanding unit might be a little smaller dimensionally, but the real footprint includes the mandatory breathing room you have to leave around it.
For instance, you might find a freestanding model that's 23.5 inches wide, but the spec sheet will tell you it needs 2-3 inches of clearance on each side and at the back. Suddenly, the total space you actually need is closer to 28 inches wide and 27 inches deep. Ignoring these clearance specs is one of the most common—and expensive—mistakes people make during installation.
Expert Tip: Never, ever install a freestanding refrigerator in a custom cabinet cutout meant for a built-in. The lack of proper airflow will drastically shorten the appliance's lifespan and almost certainly void its warranty. For that seamless, integrated look, a front-venting, built-in model is the only way to go.
To really spell it out, let’s compare the two types side-by-side.
Comparing Built-In and Freestanding Undercounter Refrigerators
Choosing between these two styles really comes down to how your space is laid out and what you're trying to achieve aesthetically and functionally. The table below breaks down the core differences in their design, ventilation, and installation requirements, which should make the decision crystal clear.
| Specification | Built-In Refrigerator | Freestanding Refrigerator |
|---|---|---|
| Primary Use | Seamlessly integrated into cabinetry | Can be placed anywhere with an outlet |
| Ventilation | Front-venting, through a bottom grille | Rear and side-venting |
| Required Clearance | Zero clearance needed on sides and back | 1-3 inches of clearance required on sides/back |
| Dimensions | Sized for precise cabinet cutouts (e.g., 24" W) | More varied; total footprint includes clearance |
| Aesthetics | Flush, integrated, professional appearance | Finished sides for a standalone look |
| Installation | Slides into a prepared cabinet opening | Placed in an open area or with ample space |
So, what's the bottom line? Your choice really depends on your kitchen's layout and your design goals. If you're after that clean, totally flush look, a built-in unit isn't just an option—it's a necessity. But if you have more open space and need the flexibility to place the unit wherever you want, a freestanding model can be a perfectly good fit.
Mastering Installation Clearances and Ventilation
Picking an under-counter refrigerator with the right dimensions is only half the battle. Making sure it has enough room to breathe is what truly guarantees its long-term performance and efficiency. A perfect fit isn't about a tight squeeze; it’s about giving the unit enough space for proper airflow, which is critical for keeping the compressor from overheating. Ignoring these clearance requirements is a common—and costly—mistake that can lead to premature equipment failure and even void your warranty.
Every under-counter refrigerator, whether it’s a built-in or freestanding model, generates heat as it cools. That heat has to go somewhere, and that's where ventilation comes in. Without enough space around the unit, that trapped heat forces the compressor to work harder and run constantly, driving up your energy bills and drastically shortening the appliance's lifespan.
The Role of Front-Venting Systems
For built-in models designed to sit perfectly flush within your cabinetry, a front-venting system is a non-negotiable feature. These units are engineered with vents—usually a grille at the bottom front—that pull in cool air from the room and push out hot air. This clever design is what lets them be installed with zero clearance on the sides, top, and back, giving you that sleek, integrated look without sacrificing function.
It’s absolutely crucial, however, that this front grille is never blocked. Covering it with a custom toe-kick, a rug, or anything else will essentially suffocate the appliance, leading to the same overheating issues you’d see with a poorly placed freestanding model.
Clearance Rules for Rear-Venting Models
Freestanding units, on the other hand, are almost always rear-venting. This means their condenser coils are on the back, and they push heat out from the back and often the sides. Because of this, they need a good amount of open space all around them to work properly.
General Guideline: You should always check the manufacturer's specific instructions, but a solid rule of thumb for freestanding models is to leave 1-2 inches of clearance on each side and at the top, and at least 2-3 inches of space at the back. This air gap gives the heat a path to escape and prevents the unit from overworking itself.
Failing to provide this buffer zone is a recipe for disaster. The refrigerator will struggle to hold its internal temperature, run inefficiently, and ultimately burn out its compressor long before its time.
To get the full picture of airflow management in a professional kitchen, our guide on commercial kitchen ventilation requirements offers some great insights that go hand-in-hand with proper appliance placement.
A Quick Checklist for Ventilation Success
Before you finalize your installation, run through this quick checklist to make sure your new unit is set up for a long, efficient life:
- Confirm Venting Type: Is your unit front-venting (built-in) or rear-venting (freestanding)? This determines everything.
- Check Manufacturer Specs: Always, always prioritize the specific clearance dimensions listed in the product manual over general guidelines.
- Measure Total Footprint: Don't forget, the total space needed for a freestanding unit is the appliance's dimensions plus the required air gaps.
- Ensure Unobstructed Airflow: For front-venting models, double-check that the grille will not be covered. For rear-venting units, make sure nothing will be pushed up against its back or sides.
By mastering these simple clearance and ventilation rules, you protect your investment and make sure your under-counter refrigerator runs efficiently for years to come.
How to Measure Your Cabinet Opening Accurately
Getting your new under-counter refrigerator to slide perfectly into place starts with one thing: an accurate measurement. I've seen it countless times—a small mistake here can lead to huge installation headaches and costly returns. Taking a few extra minutes to measure your cabinet opening the right way is honestly the most important part of the whole process.
Before you start, grab a few tools. You'll need a good tape measure, something to jot down the numbers (a notepad or your phone works fine), and a level. Make sure the space is completely clear—pull out any old appliances or junk to give yourself a clean area to work with. Remember, this new unit has to live with your existing setup, so understanding the basics of how to choose kitchen cabinets can give you some helpful context for a seamless fit.
The Three-Point Measurement Technique
Here’s a pro tip: cabinets and floors are almost never perfectly square. To account for those little imperfections that can throw off an installation, you need to measure the height, width, and depth at three different spots. This simple trick helps you find the narrowest or shortest point, which is the true dimension you have to work with.
- Measure the Width: Start by measuring the horizontal distance from the left side of the opening to the right. Do this at the top, middle, and bottom of the opening. Write down the smallest of the three numbers.
- Measure the Height: Now, measure the vertical distance from the floor up to the bottom edge of the countertop. Take this measurement on the left side, in the center, and on the right side. Again, record the shortest height.
- Measure the Depth: Finally, measure from the back wall out to the front edge of the cabinets next to the opening. Do this at the top, middle, and bottom. Record the shallowest depth.
Using the smallest measurement for each dimension guarantees your unit will slide in without a fight, even if your cabinetry isn't perfectly plumb.
This diagram gives you a quick visual of the key clearance areas you'll need to account for. Proper ventilation is everything.

As you can see, while the cabinet opening is your main focus, leaving enough breathing room at the top, sides, and especially the back is vital for airflow. Don't skip it.
Spotting Potential Obstructions
Once you have your numbers, take a good, hard look inside the cabinet opening. You're hunting for anything that could get in the way of the refrigerator's placement or function. These are the hidden obstacles that can derail an installation in a heartbeat.
Pro Tip: Don't forget to measure the path to the kitchen! Check the width of your doorways, hallways, and any tight corners to make sure you can actually get the appliance into the room on delivery day. No one likes that kind of surprise.
Here are the common culprits to look out for:
- Electrical Outlets: Note where the outlet is and how far it sticks out. You need to make sure the refrigerator's plug and cord won't stop the unit from sliding all the way back.
- Plumbing Lines: Look for any water lines or drain pipes, which is especially important if you're installing a model with an ice maker.
- Baseboards or Trim: Measure how far any floor molding or trim juts into the opening. This can easily reduce your usable depth or width right at the floor level where it matters most.
By following these steps and keeping an eye out for these potential roadblocks, you'll be ready to pick an under-counter refrigerator with dimensions that guarantee a perfect, professional-looking fit.
Sizing Up Commercial Undercounter Refrigerators
A commercial kitchen is a whole different world. It’s a high-pressure environment where every inch of counter space and every second of workflow is critical. The undercounter refrigerators built for this setting are absolute workhorses—designed for durability, maximum capacity, and efficiency, which all play into their dimensions and how they’re installed. These units have to stand up to constant use, intense cleaning schedules, and the heat of a busy cook line, unlike their residential cousins.
This heavy-duty construction means you'll see things like thicker insulation, more powerful compressors, and tough stainless steel exteriors, all of which shape the final under counter refrigerator dimensions. In a pro kitchen, these units are essential for squeezing the most out of your layout while sticking to strict food safety rules. As one industry report points out, commercial undercounter units typically have standard widths from 24 to 36 inches, heights between 34 and 36 inches, and depths of 24 to 28 inches. These specs are designed so they can slide right into professional prep lines and service stations without a hitch.
Meeting ADA Compliance Specifications
Accessibility isn't just a nice-to-have in a commercial kitchen or bar; it's a legal requirement. Making sure your equipment is ADA (Americans with Disabilities Act) compliant is a huge factor in your layout. The ADA has specific guidelines for appliances to ensure they're usable for everyone, including individuals with disabilities. For an undercounter refrigerator to be ADA compliant, it has to hit a few key marks.
First, the controls have to be easy to use with one hand and can't require any tight grasping, pinching, or twisting. More importantly, the bottom of the fresh food storage area can be no more than 34 inches from the finished floor. This allows someone in a wheelchair to comfortably reach forward and access the contents.
That 34-inch maximum height is the key dimension that separates ADA-compliant models from standard ones, which are usually built to align with typical 36-inch high countertops. When you’re sourcing your equipment, always look for models specifically marked as "ADA Compliant" to make sure your establishment is up to code.
Planning for Door Swing and Workflow
In the tight quarters of a commercial kitchen, something as simple as a refrigerator door can turn into a huge headache. You have to think about which way the door swings and how much clearance it needs to keep your workflow safe and efficient. A poorly placed door can easily block a busy walkway, bang into other equipment, or create a collision risk for your staff.
Before you buy any unit, map out where it’s going to live and visualize the door opening. You'll want to think about:
- Workflow Path: Does the open door get in the way of the path from the prep station to the cook line?
- Adjacent Equipment: Is the door going to hit a nearby oven, worktable, or dishwasher when it's fully open?
- Staff Movement: Can your team get what they need from the fridge without causing a traffic jam?
Lots of commercial undercounter refrigerators come with field-reversible doors, which is a lifesaver. This feature lets you switch the hinge from the left to the right side right there on-site. It gives you incredible flexibility during installation, allowing you to tweak the unit to fit your kitchen's layout perfectly and keep foot traffic moving smoothly. Always double-check if this feature is available—it can save you from a major operational headache.
Key Takeaway: In a commercial kitchen, dimensions are about more than just fitting a unit into a space. They directly affect how accessible, safe, and efficient your operation is. Thinking about ADA height rules and planning for door swing is just as important as measuring the cabinet opening.
Your Essential Pre-Purchase and Installation Checklist
Getting your project right from the get-go comes down to careful planning. A solid checklist is your best friend for dodging common headaches, like a simple mismeasurement or forgetting a crucial step on installation day. To help you nail every detail, we've broken the process down into two key phases: what to do before you buy, and what to do the day your new unit arrives.
Running through these steps helps you confirm that the under-counter refrigerator dimensions you’ve picked are a perfect match for your space. It's all about being proactive to avoid any last-minute surprises and ensure a smooth, professional installation.
Pre-Purchase Checklist
Before you even think about hitting that "buy" button, it's critical to run through these checks. This stage is all about triple-checking your space, confirming utility hookups, and making sure every spec aligns with your kitchen's layout. Honestly, getting this part right is 90% of the battle.
- Finalize Measurements: Did you measure the height, width, and depth of your cabinet opening in at least three different spots for each dimension? Always, always use the smallest measurement you get—that's your true available space.
- Verify Ventilation Type: Double-check whether you need a front-venting model for a built-in application or a rear-venting unit that needs more breathing room. This is the single most important decision for your fridge's performance and lifespan.
- Check Electrical and Plumbing: Is there a grounded electrical outlet within reach of the power cord? If you're getting a model with an ice maker, is the water line already in place and ready to go?
- Plan the Delivery Path: Get out that tape measure again. Measure every doorway, hallway, and tight corner from your loading dock or front door to the final installation spot. You have to be sure the crated unit can physically make the journey.
- Confirm Door Swing Direction: Think about your kitchen's workflow. Do you need a left-hand or right-hand door swing? Check if the model you're eyeing offers a field-reversible door, which gives you more flexibility down the road.
Installation Day Checklist
When delivery day finally comes, being prepared can make all the difference between a smooth setup and a frustrating one. This checklist ensures the area is prepped and the final installation is done right for long-term reliability. A hassle-free install sets the stage for years of efficient, trouble-free operation.
Pro Tip: After the refrigerator is in place, let it stand upright for at least 4-6 hours before plugging it in. This gives the compressor oils and coolant time to settle after transport, which helps prevent potential damage to the cooling system.
- Clear the Area: Make sure the installation site and the entire path to it are completely clear. Move any obstacles, furniture, or debris out of the way beforehand.
- Inspect for Damage: Before you sign off with the delivery team, give the refrigerator a thorough once-over. Look for any dents, scratches, or other damage that might have happened during shipping.
- Level the Unit: Once it's in place, grab a level. Adjust the unit’s feet until it's perfectly level from front to back and side to side. An unlevel refrigerator can cause the door to seal improperly and make the compressor work harder than it needs to. For brand-specific tips, an Atosa undercounter refrigerator guide can offer some valuable insights.
- Allow for Settling Time: Don't plug the unit in right away. As mentioned in the pro tip, give it several hours to settle. Patience now can save you a big headache later.
- Test and Monitor: After plugging it in, let the refrigerator run empty for at least 24 hours. You want it to reach its stable operating temperature before you start loading it with valuable products.
Your Top Questions About Undercounter Fridge Sizes, Answered
When you're getting close to a final decision, a few common questions always seem to pop up about undercounter refrigerator dimensions and how to install them. Getting these details right is the key to avoiding costly mistakes and making sure the unit you choose fits your kitchen's design perfectly.
We'll tackle some of the most persistent questions we hear, from installation no-nos to confusing terminology, giving you direct, practical advice. Think of this as your final check-in to move forward with total confidence.
Can I Put a Freestanding Unit Inside a Cabinet?
This is one of the most common—and critical—questions we hear. The short answer is a hard no. You should never install a freestanding refrigerator inside a snug cabinet enclosure. Freestanding models are designed to get rid of heat from their back and sides, and they need several inches of open air to do it right.
Boxing in a freestanding unit traps all that heat, forcing the compressor to run nonstop. This leads to terrible cooling, sky-high energy bills, and will ultimately kill the unit prematurely. It will almost always void the warranty, too. For that clean, built-in look, you absolutely have to choose a model with a front-venting system.
What Is the Difference Between Counter-Depth and Cabinet-Depth?
While people often use these terms interchangeably, they can mean slightly different things. Cabinet-depth usually refers to the standard depth of the cabinet box itself, which is almost always 24 inches. An appliance designed to be "cabinet-depth" will have a body that lines up perfectly with that 24-inch dimension for a flush, seamless fit.
Counter-depth, on the other hand, refers to the total depth of the countertop, which typically hangs over the cabinets by about 1 to 1.5 inches. Because of this, a counter-depth refrigerator might be a bit deeper than 24 inches to align with the counter's edge. For undercounter units, the most important thing is making sure the main body of the fridge fits the 24-inch cabinet depth, even if the door stands out a little.
Key Insight: Always, always trust the manufacturer’s specified cabinet cutout dimensions over general terms. Those specs give you the exact measurements you need for a flawless, integrated installation.
How Much Space Should I Leave Around an Undercounter Fridge?
How much breathing room you need to leave depends entirely on the unit's ventilation type. This is a crucial detail that directly impacts how well the fridge performs.
- For Built-In (Front-Venting) Models: These are engineered for what’s called a zero-clearance installation. You don’t need to leave any extra space on the sides, top, or back because all the air circulates through the grille on the front.
- For Freestanding (Rear-Venting) Models: These units need significant breathing room. A good rule of thumb is to leave 1-2 inches of clearance on the sides and top, and at least 2-3 inches at the back to let the air move.
When in doubt, always check the product manual for the manufacturer's exact clearance requirements.
Do Panel-Ready Models Have Different Dimensions?
The core dimensions of a panel-ready undercounter refrigerator are typically identical to their standard stainless steel cousins. They are designed to fit into the same standard 24-inch wide cabinet openings.
The main difference is that the door is made to accept a custom cabinet panel. You have to account for the thickness of your custom panel (usually about ¾-inch thick) when planning your kitchen layout. It will affect the final installed depth and how flush the unit sits with the cabinetry next to it.
At The Restaurant Warehouse, we provide commercial-grade undercounter refrigerators with precise specifications to ensure a perfect fit for your professional kitchen. Explore our extensive collection of durable, efficient models and find the ideal solution for your space at The Restaurant Warehouse.
About The Author

Sean Kearney
Sean Kearney used to work at Amazon.com and started The Restaurant Warehouse. He has more than 10 years of experience in restaurant equipment and supplies. He graduated from the University of Washington in 1993. He earned a BA in business and marketing. He also played linebacker for the Huskies football team. He helps restaurants find equipment at a fair price and offers financing options. You can connect with Sean on LinkedIn or Facebook.
Leave a comment