

Your Guide to a Perfect Deep Fryer Boil Out
A deep fryer boil out is, without a doubt, the single most effective way to deep clean your equipment. This isn't just a quick scrub-down. It's a full system reset, using a specialized cleaning solution and boiling water to wage war on that stubborn, caked-on grease and carbon that builds up over time.
Think of it as the ultimate spa day for your hardest-working piece of equipment.
Why a Boil Out Is Your Fryer’s Best Friend
Let's be real—performing a boil out can feel like a chore. But in any commercial kitchen, it's one of the most critical maintenance tasks you can do. This process goes way beyond just surface cleaning; it’s a non-negotiable strategy for protecting your food quality, ensuring safety, and actually boosting your bottom line.
That hidden layer of polymerized grease and carbon buildup does more than just look gross. It actively ruins your cooking oil, causing it to break down faster and impart a rancid, off-taste to everything you put in the basket. Suddenly, your signature crispy fries or golden-brown chicken is compromised before it even hits the plate.
The Real-World Impact on Your Kitchen
To get a clearer picture, let's look at how this simple maintenance task sends positive ripples throughout your entire kitchen operation.
Here’s a quick look at the tangible benefits you'll see from making the deep fryer boil out a routine part of your maintenance.
How a Regular Boil Out Impacts Your Kitchen
| Area of Impact | Benefit of Regular Boil Out |
|---|---|
| Food Quality | Prevents off-flavors from old, baked-on grease, ensuring every dish tastes fresh and clean. |
| Oil Longevity | Removes carbon particles that accelerate oil breakdown, extending the life of your expensive cooking oil. |
| Energy Efficiency | A clean heating element transfers heat more effectively, using less energy to maintain temperature. |
| Equipment Lifespan | Prevents corrosive buildup that can damage components and lead to premature equipment failure. |
| Kitchen Safety | Reduces the amount of flammable grease buildup, lowering the risk of a dangerous kitchen fire. |
Putting this on a regular schedule is an investment with very real returns. When you get rid of that insulating layer of grime, your fryer heats oil more efficiently, which can lead to noticeable cuts in energy use. More importantly, it extends the life of your cooking oil. In fact, neglecting this can jack up your oil consumption by as much as 20%—a huge hit to your expenses. For more insights on this, you can check out some of the deep fryer market trends on imarcgroup.com.
Simply put, a cleaner fryer uses less energy and less oil. This isn't just about cleanliness; it's about running a smarter, more profitable kitchen.
Ultimately, the moment you start seeing the boil out as a proactive investment instead of a reactive chore, everything changes. It protects your equipment, guarantees every dish meets your standards, and directly helps you run a more cost-effective kitchen. Your fryer is a workhorse, and this is exactly how you keep it running at peak performance.
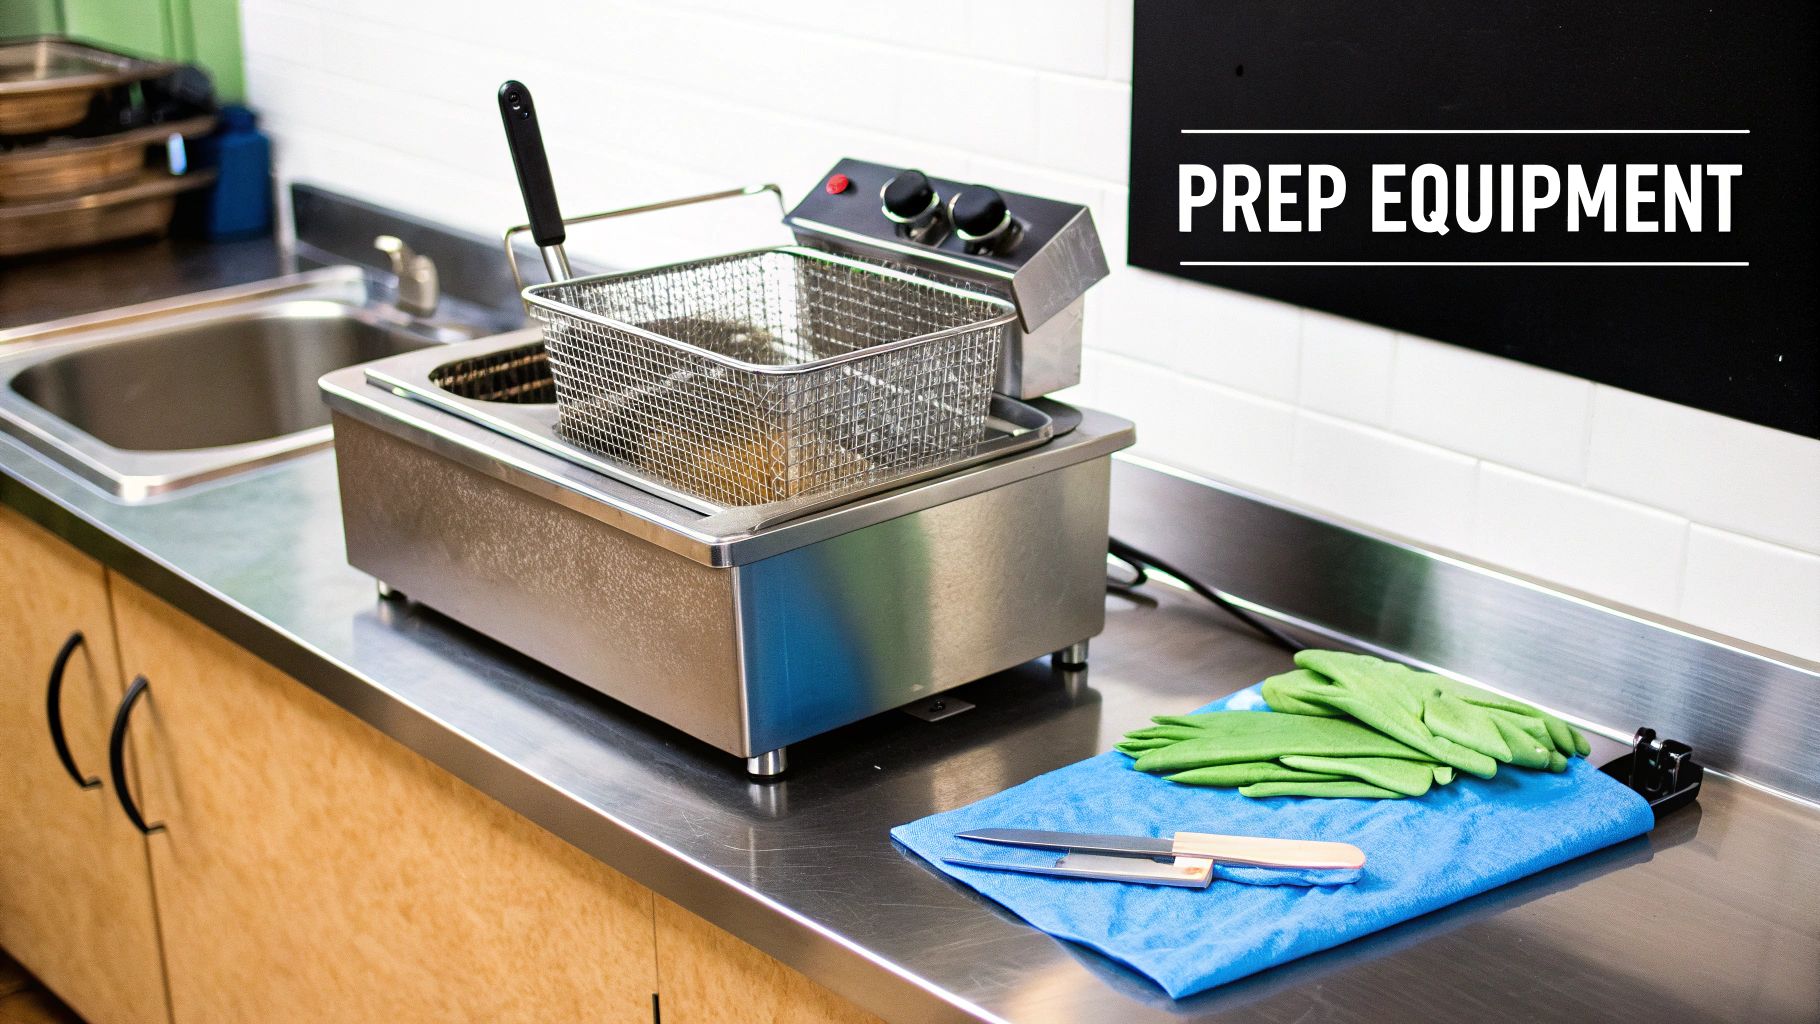
Prepping for a Safe and Effective Clean
Before you even think about draining the old oil, let's talk prep. A successful, and more importantly, safe deep fryer boil out is all about what you do before a single drop of water hits that vat. This isn’t just grabbing a brush; it’s about creating a controlled environment where you can confidently handle hot water and powerful cleaning chemicals.
First things first: gear up with the right personal protective equipment (PPE). Your standard kitchen apron isn’t going to cut it here. You’re dealing with a hot, caustic solution that can cause serious burns in an instant.
- Get your hands in a pair of heavy-duty, heat-resistant gloves.
- Protect your eyes with splash-proof safety goggles.
This is absolutely non-negotiable. Don't even start the process without them.
Gather Your Tools and Cleaner
With your PPE sorted, it's time to assemble your cleaning arsenal. You'll need a long-handled brush with stiff bristles—this lets you scrub the inside of the vat without getting your hands anywhere near the hot stuff. Also, grab a good scraper for any of that stubborn, baked-on carbon that always seems to build up in the corners. And of course, have a designated, safe container ready for the old, cooled oil.
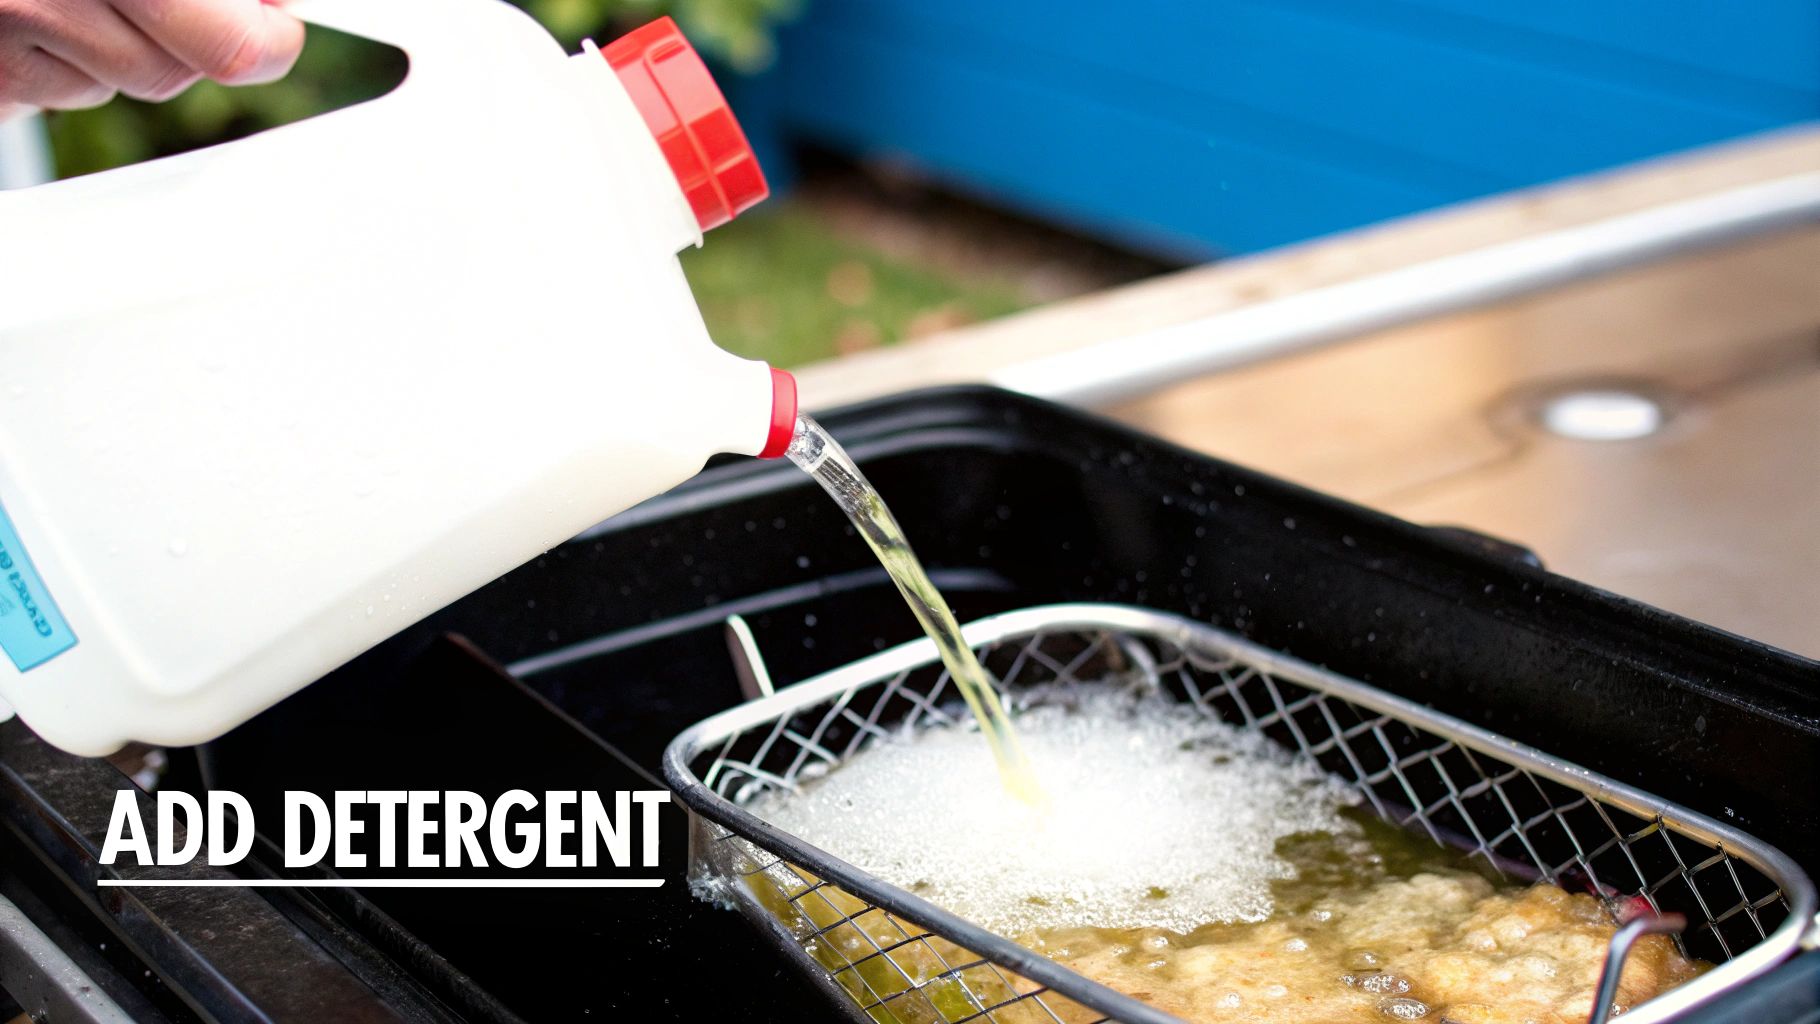
Pro Tip: Never, ever use a standard degreaser or dish soap for a boil out. These products can foam up uncontrollably when heated, creating a dangerous boil-over. Stick with a commercial-grade, non-foaming boil out compound. It’s the only tool for the job.
Choosing the right chemical is the most critical part of this prep work. These specialized boil out compounds are formulated specifically to break down that tough, polymerized grease without creating a hazardous mess or damaging your fryer. Using the wrong product is a recipe for disaster that can wreck your equipment and compromise food safety. A little prep work now sets you up for a flawless—and safe—clean.
The Complete Boil Out Process from Start to Finish
Alright, you've got your safety gear on and your tools laid out. It’s time to take that greasy vat and make it look brand new again. The deep fryer boil out isn't complicated, but knowing the right flow of steps is the key to getting it done safely and without making a huge mess. It all starts with getting rid of that old oil the right way.
First things first, make sure the fryer is completely off and the oil has had plenty of time to cool down. You're looking for a temperature below 150°F to be safe. Once it's cool, carefully drain the used oil into a proper, heat-proof container for disposal or recycling. Whatever you do, never pour old fryer oil down the drain—it’s a one-way ticket to major plumbing disasters and is terrible for the environment.
Initial Scraping and Filling
Before you even think about adding water, grab a scraper and get to work. Your goal is to remove any big, loose food particles and that thick layer of gunk that’s probably settled at the bottom and on the sides. This quick pre-clean is a game-changer because it lets the cleaning solution get right to work on the tough, baked-on grease instead of just sloshing around with loose debris.
Once you’ve scraped it out, fill the fryer vat with cool water, stopping just below the oil-fill line. Now, add your commercial-grade, non-foaming boil out cleaner. Pay close attention to the manufacturer's instructions for the water-to-cleaner ratio. Too much is just wasteful, but too little won't have the muscle to break down that heavy-duty grime.
This simple visual breaks down the core stages of the procedure, from filling the vat to the final, critical rinse.
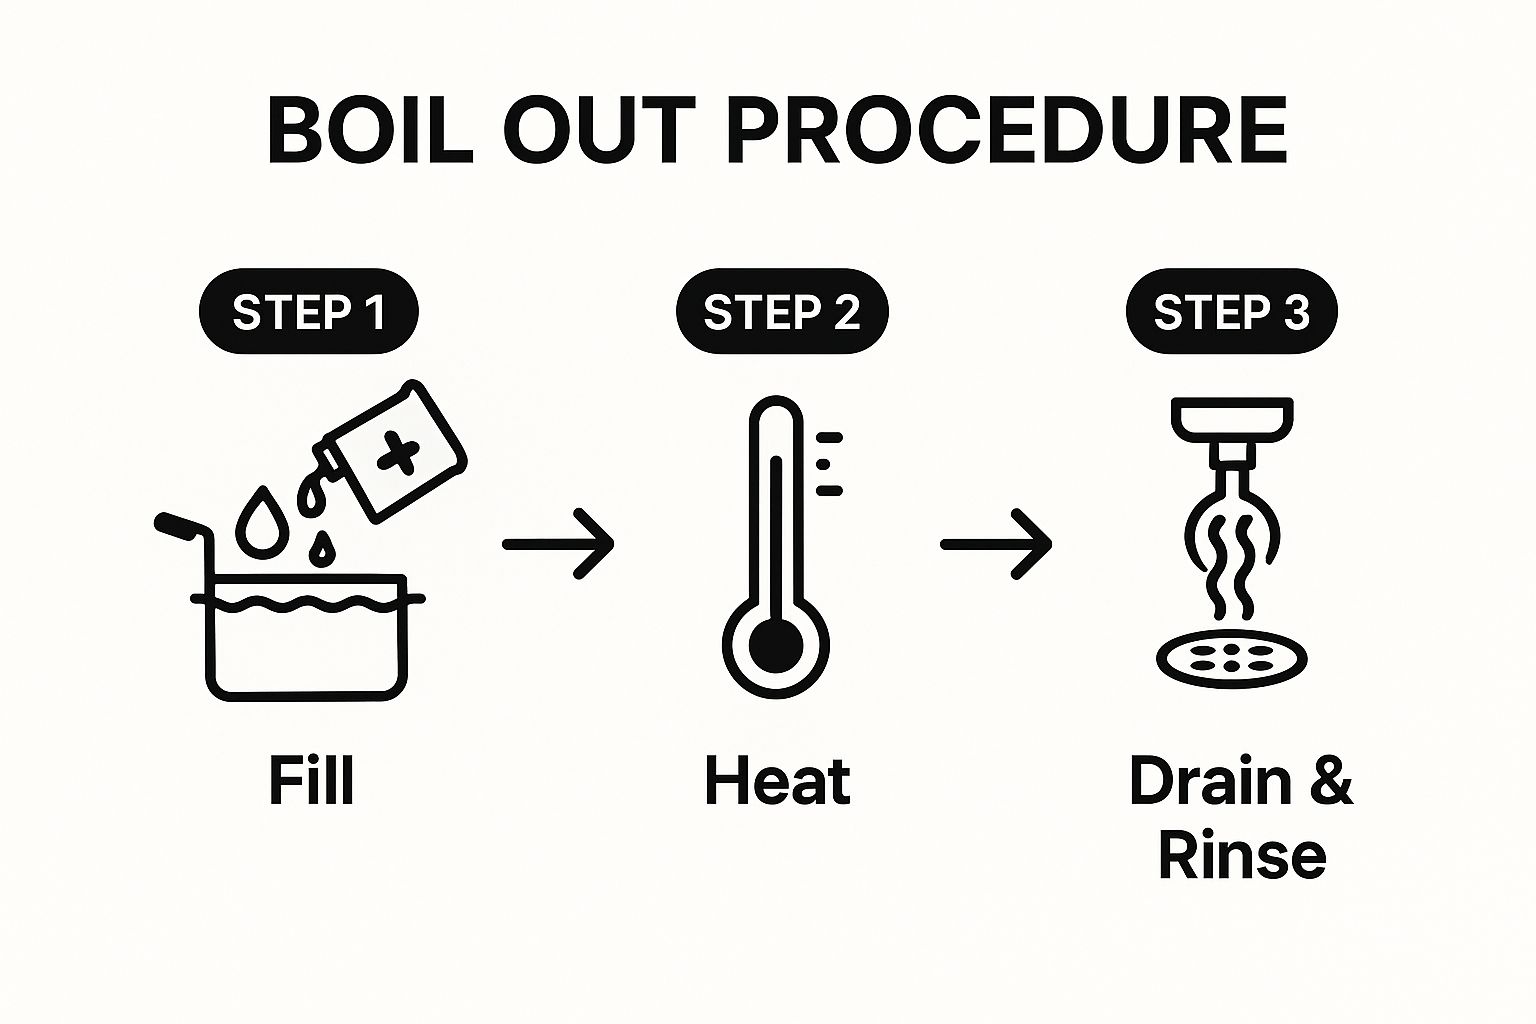
It really boils down to three main actions: Fill, Heat, and Drain & Rinse. Thinking of it this way simplifies the whole job into a straightforward workflow.
The Boil and Scrub Down
Now, turn the fryer on and set the thermostat to a low temperature. You’re aiming for a gentle simmer, right around 200°F, not a roaring, aggressive boil. A violent boil can easily splash the hot, chemical-filled water out of the vat, which is a serious safety hazard you want to avoid. Just let it simmer for at least 20-30 minutes; this gives the heat and chemicals time to do the heavy lifting for you.
As the solution is working its magic, grab a long-handled brush with stiff bristles and gently scrub the inside walls, corners, and heating elements. The chemical action will have softened up all that caked-on carbon, making it way easier to scrub off. Oh, and don't forget to toss your fryer baskets into the solution during the boil out to get them clean at the same time! If you're working with a gas model, there are some specific things to keep in mind, and you might find our guide on how to properly boil out your gas fryer for optimal performance really helpful.
After the timer goes off, carefully turn off the fryer and allow the solution to cool down completely before draining. Rushing this step is one of the most common causes of workplace accidents during a boil out.
Rinsing and Neutralizing for a Perfect Finish
Once it's cool, go ahead and drain the dirty cleaning solution. The next part is arguably the most critical step for your food's safety and quality: thorough rinsing. Any chemical residue left behind can contaminate your fresh oil and give your food a nasty, soapy taste. Nobody wants that.
Follow these rinsing steps to get it perfectly clean:
- First Rinse: Fill the vat with clean, warm water and give it another good scrub to dislodge any lingering residue. Drain this water completely.
- Neutralizing Rinse: Some boil out cleaners are pretty alkaline. To neutralize anything left, fill the vat with water again and add about a cup of white vinegar. Let that sit for roughly 10 minutes before you drain it.
- Final Rinse: Do one last rinse with plain, clean water to wash away any trace of the vinegar.
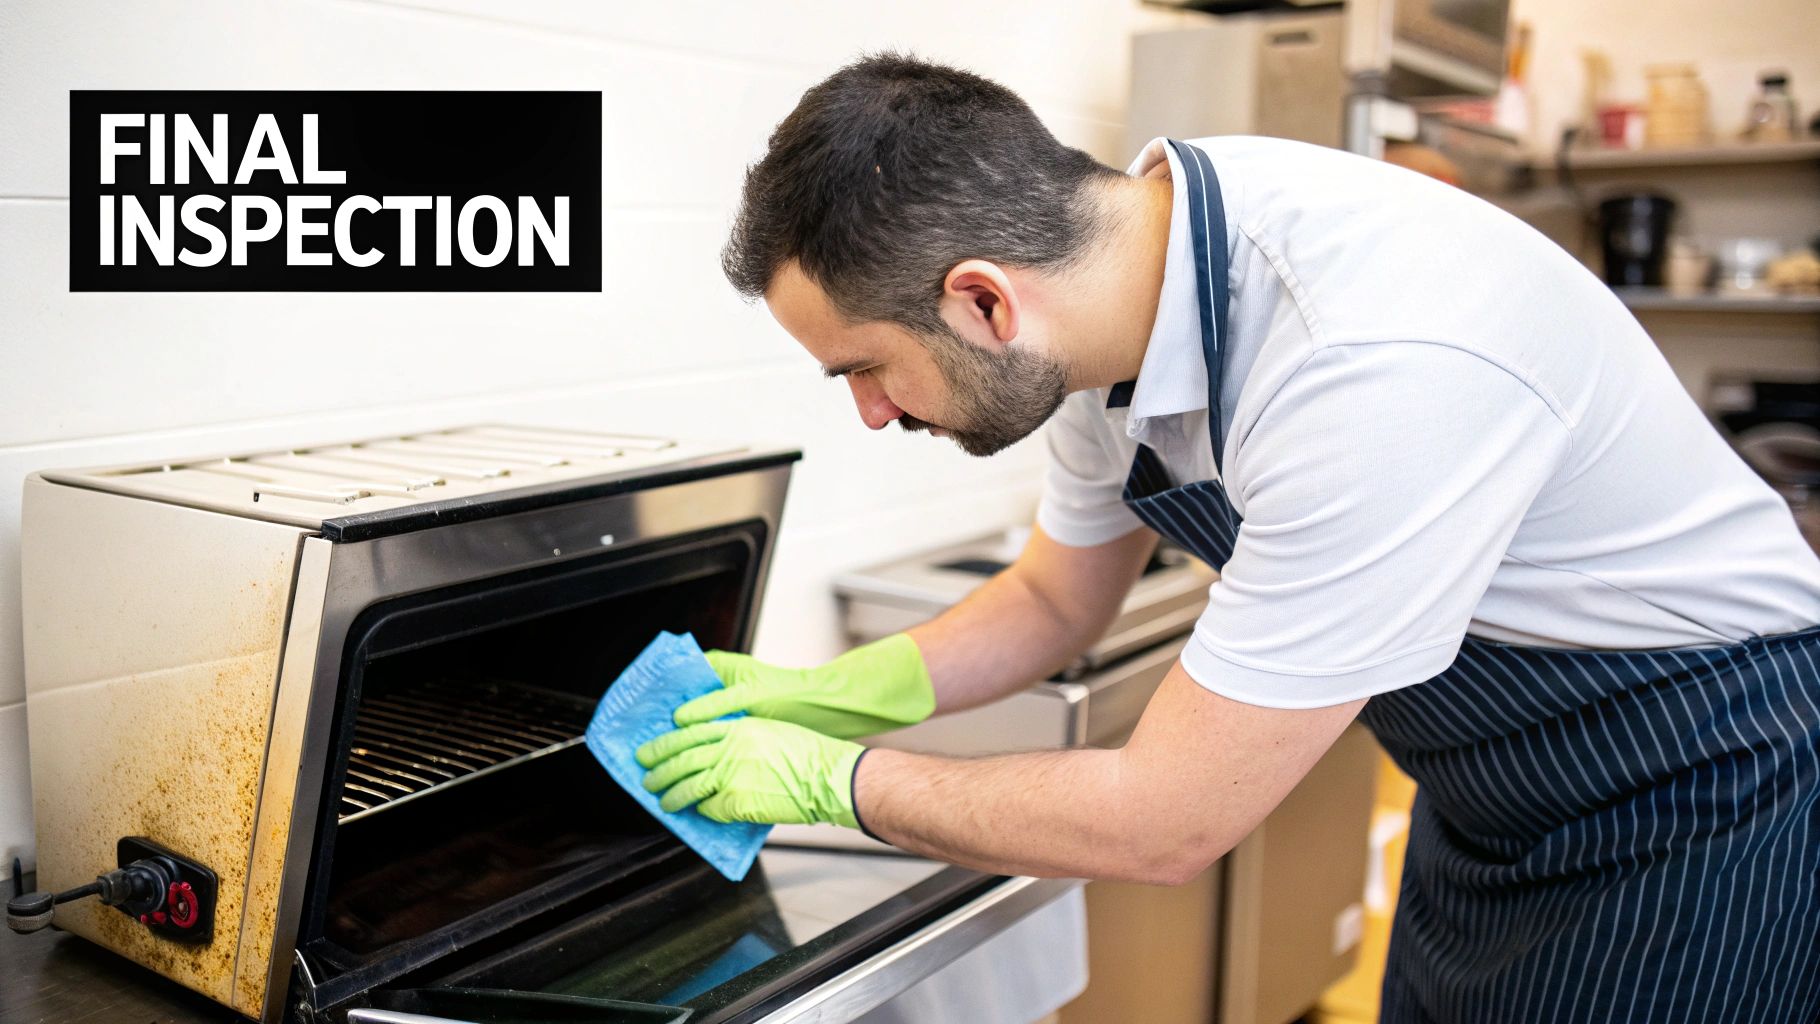
Finally, wipe the entire interior of the fryer until it is bone-dry. Any water left behind will cause the new oil to pop and splatter violently when you heat it up. A completely dry fryer is the final step to a successful boil out, leaving you with equipment that’s ready for fresh oil and back to performing at its best.
Insider Tips for a Professional-Level Clean
Once you've got the basic boil out process down, a few pro-level tweaks can make a world of difference. These are the small, deliberate moves that separate a decent clean from a truly exceptional one, ultimately extending your fryer's life and keeping your food tasting its best.
One of the best habits to get into is cleaning your fryer baskets at the same time. Just toss them right into the vat during the boil out. This ensures they get the same deep clean as the fryer itself, getting rid of any stubborn, carbonized bits that could flake off into your fresh oil later.
Tackle Stubborn Carbon and Removable Parts
Sometimes, even a thorough boil out leaves behind rock-hard carbon spots, especially in the corners or on the heating elements. For these trouble areas, you need a more targeted attack.
After the main boil out, mix a small amount of boil out powder with a little water to create a thick paste. Apply this directly to the carbon spots and let it sit for a good 15-20 minutes. Then, go at it with a non-abrasive pad. The concentrated chemical action will break down what the simmer couldn't.
If your fryer has removable heating elements, always take them out. Soaking them separately lets you clean both the elements and the vat walls behind them much more effectively, hitting those hidden areas where grease and grime love to hide.
This extra effort really pays off. As the global deep fryer market is expected to grow to USD 743.69 million by 2033, driven by commercial kitchens needing more advanced units, proper maintenance is more critical than ever to protect these investments. You can read more about these market trends on straitsresearch.com.
Shift to a Proactive Cleaning Schedule
Finally, the biggest pro move is to get out of a reactive cleaning mindset. Don't wait until the fryer is visibly filthy or the oil quality takes a nosedive. Instead, build a proactive maintenance schedule based on your kitchen's volume.
- High-Volume Kitchens: A weekly boil out is essential. No shortcuts here.
- Moderate-Volume Kitchens: Aim for a boil out every two to four weeks.
This consistent approach stops severe buildup before it starts, making each clean faster and far more effective. It turns the boil out from a major, dreaded project into a manageable, routine task that protects your equipment and guarantees consistently delicious food.
Common Boil Out Mistakes and How to Avoid Them
Even with the best intentions, a few simple missteps during a deep fryer boil out can lead to a poor clean, damaged equipment, or even dangerous accidents. Learning to sidestep these common pitfalls is the key to making every clean safe and effective.
The most frequent mistake I see is simply overfilling the fryer vat with water. It seems harmless enough, but as the water heats up and starts to simmer, that cleaning solution can easily bubble right over the edge. Now you've got hot, caustic liquid spilling onto the floor, creating a serious slip and burn hazard. Always fill to just below the oil-fill line.
Another critical error is grabbing the wrong cleaning agent. Using flammable solvents is an absolute no-go for obvious reasons. Abrasive powders are just as bad—they can permanently scratch and gouge the stainless steel interior of your fryer. You've got to stick exclusively to commercial-grade, non-foaming boil out compounds designed specifically for this job.
Rushing the Final Steps
The last stage of the boil out is where costly mistakes often happen, usually because someone's in a hurry to get done. Failing to rinse the vat thoroughly is a huge issue. Any lingering chemical residue will contaminate your fresh oil, causing it to break down prematurely and giving your food an unpleasant, soapy taste. This is an easy mistake to avoid with just a little patience.
Key Takeaway: The final rinse and dry are non-negotiable. Skipping a thorough rinse contaminates your oil, while adding fresh oil to a wet fryer will cause dangerous, violent splattering as it heats up.
Take the extra ten minutes. Do a final neutralizing rinse with a bit of vinegar, followed by one last clean water rinse. Then, meticulously wipe the interior until it is bone-dry. This diligence protects your oil investment and ensures the quality of every single dish that comes out of that fryer. For more comprehensive tips on equipment care, check out our guide on cleaning restaurant equipment.
Your Deep Fryer Boil Out Questions Answered
Even after walking through the process, a few questions always seem to pop up. Let's tackle the most common ones we hear about deep fryer boil outs so you can clean with total confidence.
How Often Should I Perform a Boil Out?
There's no single right answer here—it really boils down to your kitchen's volume.
If your fryers are running nonstop in a high-traffic spot, a weekly boil out is your best bet to keep things in top shape. For kitchens with more moderate use, aiming for every two to four weeks is a solid routine.
The best way to know for sure? Just keep an eye on your oil quality and the amount of visible gunk building up inside the vat. Your fryer will tell you when it's time.
Can I Just Use Vinegar and Baking Soda?
While that's a classic combo for cleaning your coffee pot at home, it's just not going to cut it against the tough, polymerized grease in a commercial fryer. You absolutely need a dedicated, non-foaming boil out cleaner.
These cleaners are specifically formulated to break down that heavy-duty grime safely, without creating a foamy, dangerous mess that could boil over.
Pro Tip: Don't skip the neutralizing rinse after the boil out. A quick rinse with a water and vinegar mix is critical for neutralizing any alkaline residue left by the cleaner. This simple step prevents your new oil from breaking down too quickly and ensures no chemical aftertaste lingers in your food.
Proper maintenance is the best way to protect your equipment, especially as the deep fryer market continues to grow—it's projected to hit USD 287.84 million in North America alone by 2032. You can learn more about these deep fryer market trends on mordorintelligence.com.
Taking care of your equipment, whether it's an electric or gas unit, ensures it performs as expected for years to come. If you're in the market for a new unit, you can read our guide on selecting the right deep fat fryer to help you choose wisely.
At The Restaurant Warehouse, we provide the high-quality, durable equipment you need to keep your kitchen running at its best. Explore our full catalog of commercial fryers and cleaning supplies at https://therestaurantwarehouse.com today.
About The Author

Sean Kearney
Sean Kearney used to work at Amazon.com and started The Restaurant Warehouse. He has more than 10 years of experience in restaurant equipment and supplies. He graduated from the University of Washington in 1993. He earned a BA in business and marketing. He also played linebacker for the Huskies football team. He helps restaurants find equipment at a fair price and offers financing options. You can connect with Sean on LinkedIn or Facebook.
Leave a comment